Contents

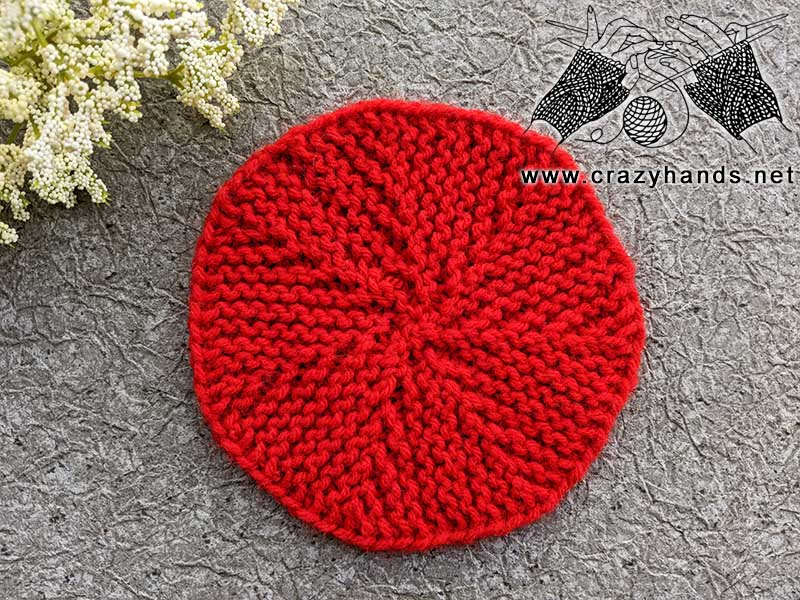
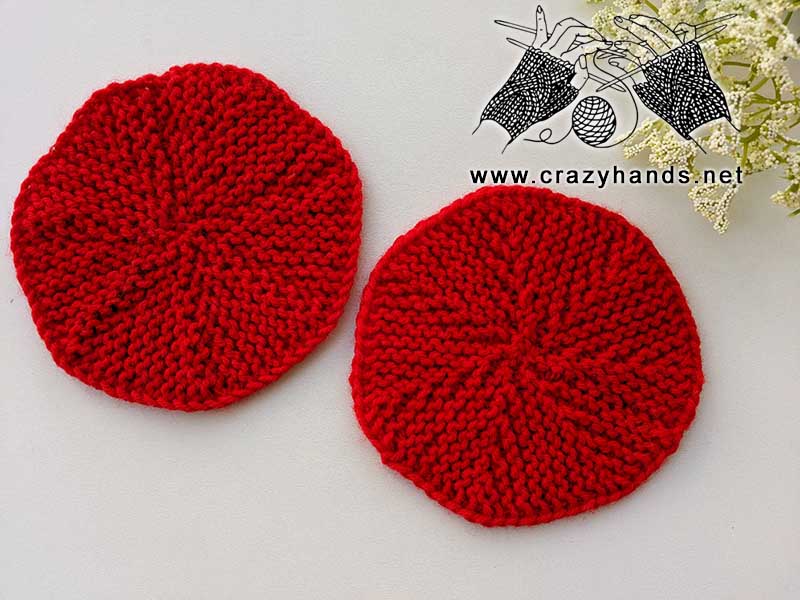
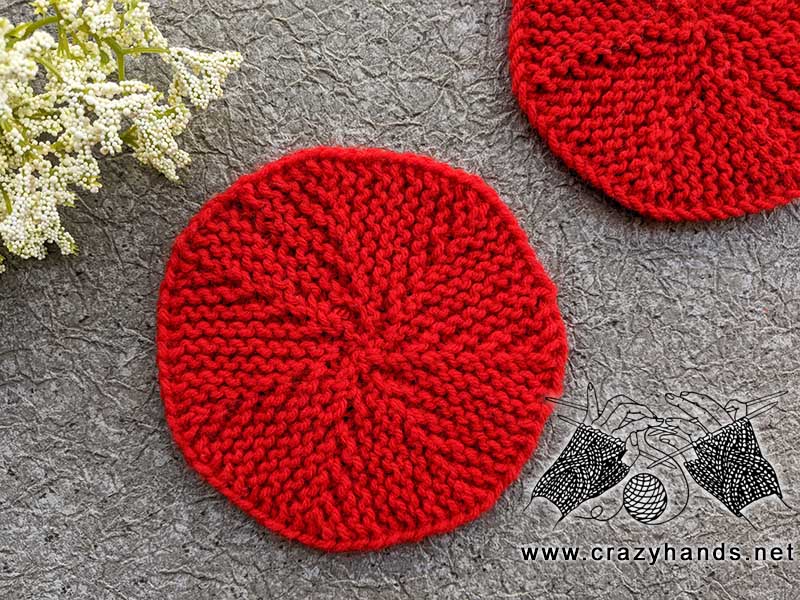
Knitted circles make charming and functional coasters. You can knit them in various colors to match your home decor or create a set of coordinating coasters for a cohesive look. String knitted circles together to create a festive garland for special occasions or everyday decor. Hang them across windows, mantels, or doorways to add a whimsical touch to your space.
Knitting materials and tools:
<> Straight or DPN 4 mm (US6 / UK8)
<> Red Heart, Super Saver (4) – 100% acrylic.
<> Crochet hook 3.5 or 4 mm for provisional cast on, scrap yarn and a yarn needle.
Common abbreviations of knit stitches:
k – knit
st(s) – stitch(es)
Knit circle dimensions:
17-18 sts –10 cm (4 inches).
Circle diameter: 14 cm (5.5 in)

Solid circle knitting pattern:
Using a smooth piece of scrap yarn (preferably in a different color, so that you can identify it easily later) and crochet hook, chain 16. Take the knitting needles and pick up 13 stitches through the “bumps” on the back of the chain.
Row 0: slip purlwise, k12. Turn
Row 1: slip purlwise, k9, slip the next stitch to the right-hand needle, bring the working yarn in front, and return the slipped stitch to the left-hand needle. Turn. This wraps the slipped stitch.
Row 2: k10. Turn.
Row 3: slip purlwise, k7, slip the next stitch to the right-hand needle, bring the working yarn in front, and return the slipped stitch to the left-hand needle. Turn. This wraps the slipped stitch.
Row 4: k8, Turn.
Row 5: slip purlwise, k5, slip the next stitch to the right-hand needle, bring the working yarn in front, and return the slipped stitch to the left-hand needle. Turn. This wraps the slipped stitch.
Row 6: k6, Turn.
Row 7: slip purlwise, k3, slip the next stitch to the right-hand needle, bring the working yarn in front, and return the slipped stitch to the left-hand needle. Turn. This wraps the slipped stitch.
Row 8: k4, Turn.
Row 9: slip purlwise, k1, slip the next stitch to the right-hand needle, bring the working yarn in front, and return the slipped stitch to the left-hand needle. Turn. This wraps the slipped stitch.
Row 10: k2, Turn.
Row 11: slip purlwise, k2, slip the next stitch to the right-hand needle, bring the working yarn in front, and return the slipped stitch to the left-hand needle. Turn. This wraps the slipped stitch.
Row 12: k3, Turn.
Row 13: slip purlwise, k4, slip the next stitch to the right-hand needle, bring the working yarn in front, and return the slipped stitch to the left-hand needle. Turn. This wraps the slipped stitch.
Row 14: k5, Turn.
Row 15: slip purlwise, k6, slip the next stitch to the right-hand needle, bring the working yarn in front, and return the slipped stitch to the left-hand needle. Turn. This wraps the slipped stitch.
Row 16: k7, Turn.
Row 17: slip purlwise, k8, slip the next stitch to the right-hand needle, bring the working yarn in front, and return the slipped stitch to the left-hand needle. Turn. This wraps the slipped stitch.
Row 18: k9, Turn.
Row 19: slip purlwise, k11, slip the last stitch to the right-hand needle, bring the working yarn in front, turn and return the slipped stitch to the left-hand needle. We have completed the first circle section. Knit a total of 7 sections. Repeat the pattern from the beginning. At the end of the last section, do not knit Row 19. Unravel the provisional cast-on and place 13 live stitches onto the needles. Cut the yarn, leaving a long tail. Thread it onto a yarn needle and graft the two edges together, using the Kitchener stitch, ensuring a seamless and invisible seam.


1 comment
This is brilliant! Thank you so much for this tutorial❤️🧶❤️🧶. Looking forward to seeing more of your sites!