
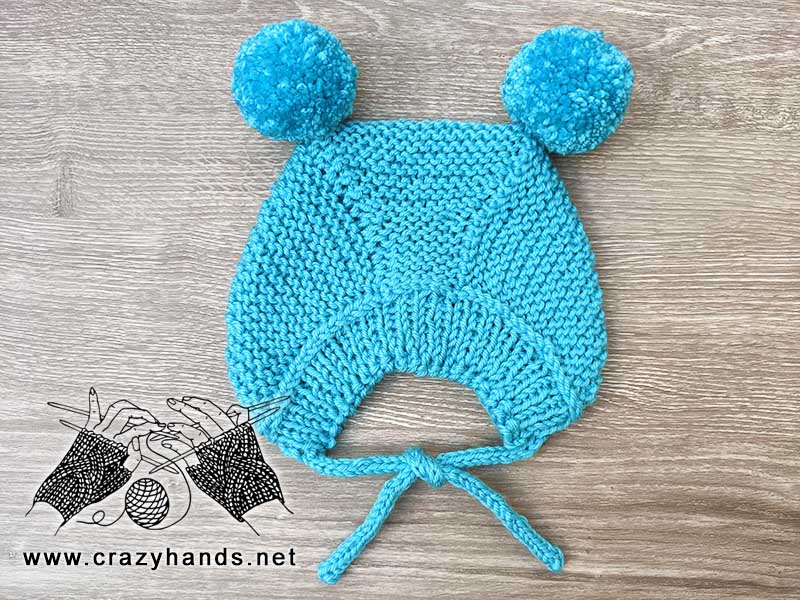
Ads-Free Baby Knit Bonnet Pattern includes instructions for all sizes:
- 0-3 months
- 3-6 months
- 6-9 months
- 9-12 months

Knitting materials and tools:
<> Knitting needles in size US 7/ UK 7 (4.5 mm) for the main part, US 6/ UK 8 (4 mm) for the ribbing part and US 4 (3.5 mm) for ties.
<> Red Heart, Soft Touch (4) – 100% acrylic.
<> Weight Category – 4. Quantity – less than 1 ball. If you have difficulty to find aforementioned brand of yarn, use something else that will have about 190 m (200 yards) per 100 grams skein.
<> Stitch markers
<> Pom poms –Material – natural fur / faux fur / yarn pom pom. Size – from 6 to 10 cm.
Knit baby bonnet size:
<> Age: 3-6 months.
<> Number of stitches: 50.
<> Gauge: 16-17 stitches = 4 inches in stockinette
Common abbreviations of knitting stitches:
k – knit
pm – place marker
k2tog – knit two together (though the front loop)
k2togb – knit two together through the back loop
sel s – selvage stitch: always slip the first stitch purlwise, work to the last stitch, purl the last stitch
LHN – left hand needle
RHN – right hand needle
Knitting body of the baby bonnet:
Using 4 mm knitting needles cast on 50 stitches.
Row 1-5: sel s, [k1, p1] – repeat till the end of the row, sel s, turn. (about 2.5-3 cm/1 inch)
Change to 4.5 mm needles.
Row 6: sel s, knit all stitches, sel s.
Repeat Row 6 until piece measures minimum 11 cm or maximum 14 from the edge. You can choose the number in between or knit the maximum length that will allow you to size up and wear hat longer.
If you want to be more precise measure your baby’s head from the forehead till the crown and knit the needed length.
Shaping the crown of the baby knit bonnet:
Count 16 stitches from both sides and place markers. I am using the same method as for the sock’s heel. It means we are going to cast off side stitches.
There will be 18 stitches in the center, between stitch markers.
Row 1: sel s, k14, slip next 2 stitches to the right-hand needle (remove stitch marker) and pass 1st stitch over 2nd one (right stitch over the left one). After that return the stitch to the left-hand needle, k17, slip the next stitch to the right-hand needle, remove stitch marker, slip the stitch back to the left-hand needle and pass the 2nd stitch over the 1st one (left stitch over the right one), knit the stitch that you have received, turn.
Check video tutorial below for detailed instructions!
Row 2: knit 16/18/18/20, turn (no sel s in this row).
Row 3: Slip first stitch of the central part to the RHN and pass right stitch over the left one, return the stitch to the LHN and knit it, k16, pass the 2nd stitch over the 1st one (left stitch over the right one) and knit the stitch that you have just got, turn.
Row 4: knit 18, turn (no sel s in this row).
Row 5: Slip first stitch of the central part to the RHN and pass right stitch over the left one, return the stitch to the LHN and knit it, k16, pass the 2nd stitch over the 1st one (left stitch over the right one) and knit the stitch that you have just got, turn.
Row 6: knit 18, turn (no sel s in this row).
Repeat Rows 5-6 until you have 11 stitches from the right and left side (for all sizes).
From this point we are going to decrease not only side stitches but also the central ones.
Next Row: Slip first stitch of the central part to the RHN and pass right stitch over the left one, return the stitch to the LHN and knit it, k2togb, k12, k2tog, pass the 2nd stitch over the 1st one (left stitch over the right one) and knit the stitch that you have just got, turn.
Next Row: knit 16, turn (no sel s in this row).
Next Row: Slip first stitch of the central part to the RHN and pass right stitch over the left one, return the stitch to the LHN and knit it, k2togb, k10, k2tog, pass the 2nd stitch over the 1st one (left stitch over the right one) and knit the stitch that you have just got, turn.
Next Row: knit 14, turn (no sel s in this row).
Go on repeating last two rows until you have 8 stitches in your central part.
After that stop making decreases in the central part and go on with side decreases as you did in Rows 5 and 6. Stop when you get 1 st on the right side, 8 sts in the central part and 1 st on the left side.
Next Row: Slip first stitch of the central part to the RHN and pass right stitch over the left one, return the stitch to the LHN and knit it, *k1, insert the tip of the LHN into the front of the second stitch, gently slide the right needle out of the first stitch and then pick it up again, after that knit the second stitch, repeat everything from * until you have 2 stitches, pass the 2nd stitch over the 1st one (left stitch over the right one) and knit the stitch that you have just got. Insert the tip of the LHN into the front of the second stitch, gently slide the right needle out of the first stitch and then pick it up again, after that knit the second stitch.
Now you have only 8 central stitches on your needles.
Pick up stitches along the right edge. To do it, insert the needle back to front, wrap the yarn and draw a loop. In this manner go on picking up stitches of the right side. We are doing it to leave all seams on the right side of the hat.
Turn. Change to 4 mm needles. Rib k1, p1 till the starting point. Pick up stitches along the left edge. Here you are going to insert needle front to back.
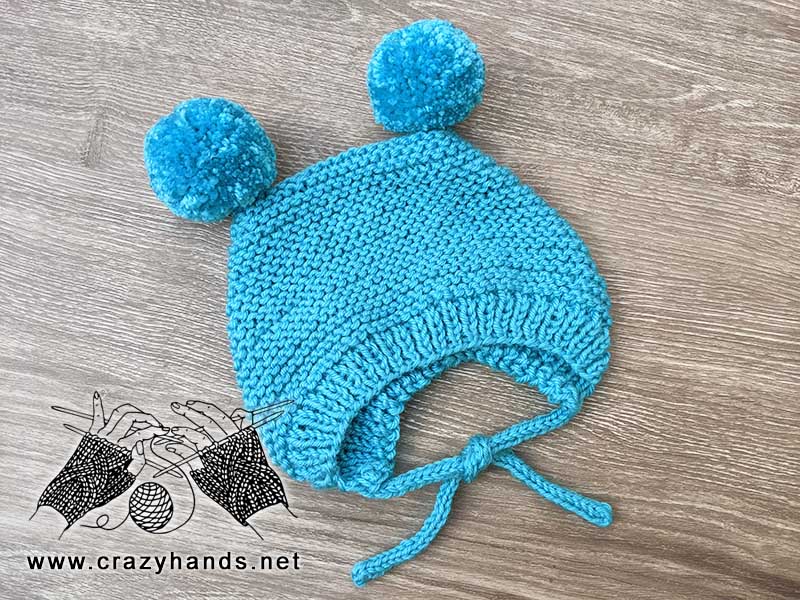
Rip k1, p1 until the back ribbing part will be longer the front one that will keep warm your baby’s neck. Knit at least 3-4 cm. Bind off all stitches. Check the video tutorial if you want to try an elastic bind off method.
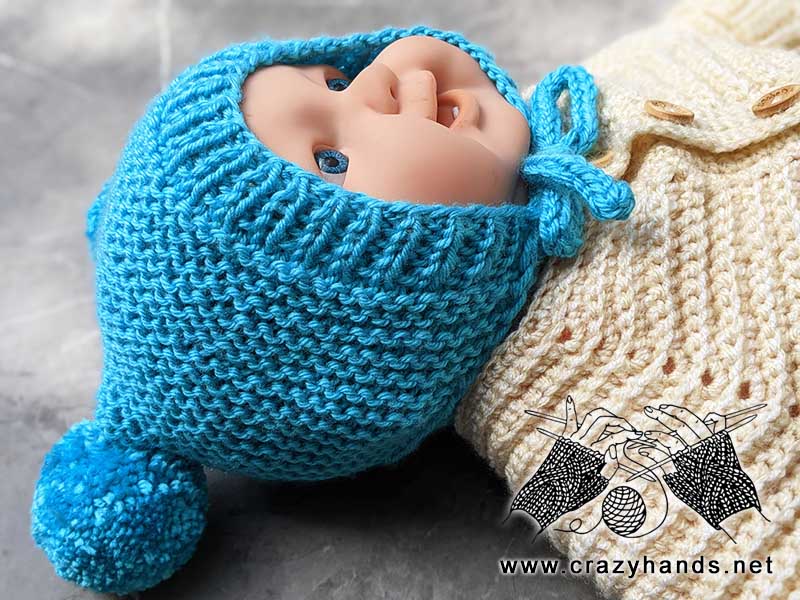
Add ties to the baby knit bonnet
Do not break the yarn. Using 3.5 mm needles pick up 2 more stitches (3 in total) and knit an i-cord. Slide all stitches to the other end of the needle. Working yarn from the left side. K3. Slide stitches again to the other end and repeat previous steps. Knit until the length of the cord reaches at least 20-22 cm or 8-9 inches. At the end [k2tog, k1], slide stitches again, k2tog. Cut the yarn. Pick up 3 stitches from the other side and knit one more cord. Weave in ends.
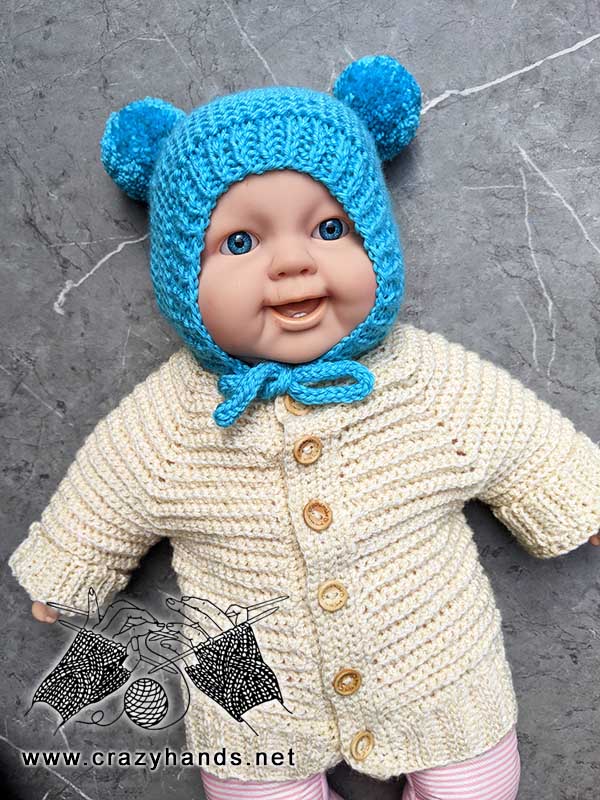
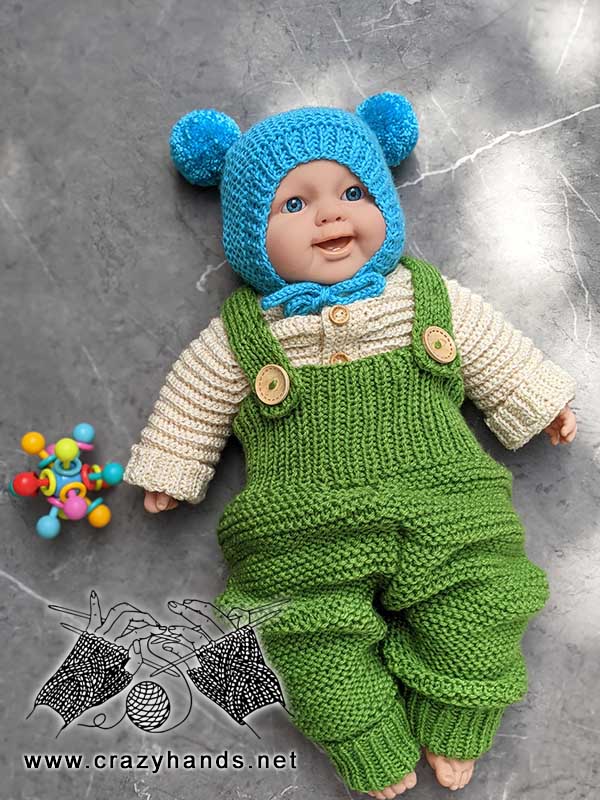
Attach 2 yarn or fur pom poms on the top of your hat.
Optionally you can knit bear-style ears.
Cast on 9 stitches and knit all rows until work looks as a square. Using crochet hook pull yarn through all stitches from both sides and tighten. Fold piece in the middles and shape bear’s ear. Make two. Find suitable place and sew it to the hat.
4 comments
Thank you for this awesome pattern and you video
Thank you too for your kind feedback!
This is a great pattern! I’m going to make one for my niece.
I wish you a good luck Riya!