

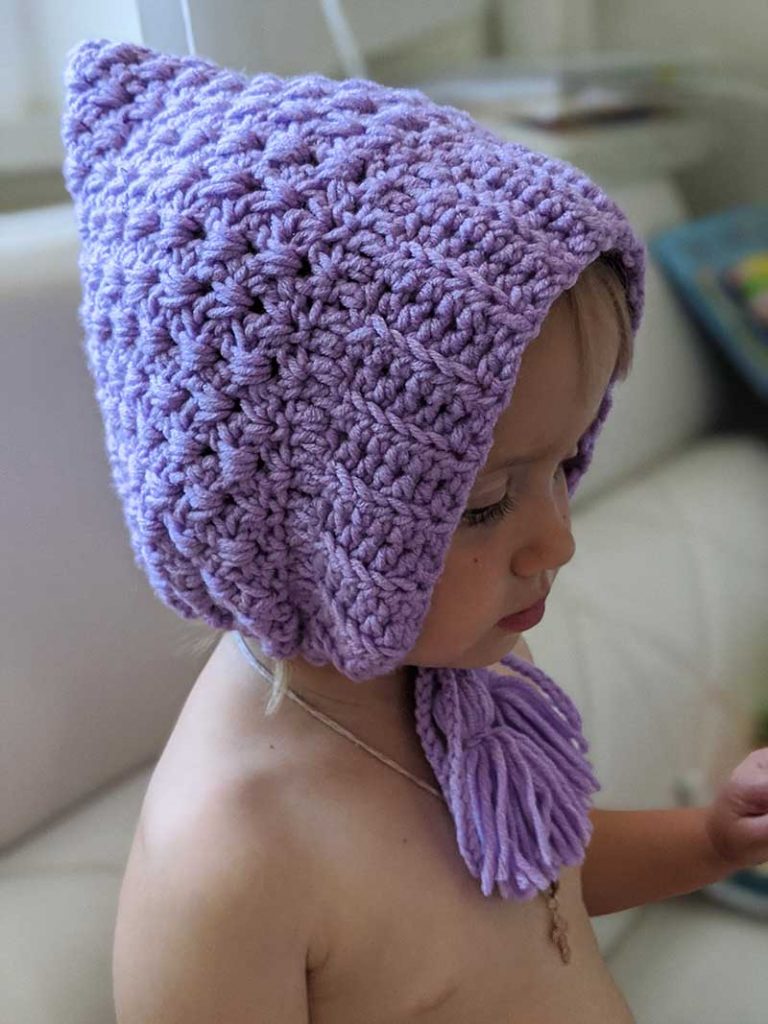
Hello, my fellow knitting and crochet lovers. As promised, I’m back with new and very detailed pattern of crochet pixie baby hat made for my 2 y.o. daughter. I fell in love with this baby pixie hat and couldn’t resist to crochet another one that I’m planning to donate to local hospital. The pattern is suitable for those who are confident in the basic crochet stitches and ready to trouble yourself a bit. Give it a try and I’m confident that your little one will look adorable.
Crochet materials and crochet tools:
<> Crochet hook 4.5 mm
<> Lanoso Bebe Masal (4) –100% acrylic, 170 meter per 100 grams skein. Color of your choice. In total 1 skein.
Crochet baby pixie hat size:
Gauge: 15 stitches = 4 inches in half double crochet ribbing
Size: Baby/Toddler (48-50 cm)
Common abbreviations of crochet stitches:
ch – chain
hdc blo – half double crochet back loop only
sc – single crochet
hdc – half double crochet (working through both loops)
dc – double crochet
sl st – slip stitch
tch – turning chain
Crochet baby pixie hat pattern
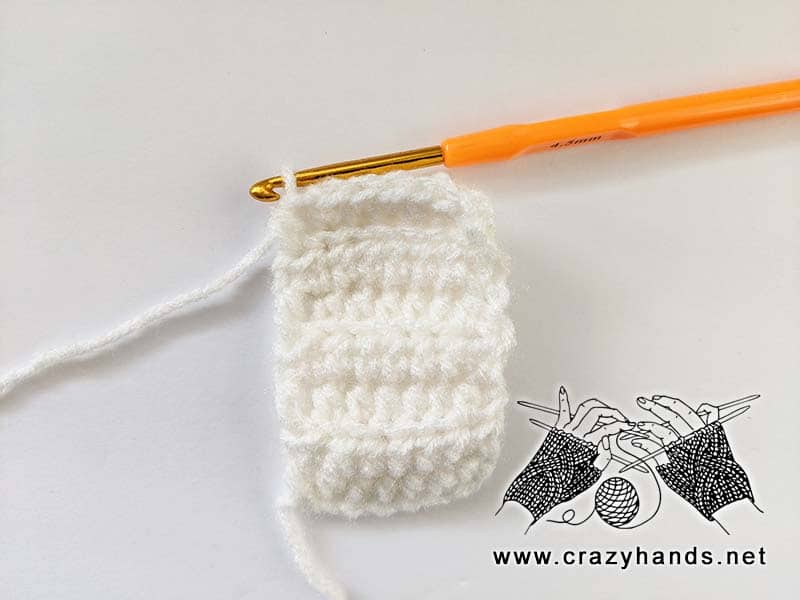
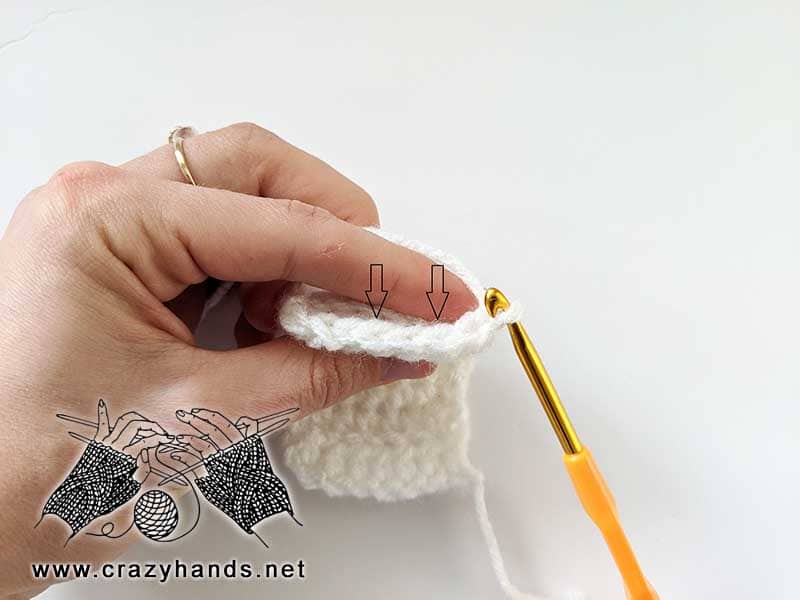
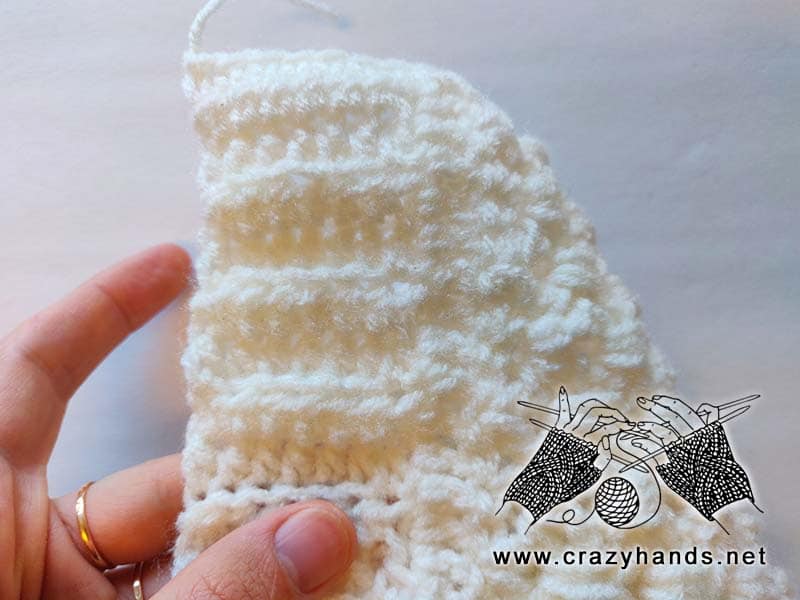
Brim of the pixie bonnet :
Row 1: Ch 8, hdc in 2nd ch from hook and each remaining ch, turn. (7 hdc in total)
Row 2-34: Ch1, hdc, hdc blo 5, hdc, turn. Work first and the very last stitch through both loops, other stitches work back loop only
Body of the baby pixie bonnet:
Row 1: ch3, dc across row. (52 dc: work in the end of each row as well as in the center of each chain)
Row 2: ch 3, *skip next st, [dc, ch2, dc] – in the next st, skip next st, sc – repeat from * till the end of row, turn
Row 3: ch3, ch2 *[dc, ch2, dc] – in the sc of previous row, ch2 – repeat from * till the end of row, dc in tch, turn
Row 4: ch3, [dc, ch2, dc] – in the ch 2 space of row 2, *ch2, [dc, ch2, dc] – in the ch 2 space of row 2 – repeat from * till the end of row, dc in tch, turn
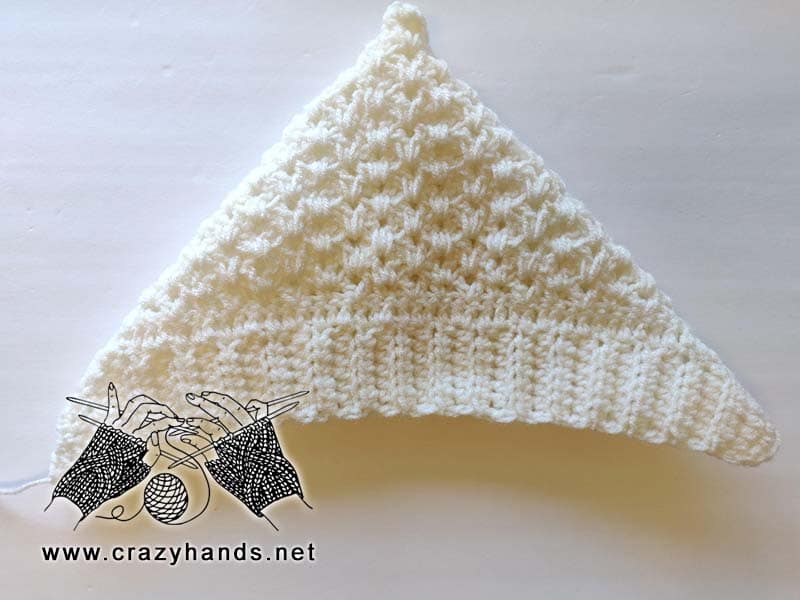
Row 5: ch3, ch2, *[dc, ch2, dc] – in the ch 2 space of row 3, ch2 – repeat from * till the end of row, dc in tch, turn
Repeat Rows 4-5 until the total number of Rows will be equal 17 or 18 (20-22 cm from the edge)
Row 19: ch1, sc 2 in each ch 2 space. Go 2 rows below where needed as you did in the main pattern to avoid big holes on back of the hat.
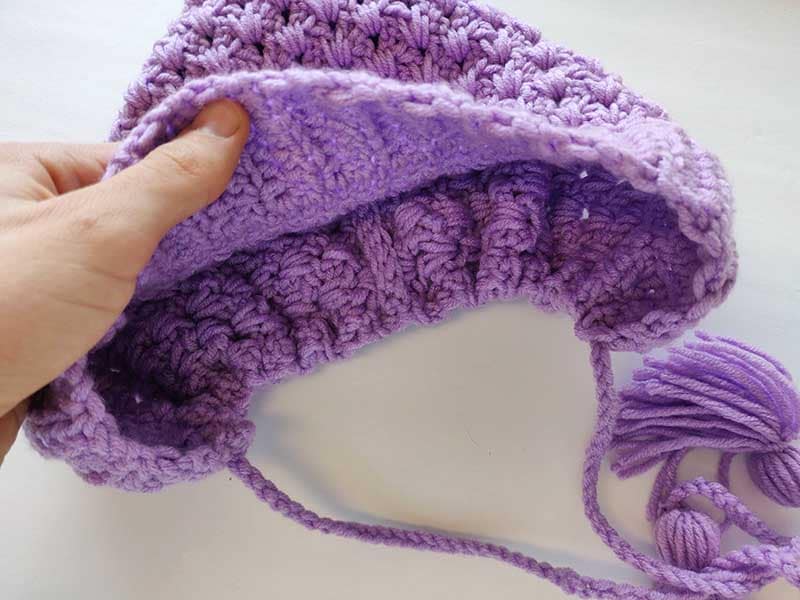
Fold the hat in half and sl st the two ends together. Cut the yarn and turn hat right side out.
Attach yarn and make sc across the neckline edge/ Cut the yarn.
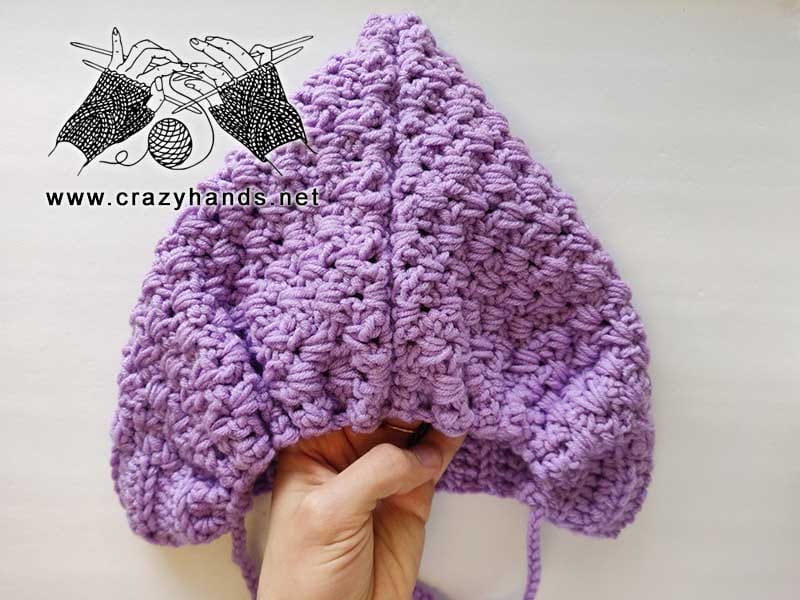
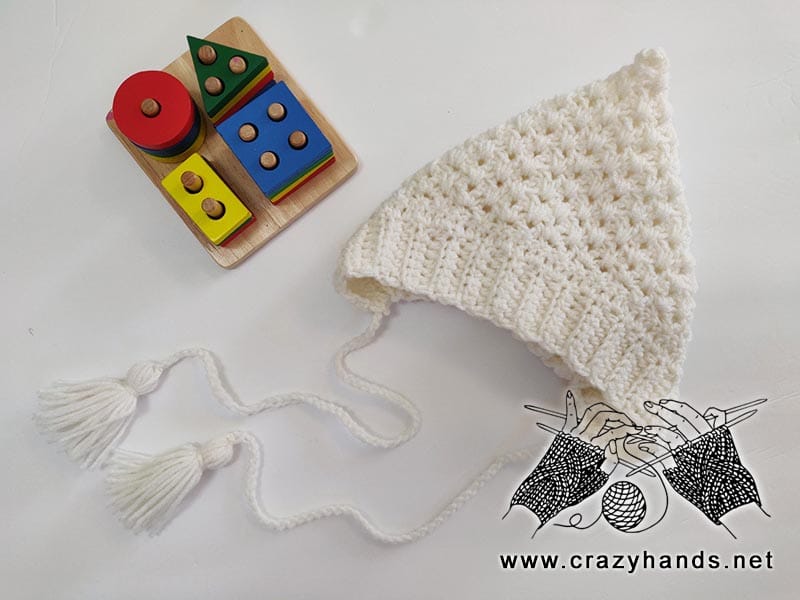
Ties for the baby pixie bonnet:
Chain 60 (or 70). Pull the chain in-between sc sts of the neckline row, every 2-3 sts. Pull the ties to get a perfect fit on your baby’s head.
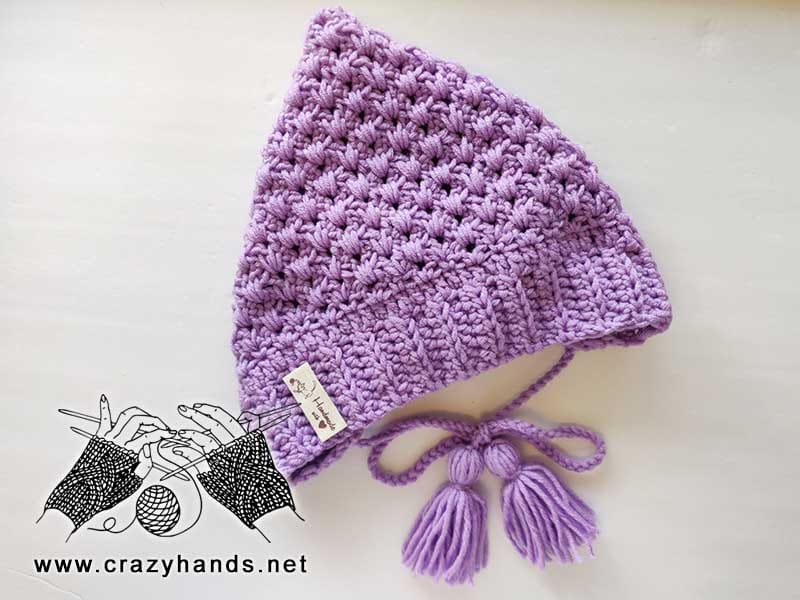
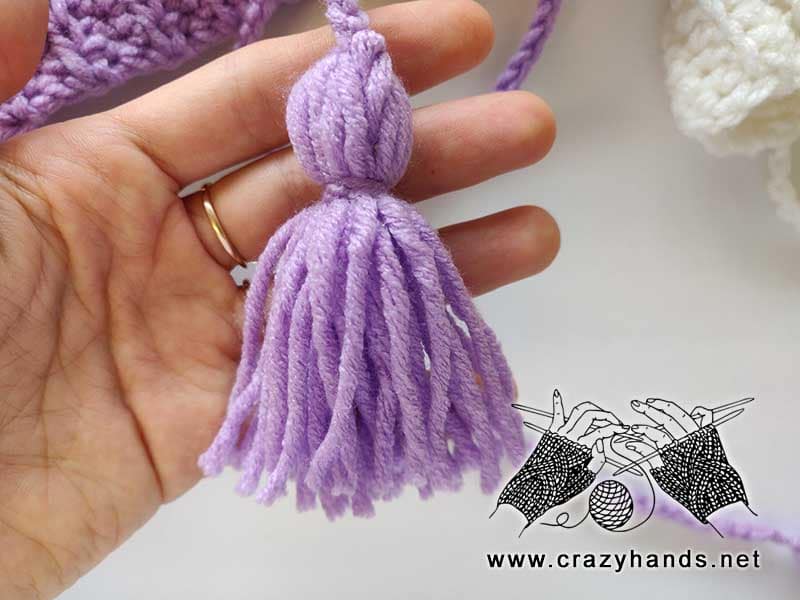
Make two tassels and attach them to each end of the tie.
Check out the full video tutorial of how to crochet a pixie hat with tassels for your toddler baby.
2 comments
Need help with row 5. I cannot figure out which ch 2 from row 3 to work in. Watched video and still can’t figure it out. Please help. Thank you
Hi, I think you did the same with row 4 and 2, you need to insert you hook in ch-2 space between 2 dc in row 3. If you want you can send me short video and show where is the problem, I will try to help you