Contents

In this tutorial, I’ll demonstrate how to neatly and seamlessly change yarn color at the beginning of a row when knitting with two or more colors. This method ensures a smooth, wrinkle-free transition and prevents any tightness or unsightly loops along the edge.
The Common Method vs. the Twisted Stitch Technique
Typically, when changing colors, I knit the very first (selvage) stitch with the new color instead of slipping it, then continue with the pattern. While this works, it can sometimes create uneven tension or visible gaps.
To achieve a cleaner, more professional look, I add a twisted stitch with the new color before knitting the first stitch.
Step-by-Step Instructions
-
- Hold the working yarn in your right hand.
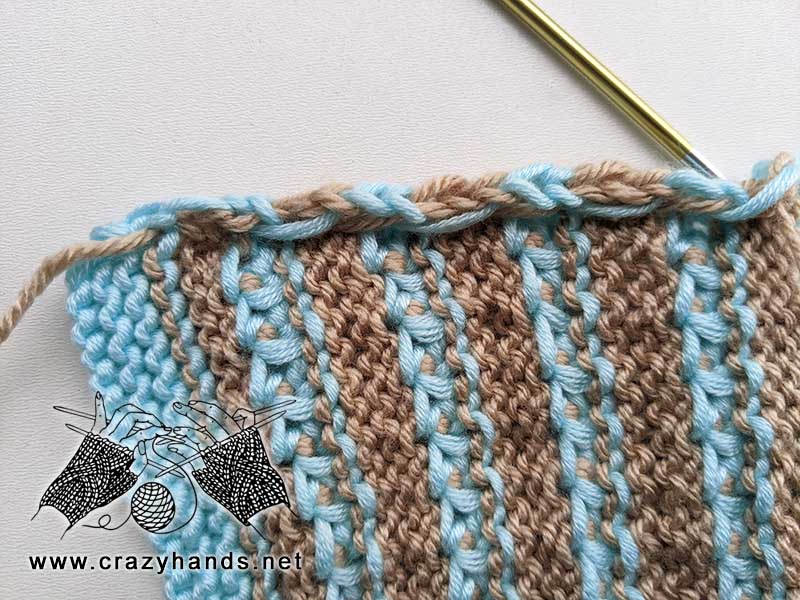
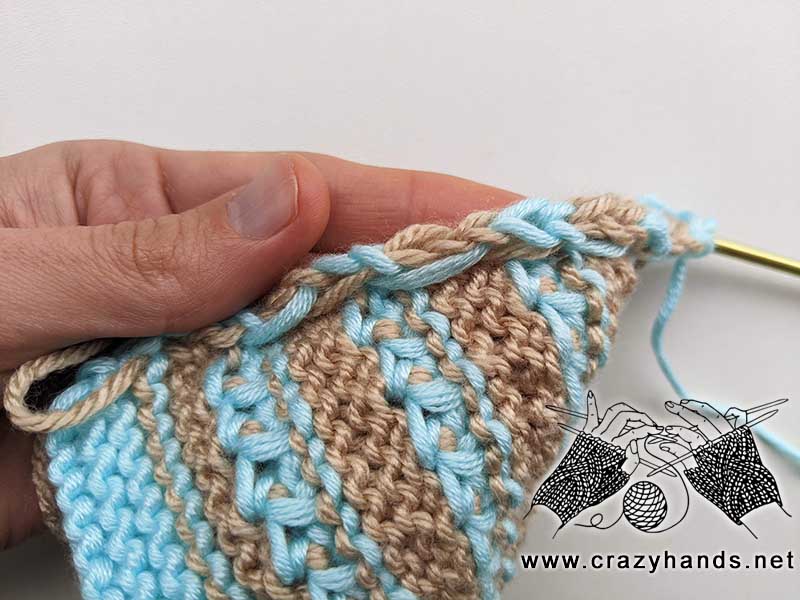
- Pick up the new yarn from left to right underneath and make a clockwise twist around the working yarn.
- Ensure the yarn isn’t pulled too tight, but also avoid leaving an overly long loop (a common issue when dragging the new color up from a lower row).

Continue Knitting
-
- Knit across the row in your pattern as usual.
- On the wrong side, work the pattern back and finish with the last selvage stitch as you normally would.
- Upon returning to the right side, you’ll notice the twisted stitch from the color change. Simply drop it off your left-hand needle and continue knitting.

Why This Method Works
-
- Dropping the twisted stitch prevents the edge from tightening and maintains flexibility.
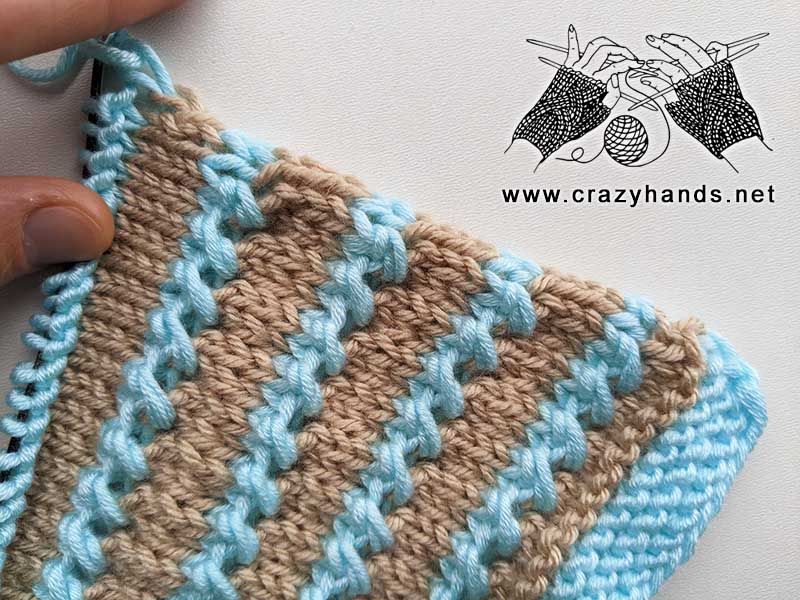
- The resulting loop sits neatly on the wrong side of the fabric, creating a clean, invisible edge on the right side.
- The transition between colors looks polished, with no visible bumps or gaps disrupting your stitch pattern.
This technique not only enhances the visual appeal of your project but also ensures the edge remains elastic and smooth.

