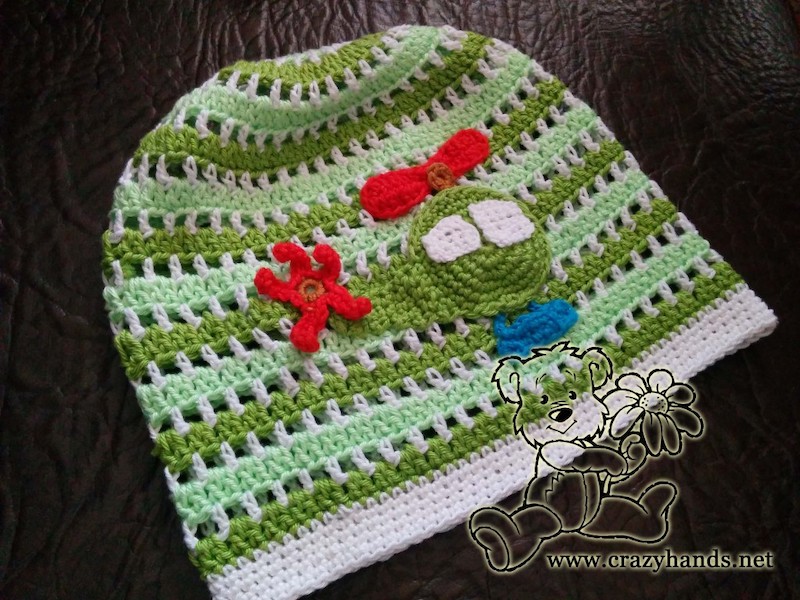
Winter is coming to its end and spring brings life to everything that surrounds us by making it green and bright. That’s why I decided to crochet a hat for baby boys that looks fresh and appealing. Of course, you can make same cap for girls by changing the style, playing with colors, and appliqués. This crochet boys hat is made for a boy 3-9 months old.
Begonia YarnArt, 100% cotton yarn (50 gram=169 meters) was used to crochet this hat using hook #2.
Start crocheting chain 6 (ch), close it with slip stitch (sl st) in the first loop.
Row #1: ch3, then 11 double crocheting (dc) in the center and finish the circle with sl st in the 3rd loop.
Row #2: ch 3, 1 dc in the same place where ch 3, continue crocheting by making 2 dc in each loop till the end of the circle, finish with sl st.
Row #3: ch 3, ch1, 1 dc in the next loop, * ch1, 1 dc in the next loop, repeat from * till the end of the row and finish with sl st.
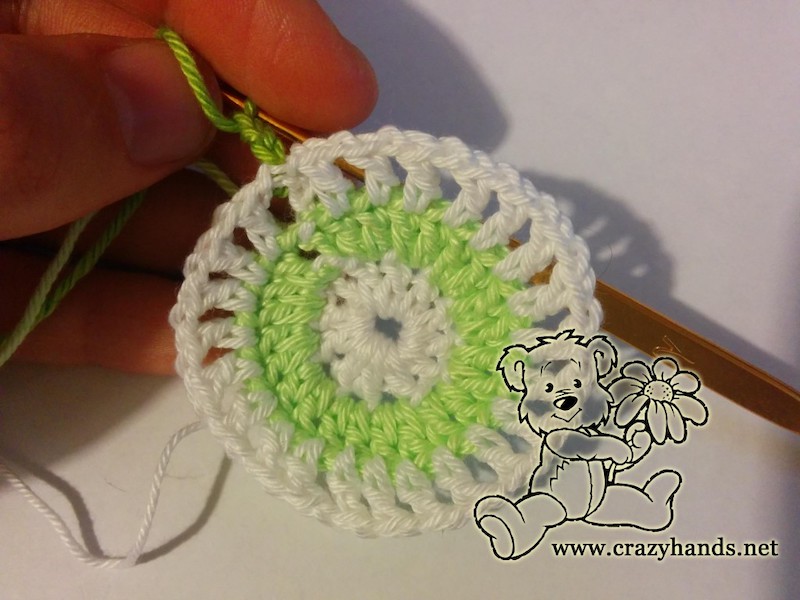
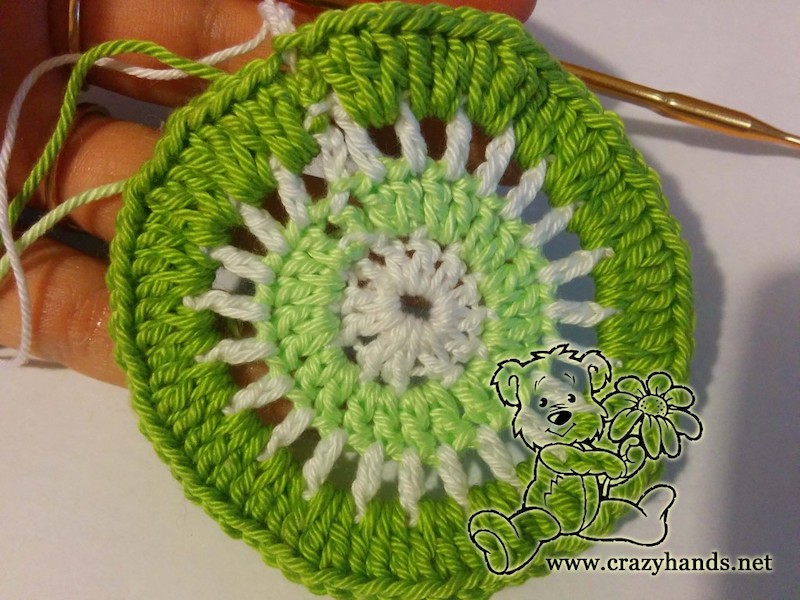
Row #4: ch 3, 2 dc in the ch1 of previous row, *3 dc in the next ch1 of the previous row, repeat from * till the end of the row and finish with sl st.
Row #5: ch3, ch1, skip the next loop, dc, ch1, *skip the next loop, dc, ch1, repeat from the * till the end of the circle and slip stitch with the 3rd ch.
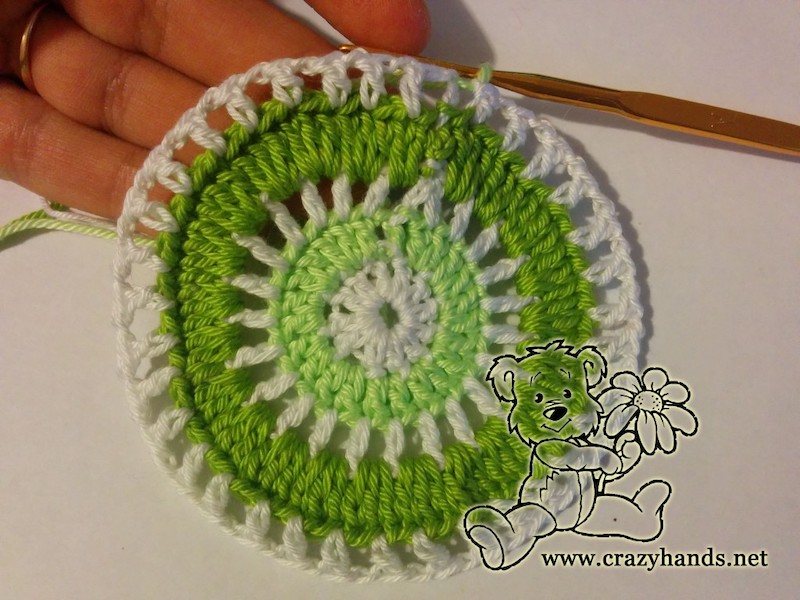
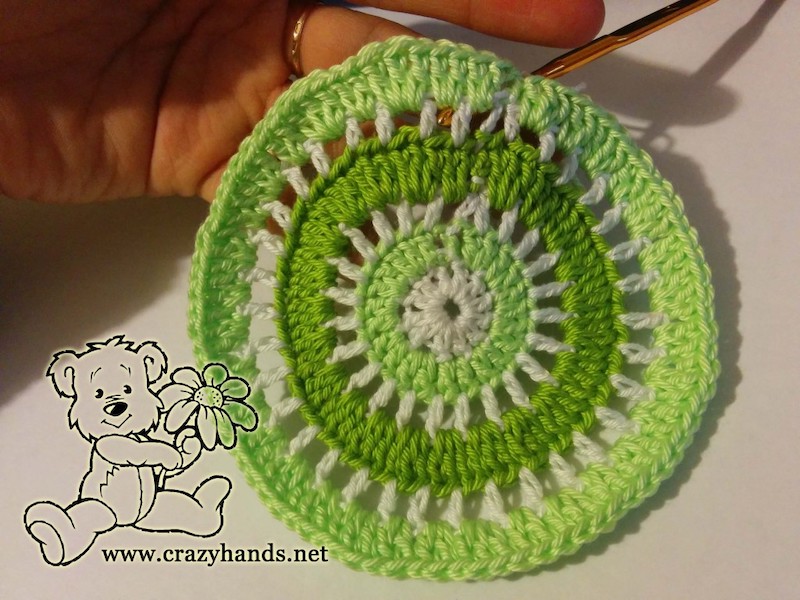
From this moment onwards you can crochet the cap with 2 different ways. The first way is to repeat row #4 and #5 until you reach desired depth of the cap.
The second way is below:
Row #6: ch3, 2 dc in the ch1 of the previous row, *2 dc in the ch1 of the previous row, 3 dc in the ch1 of the previous row, repeat from * till the end of the circle and finish with sl st.
Row #7: crochet in the same way as row #5.
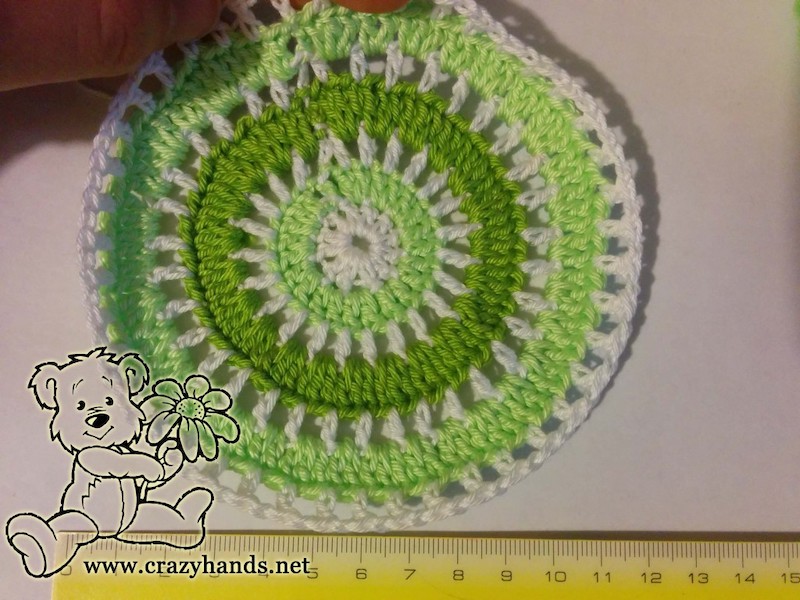
Row #8: ch3, 2 dc in the ch1 of the previous row, 2 dc in the ch1 of previous row, 2 dc in the ch1, *3 dc in the ch1, 2 dc in the ch1, 2 dc in the ch1, repeat from * till the end of the row, sl st.
Row #9: crochet in the same way as row #5.
Row #10: ch3, 1 dc in the ch1 of the previous row, *2 dc in the ch1, repeat from * till the end of the circle and connect.
Row #11: crochet in the same way as row #5.
Repeat row #10 and 11 until you reach desired depth of the cap. In this case it’s around 17-17,5 cm. (without 5 last rows of sc across). The cap is crocheted with a bottom of 14,5-15 cm. How to make proper calculation of the size of the cap you can check crochet baby flower hat pattern
Finish crocheting the cap with 5 rows of single crochet (sc).
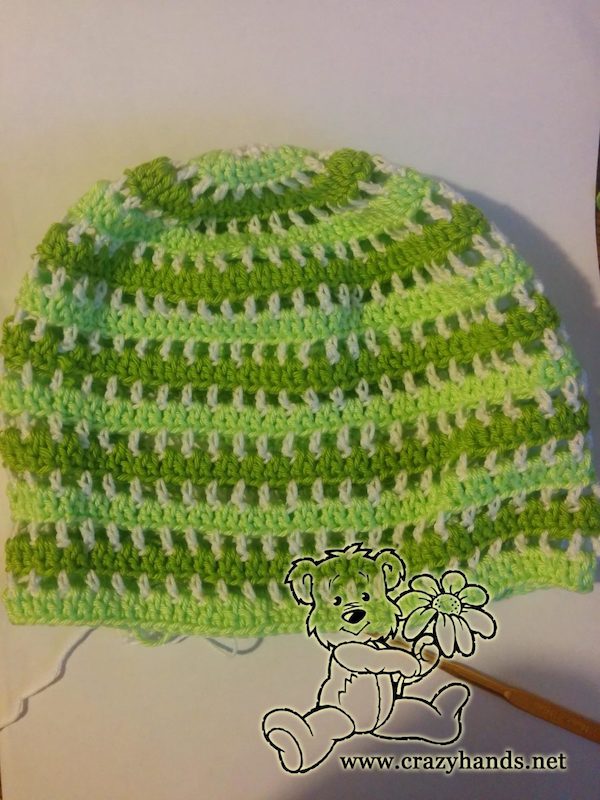
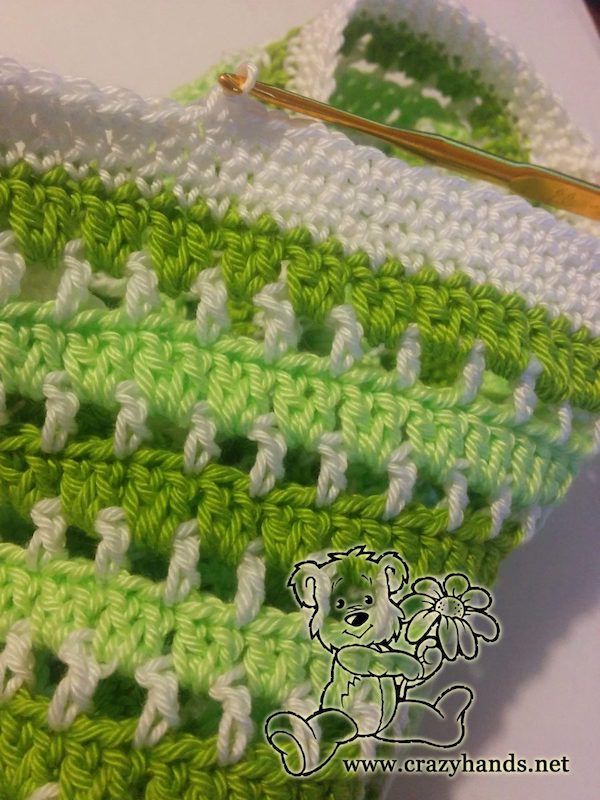
Remember to change the yarn color while you crochet. All odd rows are crocheted with same color; all even rows are done in the way you want it to be done. You can even make a super bright rainbow hat. The decoration of baby boy hat you can find in my next post – crochet helicopter appliqué pattern.

