
Contents
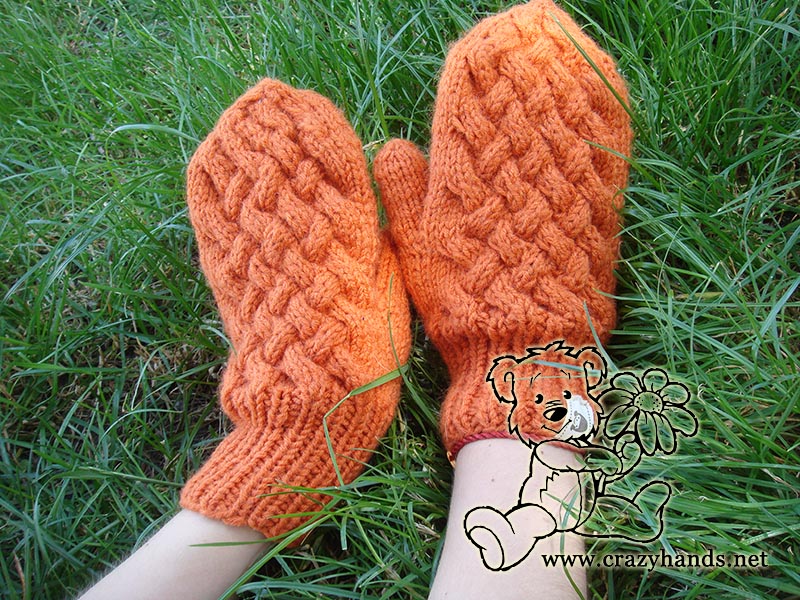
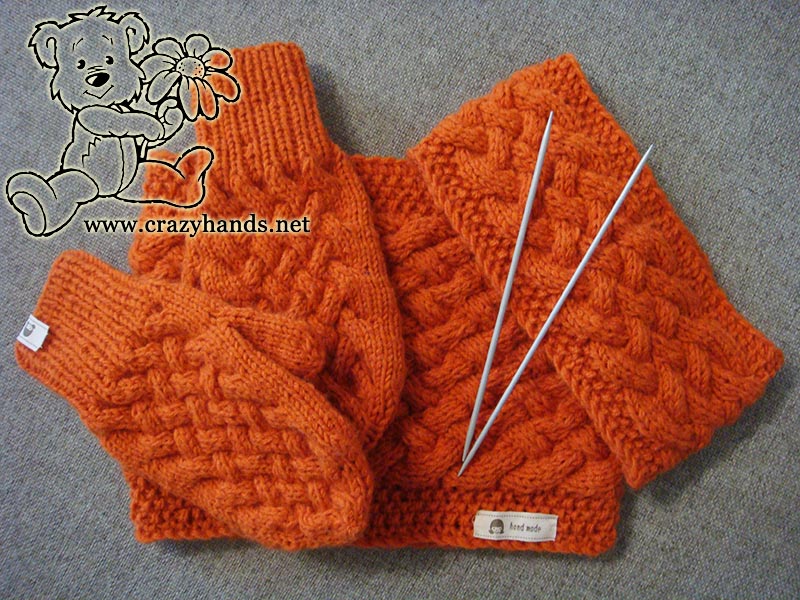
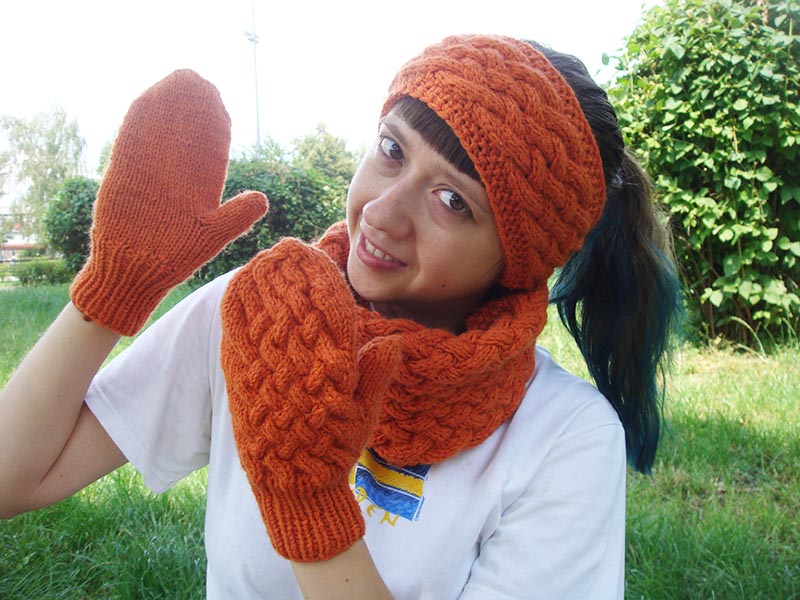
In order to finish a wicker knitting set I have decided to create chunky cable knit mittens. So now you will have a headband, a cowl and mittens – all knitted using the same cables pattern and yarn color. Knit the set and you will be fully equipped with warm handmade garments to meet your next winter. I wish you to enjoy both – the process of knitting and the end-result. Wear your mittens proudly or gift them to your loved one!
Knitting materials and knitting tools:
<> 5 Double Pointed Knitting Needles 2.5 mm (US 2);
<> Bonito Lanoso chunky yarn: 49% wool, 51% acrylic. Orange color: 100 grams -300 m per skein (used in total less than 1 skein);
Size of the chunky cable mittens:
Wrist size 16-17 сm
Gauge: 18 stitches = 4 inches
Common abbreviations of knitting stitches:
k – knit
p – purl
k2tog – knit two together
Cable 3 Back (C3B): Slip 3 knit stitches to the extra needle and hold in back of work, 3k from the left hand needle, 3k from the extra needle.
Cable 3 Front (C3F): Slip 3 knit stitches to the extra needle and hold in front of work, 3k from the left hand needle, 3k from the extra needle.
Note for knitters:
<> The left mitten is identical to the right one until you reach the thumb gusset.
<> Knit in two strands of yarn
Super chunky cable knit mittens pattern
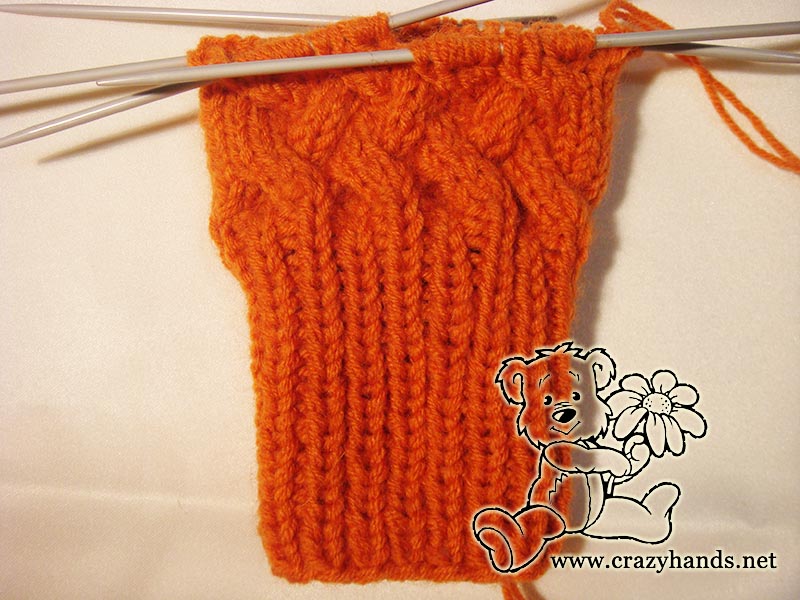
Knitting the cuff of cable mitten:
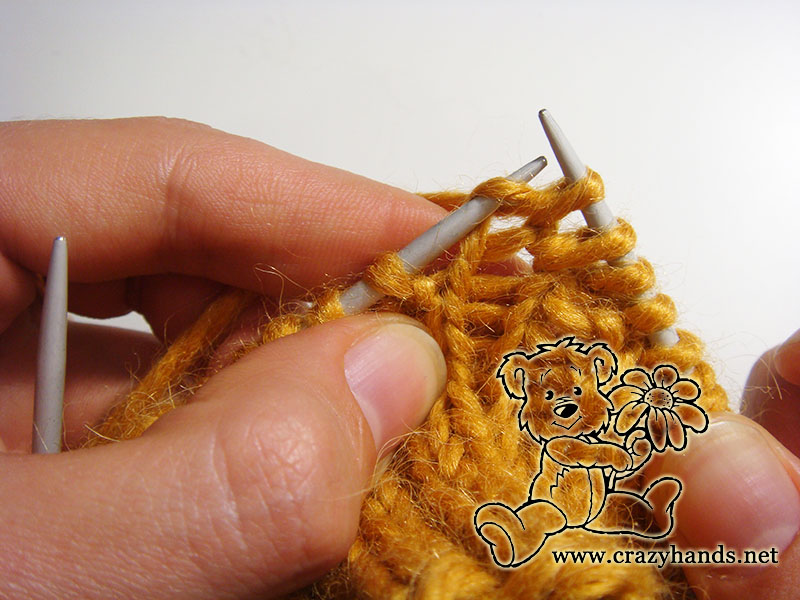
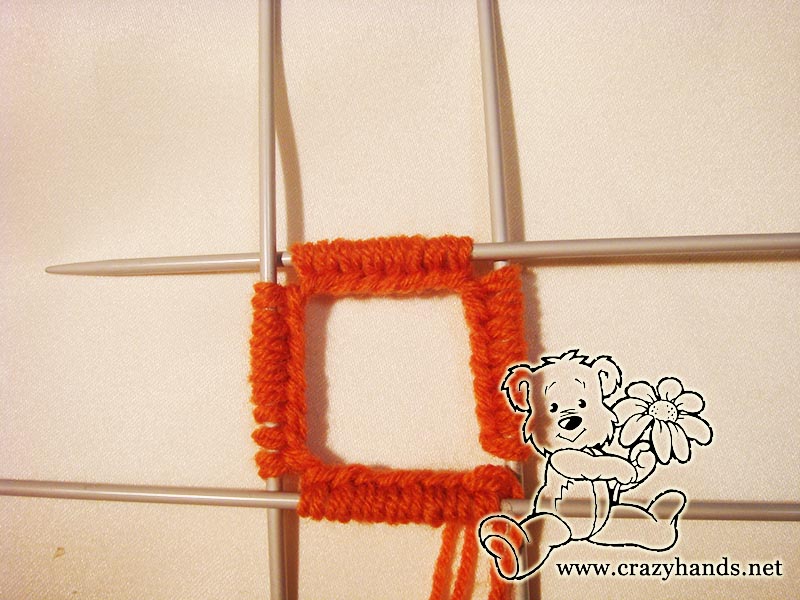
Cast on 32 stitches on DPN’s. (I have used long tail cast on). Redistribute evenly – 8 stitches each needle. Now join to knit in round.
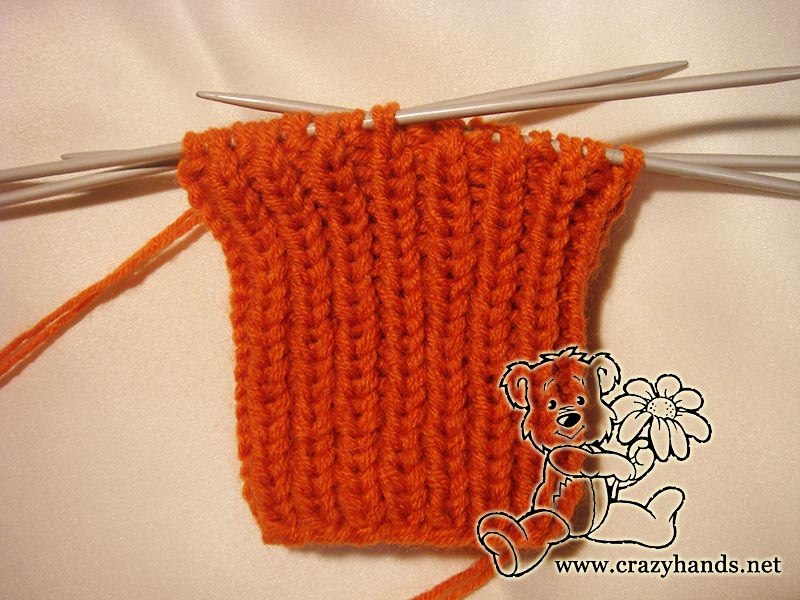
Round 1: Begin with rib 1 by 1 *knit 1, purl 1* keep repeating 19-20 rounds until ribbing measures 7 cm from the edge.
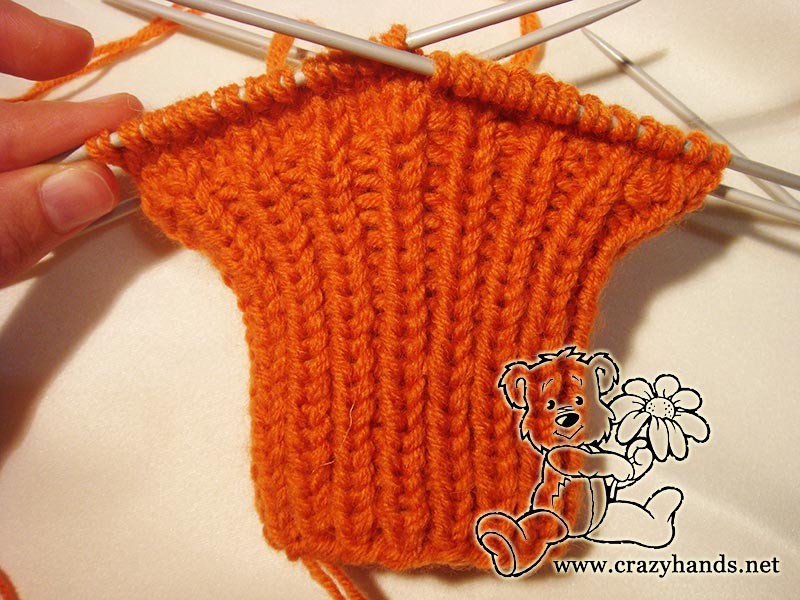
Round of increase: In this round we are going to increase. I would like to use method that I like the most – *knit one stitch from the previous round, p – repeat from * around.
Now you have 48 stitches on your needles.
Main part of the cable mitten:
Row 1: knit in stockinette stitch.
Row 2: knit in stockinette stitch.
Row 3: [C3F] – 4 times, 24k.
Row 4: knit in stockinette stitch.
Row 5: knit in stockinette stitch.
Row 6: knit in stockinette stitch.
Row 7: 3k, [C3B] – 3 times, 27k.
Row 8: knit in stockinette stitch.
Repeat Rows 1-2.
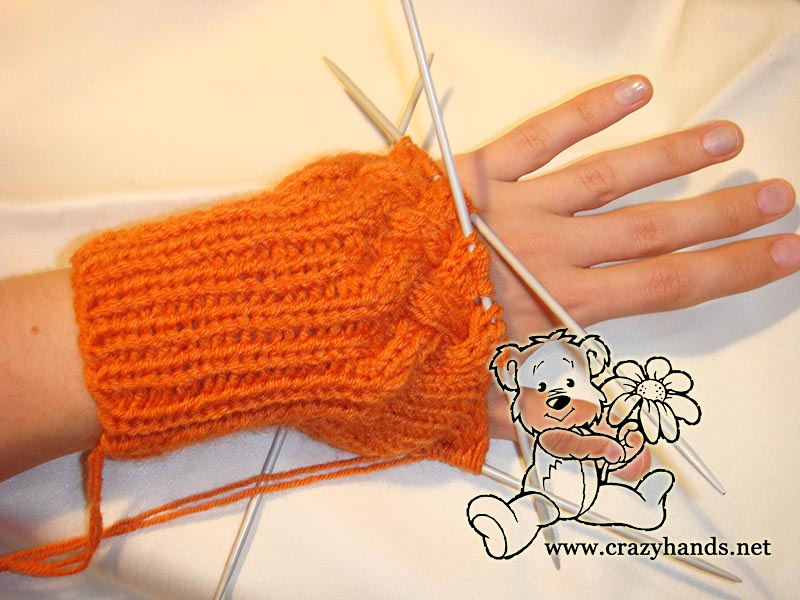
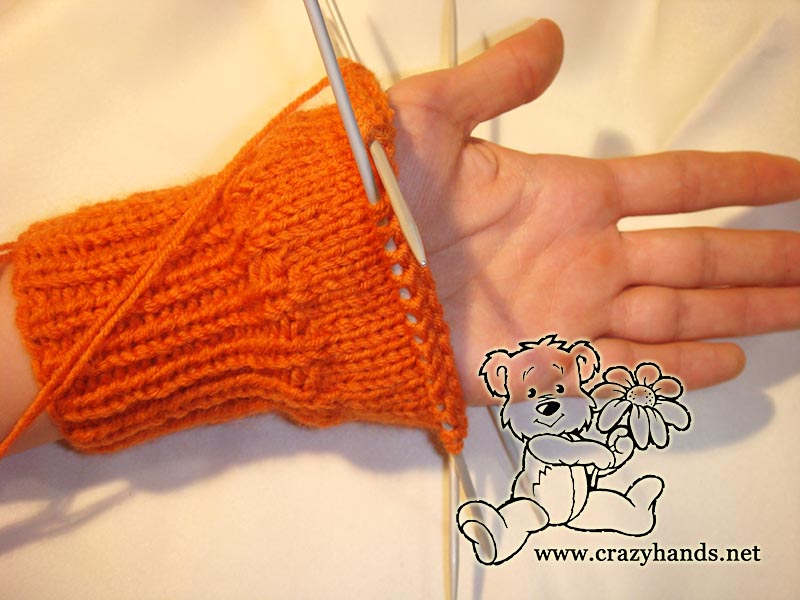
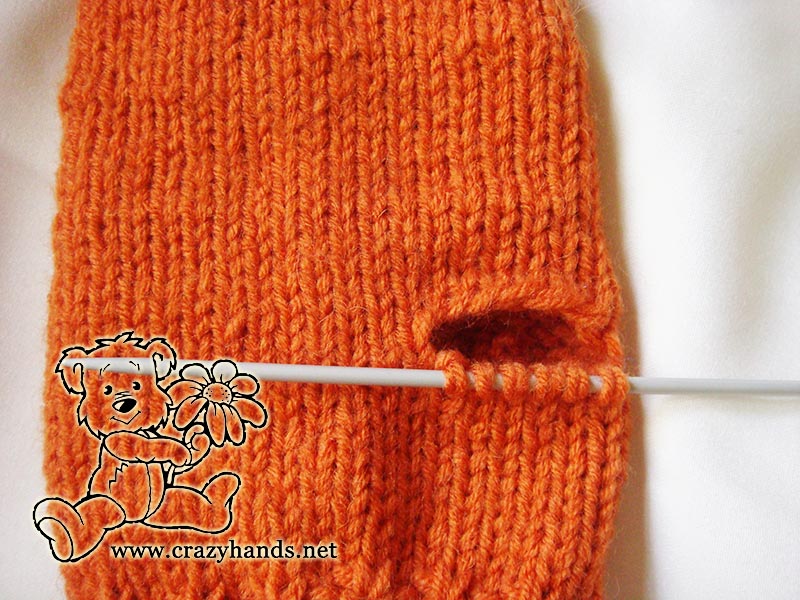
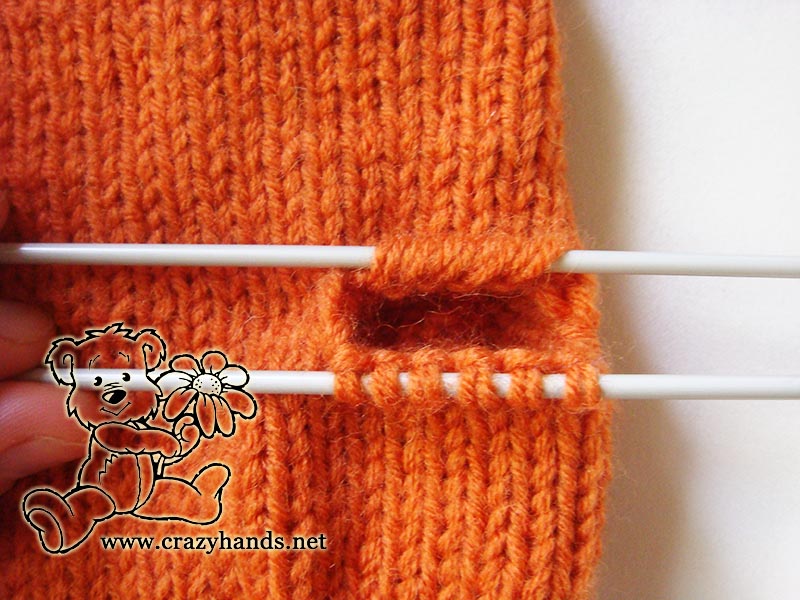
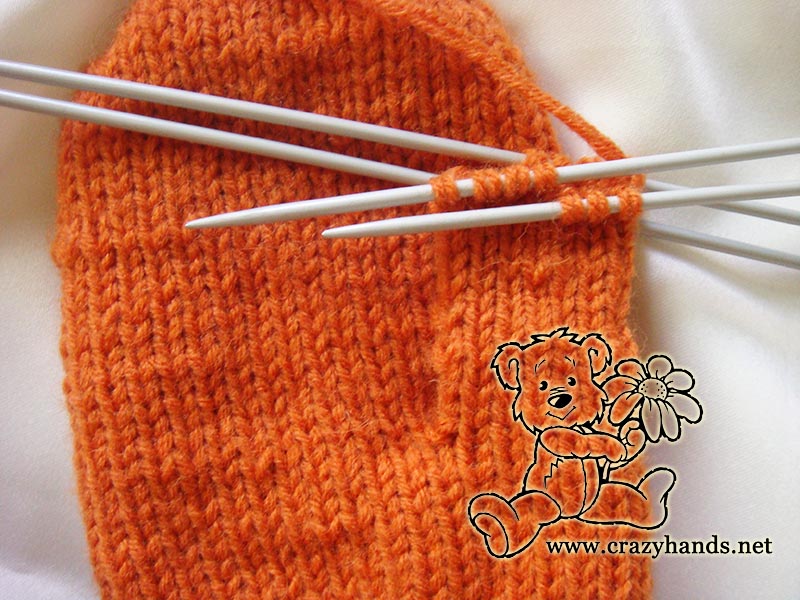
How to knit thumb gusset of cable mitten:
For the right mitten – Row 3: [C3F] – 4 times, 2k, slip 6 stitches to the extra needles (onto waste yarn), now cast on new 6 stitches, 16k.
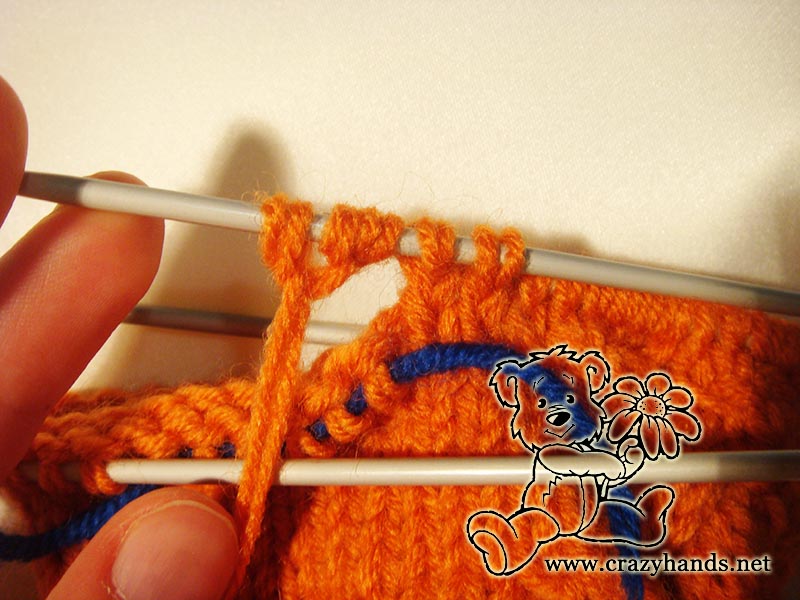
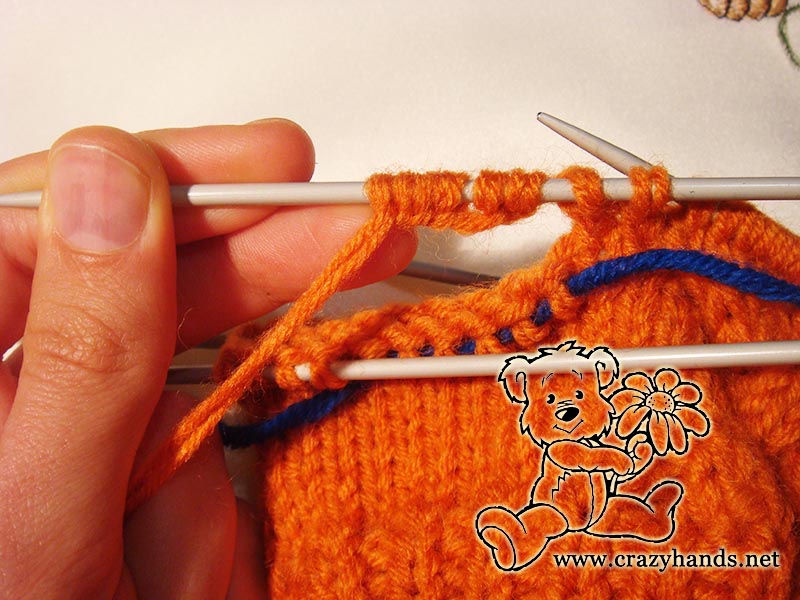
For the left mitten – Row 3: [C3F] – 4 times, 16k, slip 6 stitches to the extra needles (onto waste yarn), now cast on new 6 stitches, 2k.
Repeat Rows 4-8.
Repeat Rows 1-8 – 2 more time.
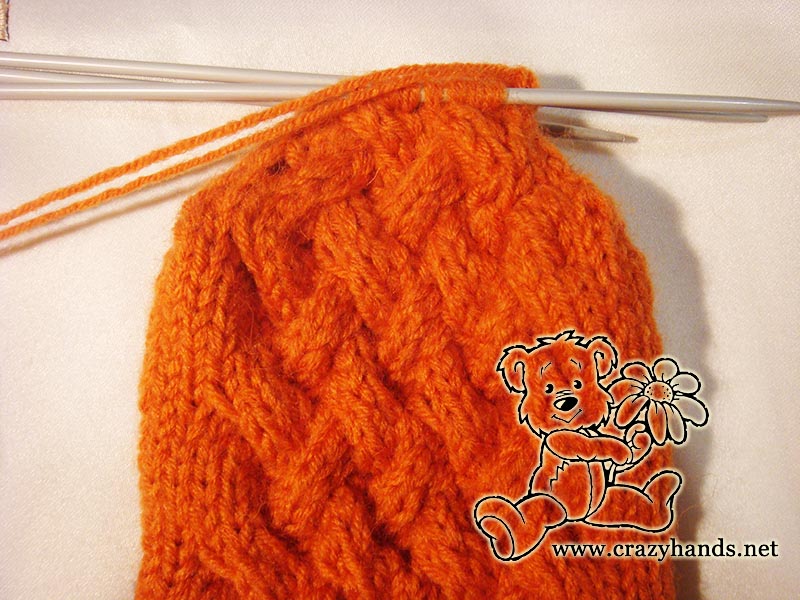
Shaping the top of cable mitten:
Repeat Rows 1-2.
Row 3:
1st needle: Slip 3 knit stitches to the extra needle and hold in front of work, 1k, k2tog from the left hand needle, 3k from the extra needle, C3F;
2d needle: C3F, Slip 3 knit stitches to the extra needle and hold in front of work, 1k, k2tog from the left hand needle, 3k from the extra needle;
3d needle: 1k, k2tog, 9k;
4th needle: 9k. k2tog, 1k.
Row 4:
1st needle: 1k, k2tog, 8 k;
2d needle: 8k, k2tog, 1k;
3d needle: 1k, k2tog, 8 k;
4th needle: 8k, k2tog, 1k.
Row 5:
1st needle: 1k, k2tog, 7 k;
2d needle: 7k, k2tog, 1k;
3d needle: 1k, k2tog, 7 k;
4th needle: 7k, k2tog, 1k.
Row 6:
1st needle: 1k, k2tog, 6k;
2d needle: 6k, k2tog, 1k;
3d needle: 1k, k2tog, 6k;
4th needle: 6k, k2tog, 1k.
Row:7
1-2 needles: Slip 2 knit stitches to the extra needle and hold in back of work, 3k from the left hand needle, k2tog from the extra needle, C3B, slip 2 knit stitches to the extra needle and hold in back of work, 3k from the left hand needle, k2tog from the extra needle;
3d needle: 1k, k2tog, 5k;
4th needle: 5k, k2tog, 1k.
Row 8:
1st needle: 1k, k2tog, 4 k;
2d needle: 4k, k2tog, 1k;
3d needle: 1k, k2tog, 4k;
4th needle: 4k, k2tog, 1k.
Row 9:
1st needle: 1k, k2tog, 3k;
2d needle: 3k, k2tog, 1k;
3d needle: 1k, k2tog, 3k;
4th needle: 3k, k2tog, 1k.
Row 10:
1st needle: 1k, k2tog, 2k;
2d needle: 2k, k2tog, 1k;
3d needle: 1k, k2tog, 2k;
4th needle: 2k, k2tog, 1k.
Row 11:
1-2 needles: Slip 2 knit stitches to the extra needle and hold in front of work, k2tog from the left hand needle, 2k from the extra needle – repeat one more time;
3d needle: 1k, k2tog, 1k;
4th needle: 1k. k2tog, 1k.
Continue decreasing until you have 4 stitches on your needles. Thread through remaining stitches, pull tightly and knot.
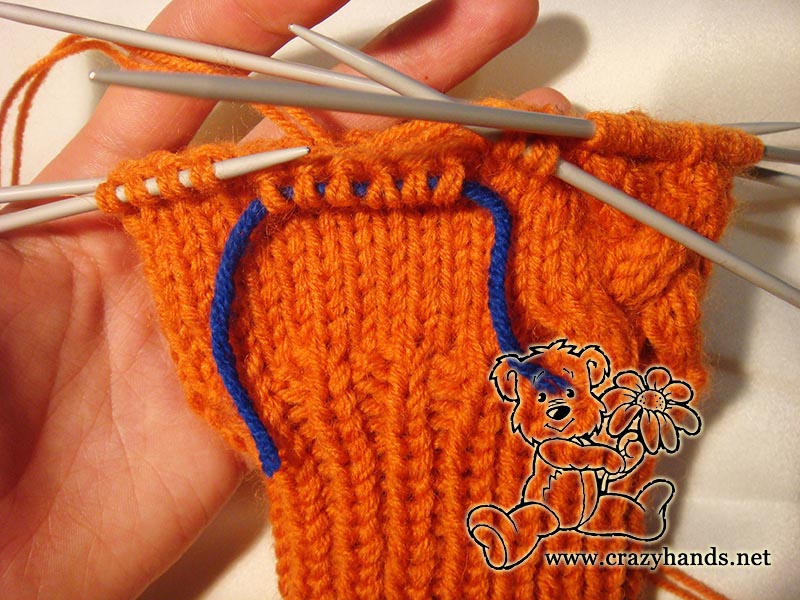
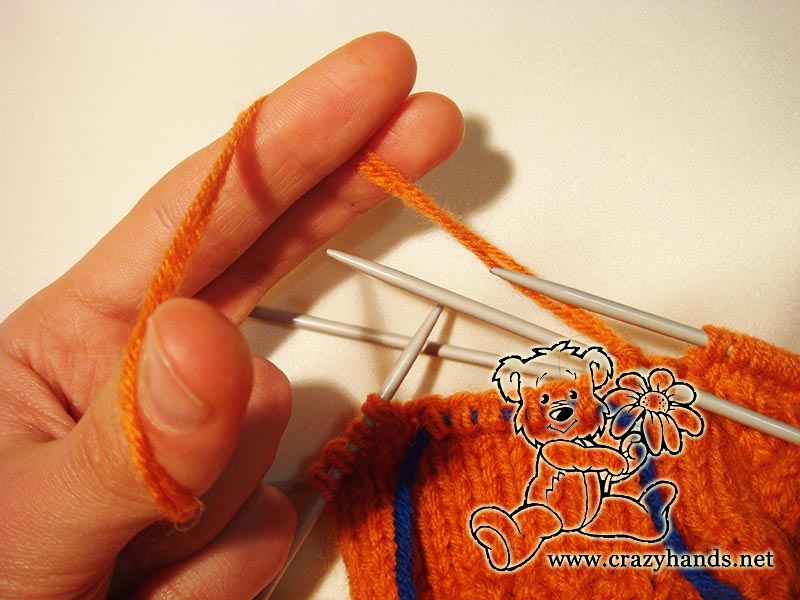
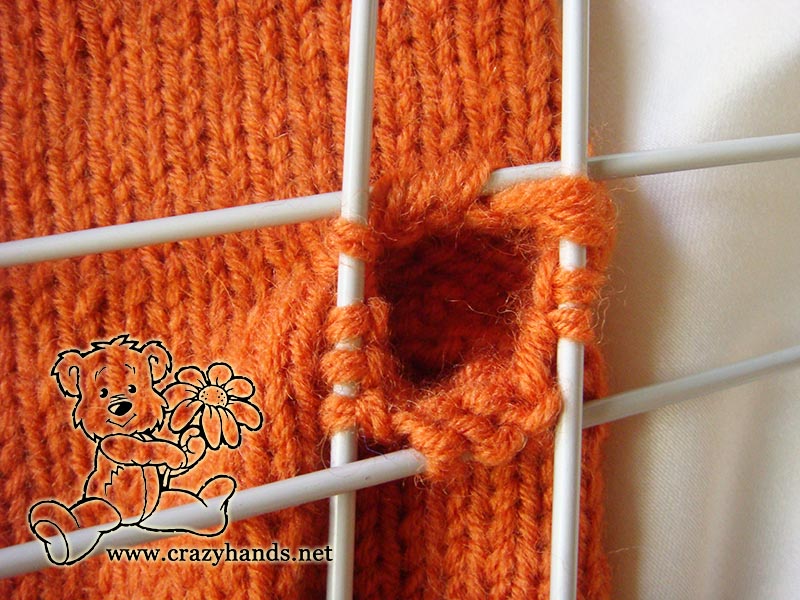
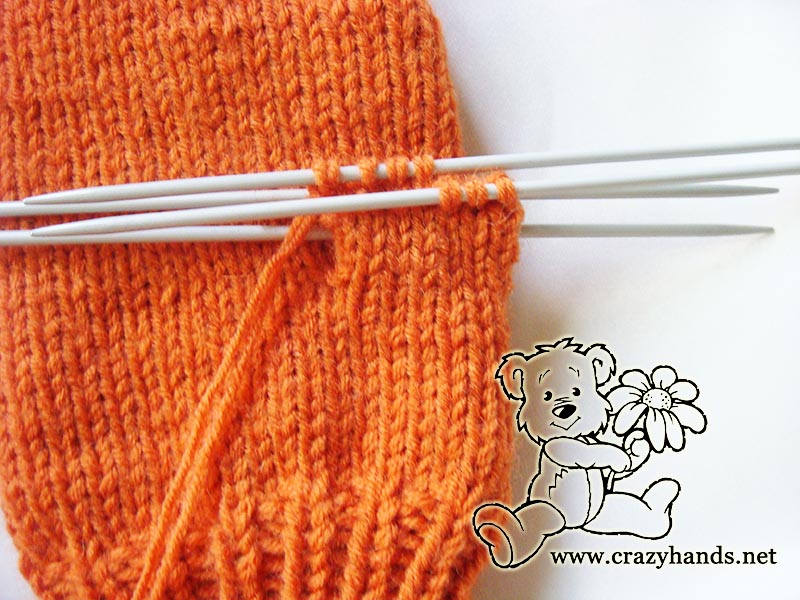
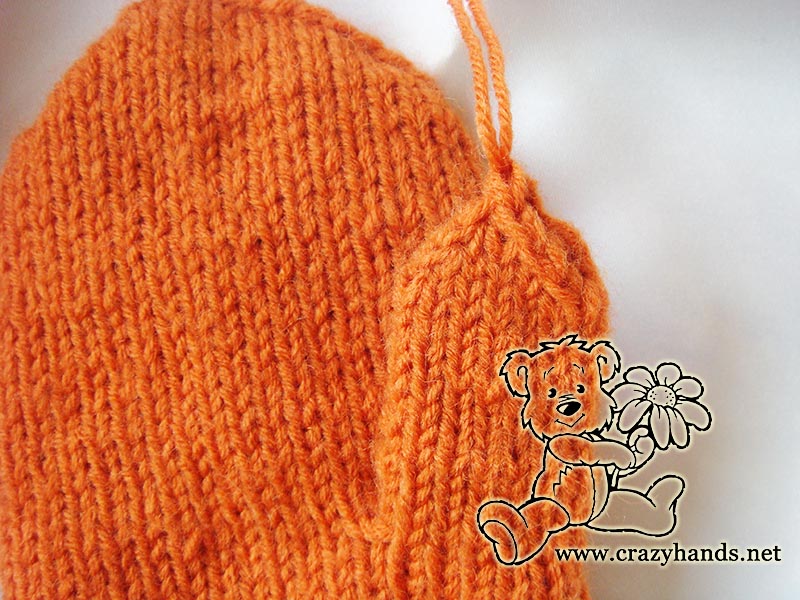
How to knit gusset section of cable mitten:
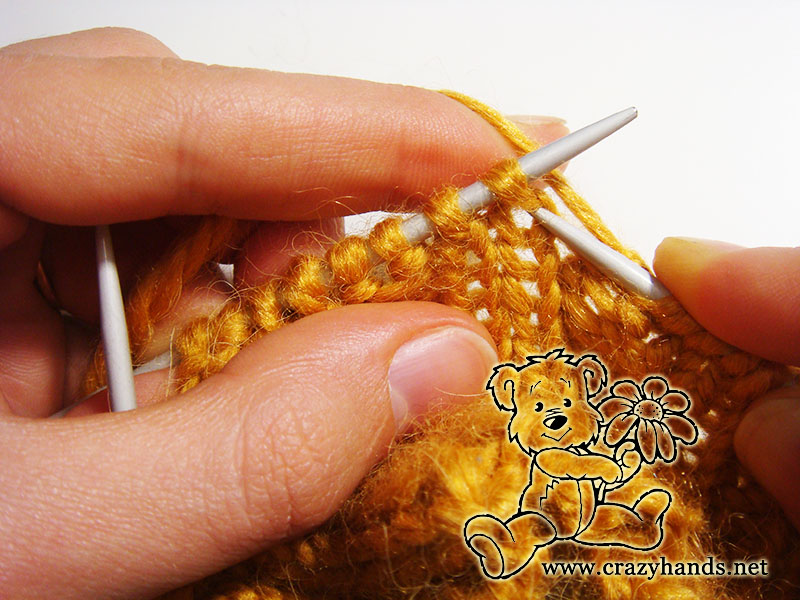
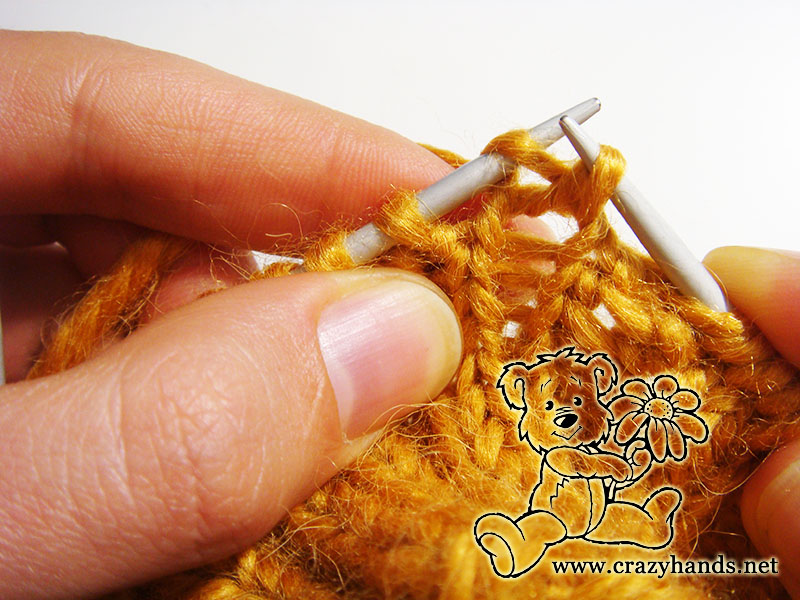
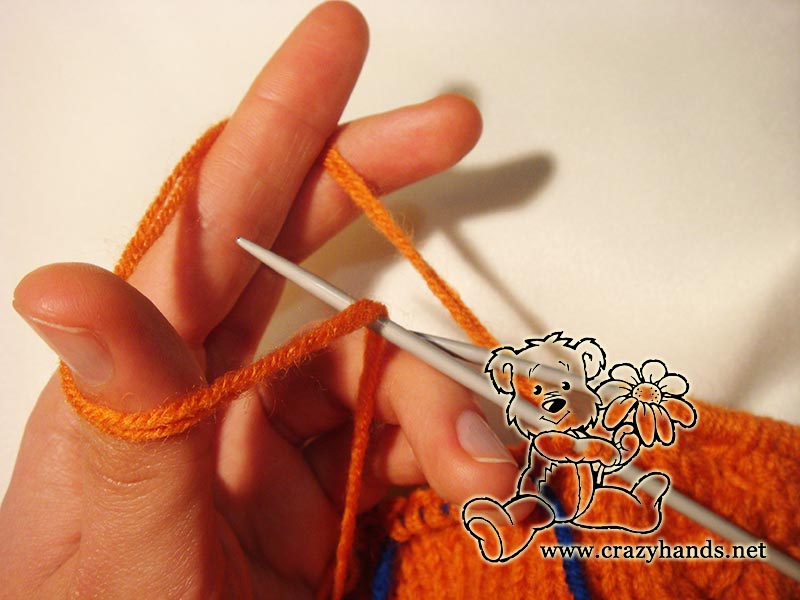
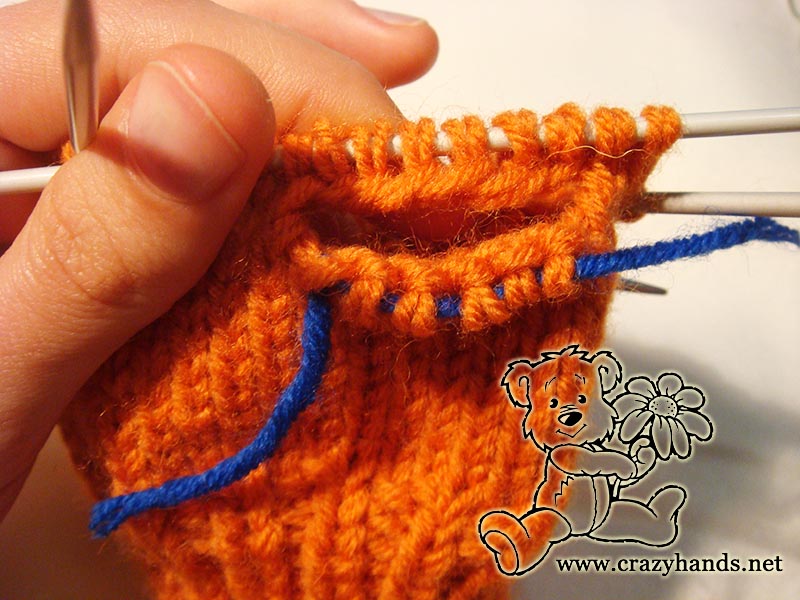
Place 6 sts from the waste yarn onto 1st double pointed needle. Using the 2nd one, pick up 6 stitches up.
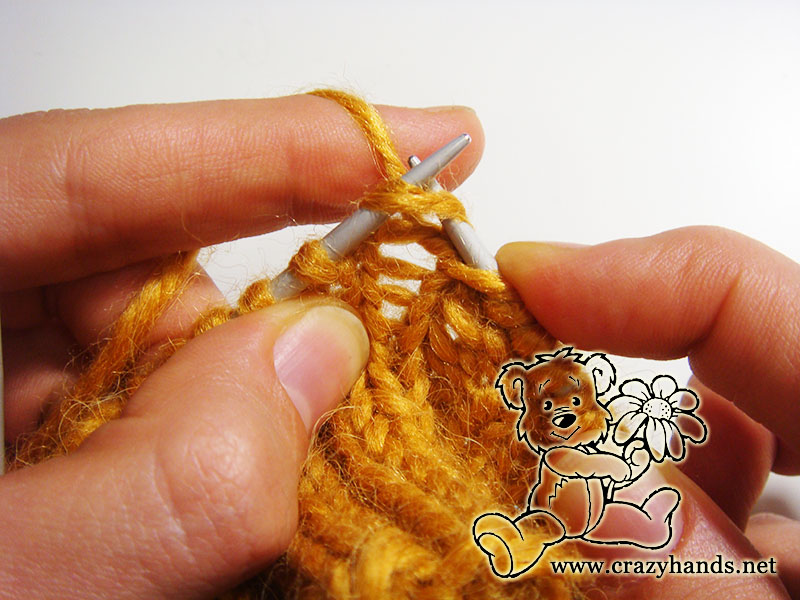
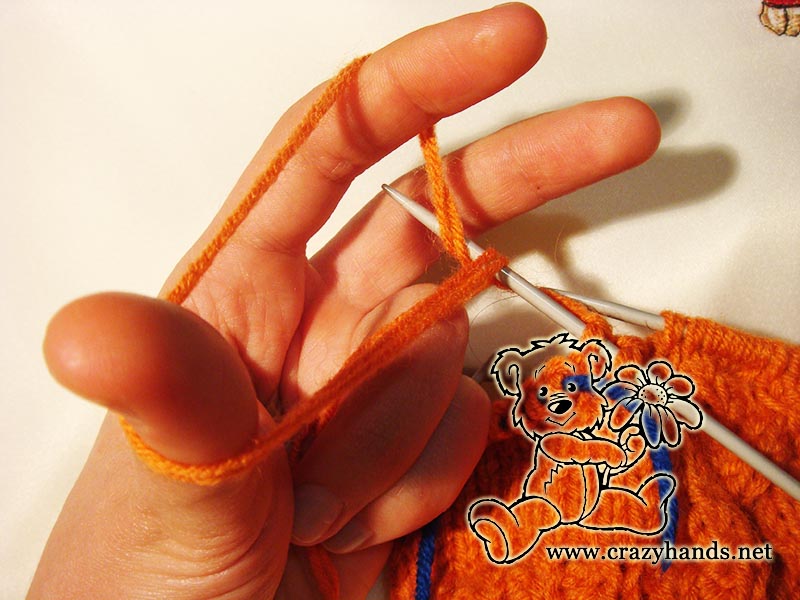
Pick up 2 stitches from the both sides (using 3rd and 4th dpn). In order to avoid holes while picking (2 stitches from the right and 2 stitches from the left) try to twist them.
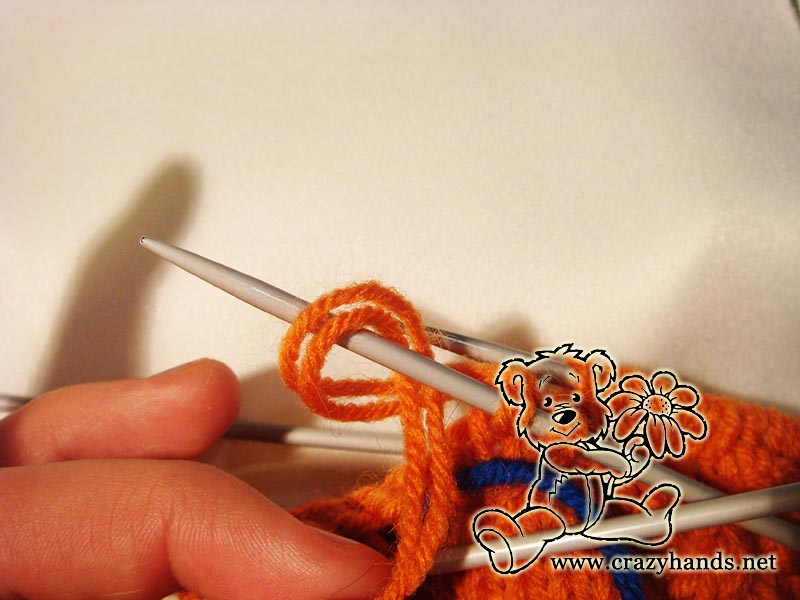
Redistribute stitches – 4 stitches each needle. Knit in stockinette stitch until desired thumb’s length.
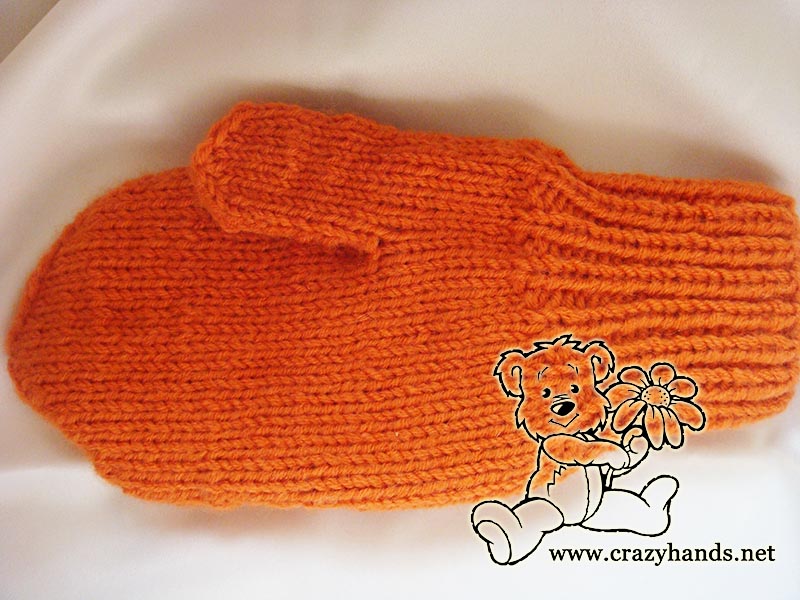
Decreasing:
1st needle: 1k, k2tog, 1k;
2d needle: 1k. k2tog, 1k.
3d needle: 1k, k2tog, 1k;
4th needle: 1k. k2tog, 1k.
Continue decreasing until you have 4 stitches on your needles. Thread through remaining stitches, pull tightly and knot.
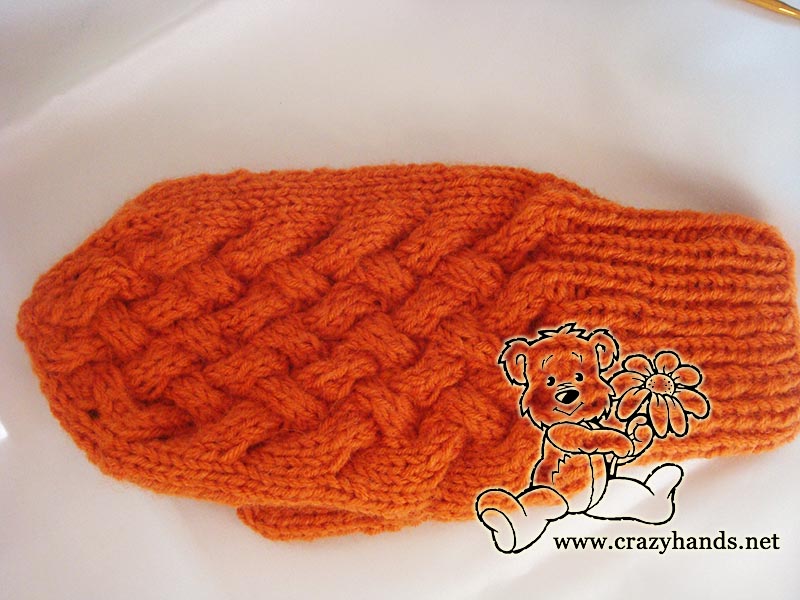
Repeat knitting pattern for the left mitten.
That’s it – chunky cable knit mittens are ready. Wear them with pleasure together with a cable cowl and a cable headband!
See you here next time or arrivederci in Italian!
Ann
26 comments
Great work I love it.
Can circular needles be used instead of pointed ones? If so….will the pattern be the same to follow? Tks
Hi, of course you can use circular needles. There will be no changes in the pattern. Good luck!
beautiful work. thank you for sharing
I have the wicker stitch pattern for the mittens but I’m looking for the head band pattern. Could you please let me know if you have it?
Thanks
hi, please check this link for the wicker stitch pattern headband https://crazyhands.net/cable-knit-cowl-and-ear-warmer-pattern/
Do you have instructions for a two year old?
Hi. No, I don’t. But I am thinking of another mitten pattern for kids.
please!!! that would be great
Any suggestions for making this a bigger size? For wrist size 18cm – 19cm?
Hi, just add 2-4 more stitches to a ribbing part. Main part will definitely suit you.
Thanks! I added some stitches to the rib part and it fits well but I’ll still need to add another repeat of the body! I’ve got man hands lol
For the mittens when you reach the cable part is row 1 knitted and then row 2 purled? I tried this and the result does not match the pattern of the headband
You knit mittens in the round so you knit all stitches around. There is no purl rows.
Loos good, may not try until fall. knitting a baby sweater right now- but don’t knit often in the summer.
Hi Donita. Try it and you will never regret 🙂
I’d like to make a swatch to check gauge as I am using a different sport weight yarn. How many stitches and rows in stockinette should I have in a 4 inch sample ?
Hi, Gauge: 18 stitches = 4 inches.
Loving your pattern, not sure I understand the increase after band for mittens. Thanks for your help😊
Hi Holly. Please check this video of how to increase from the previous round https://www.youtube.com/watch?v=KmpvHzvJPm4, I am sure you will not have any problems with these knit mittens
The picture looks like you are using two strands of yarn held together but I don’t see anything in the pattern saying that- is that right?
You are right. Added this info. Thank you!
Where did you get the yarn for this? Also is it a fingering weight yarn or a dk/sport?
Hi. It is sport yarn. I know it is hard to find the same yarn, just look for something else with similar weight.
Awesome. 2 strands of sport weight held together. Got it, can’t wait to try.
Good luck 🙂