Contents
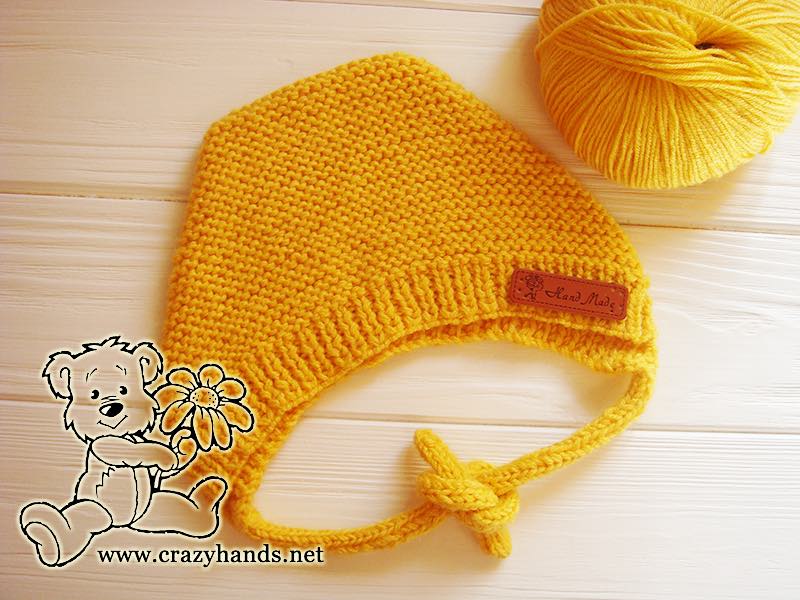
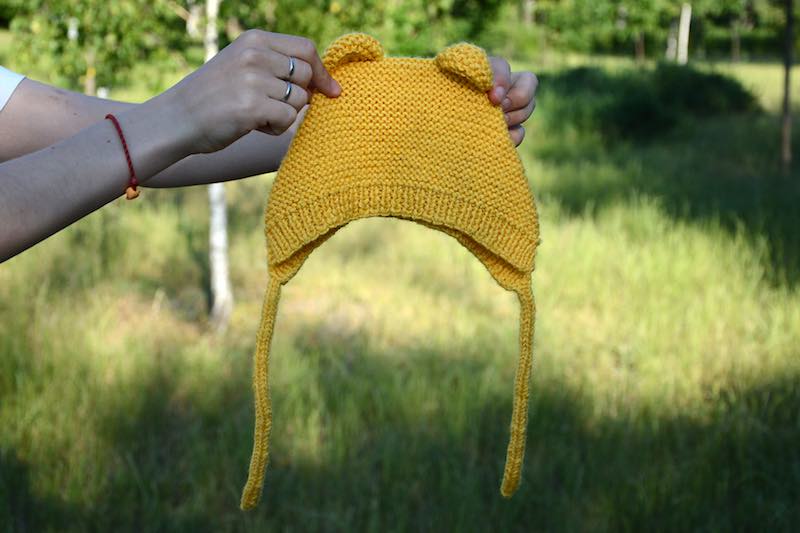
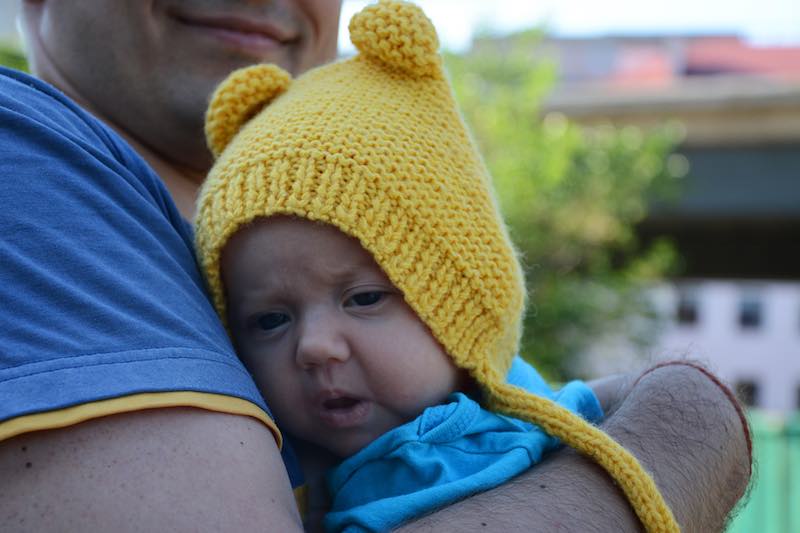
Early summer sometimes may surprise you with a strong and chilly breeze. Don’t let it keep you from having a walk with your little baby. Knit this nice teddy bear baby bonnet and have it in your nappy bag just in case. I’ve used it myself a couple of times and the baby seems to wear it without giving a soother or extra lulling. Give it a try and stay tuned for another baby knit project coming soon.
Knitting materials and knitting tools:
<> Knitting needles in size US 6/ UK 8 (4 mm) and US 4 (3.5 mm);
<> Alize baby wool – 40% wool, 40% acrylic, 20% bamboo. Yellow color: 50 grams = 175 m. (192 yds.) – 1 ball in total.
<> Stitch markers.
Teddy bear baby knit bonnet size:
Age: newborn-3 months.
Gauge: 22 stitches = 4 inches in stockinette
Note for knitters:
Knit with two strands of yarn at once
Common abbreviations of knitting stitches:
k – knit
pm – place marker
p2tog –purl two together
k2tog – knit two together
sel s – selvage stitch: always slip the first stitch purlwise, work to the last stitch, purl the last stitch.
Teddy bear knit bonnet pattern for newborn babies
Ribbing of the baby knit bonnet:
Using smaller knitting needles cast on 58 stitches.
Row 1-7: sel s, [k1, p1] – repeat till the end of the row, sel s, turn. (about 2.5 cm/1 inch)
Change to large needles. Work in garter stitch until piece measures 10 cm.
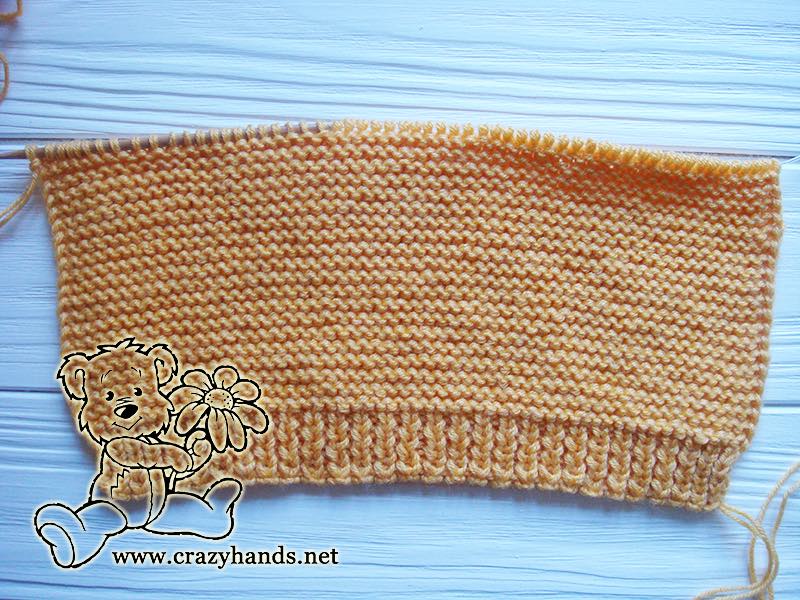
This measurement is approximate for the baby 0-3 months old. If you want to be precise, measure your baby’s head from the forehead till the crown. In my case I got 13 cm for my 2 months daughter.
You create garter stitch by knitting every row.
Shaping the crown of the baby knit bonnet:
Count 19 stitches from both sides and place markers. I am using the same method as for the sock’s heel. It means we are going to cast off side stitches.
Row 1: sel s, k37, k2tog (knit through the back loop), turn.
Row 2: sel s, k18, p2tog (purl through the front loop), turn.
Row 3: sel s, k2tog (knit through the back loop), k14, k2tog (knit through the front loop), k2tog (knit through the back loop), turn.
Row 4: sel s, k16, p2tog (purl through the front loop), turn.
Row 5: sel s, k16, k2tog, turn.
Row 6: sel s, k16, p2tog, turn.
Row 7: sel s, k16, k2tog, turn.
Row 8: sel s, k16, p2tog, turn.
Row 9: sel s, k16, k2tog, turn.
Row 10: sel s, k16, p2tog, turn.
Row 11: sel s, k2tog (knit through the back loop), k12, k2tog (knit through the front loop), k2tog (knit through the back loop), turn.
Row 12: sel s, k14, p2tog (purl through the front loop), turn.
Row 13: sel s, k14, k2tog, turn.
Row 14: sel s, k14, p2tog, turn.
Row 15: sel s, k14, k2tog, turn.
Row 16: sel s, k14, p2tog, turn.
Row 17: sel s, k14, k2tog, turn.
Row 18: sel s, k14, p2tog, turn.
Row 19: sel s, k2tog (knit through the back loop), k10, k2tog (knit through the front loop), k2tog (knit through the back loop), turn.
Row 20: sel s, k12, p2tog (purl through the front loop), turn.
Row 21: sel s, k12, k2tog, turn.
Row 22: sel s, k12, p2tog, turn.
Row 23: sel s, k12, k2tog, turn.
Row 24: sel s, k12, p2tog, turn.
Row 25: sel s, k12, k2tog, turn.
Row 26: sel s, k12, p2tog, turn.
Row 27: sel s, k2tog (knit through the back loop), k8, k2tog (knit through the front loop), k2tog (knit through the back loop), turn.
Row 28: sel s, k10, p2tog (purl through the front loop), turn.
Row 29: sel s, k10, k2tog, turn.
Row 30: sel s, k10, p2tog, turn.
Row 31: sel s, k10, k2tog, turn.
Row 32: sel s, k10, p2tog, turn.
Row 33: sel s, k10, k2tog, turn.
Row 34: sel s, k10, p2tog, turn.
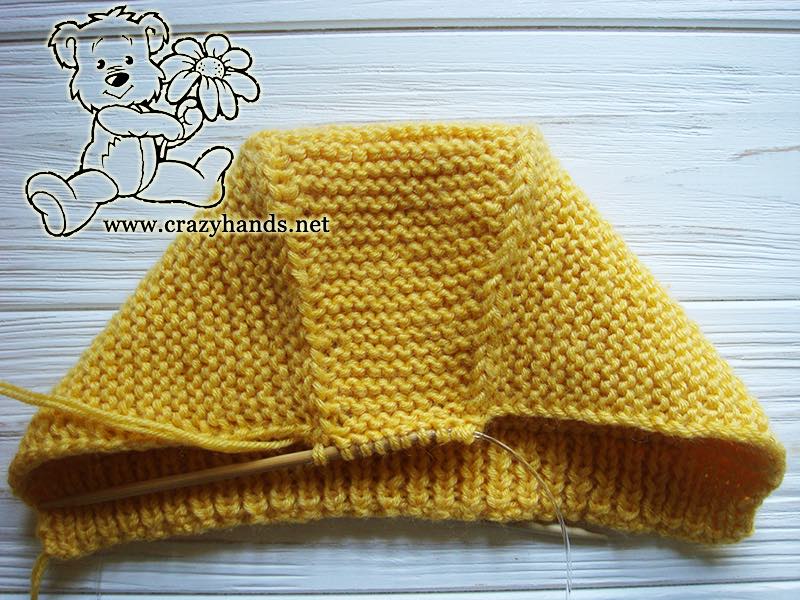
Row 35: sel s, k2tog (knit through the back loop), k6, k2tog (knit through the front loop), k2tog (knit through the back loop), turn.
Row 36: sel s, k8, p2tog (purl through the front loop), turn.
Row 37: sel s, k8, k2tog, turn.
Row 38: sel s, k8, p2tog, turn.
Now you have 10 stitches on the needles. Pick up stitches along the one edge, turn and rib k1, p1 till the starting point. Pick up stitches from the other side, turn and rib till the end.
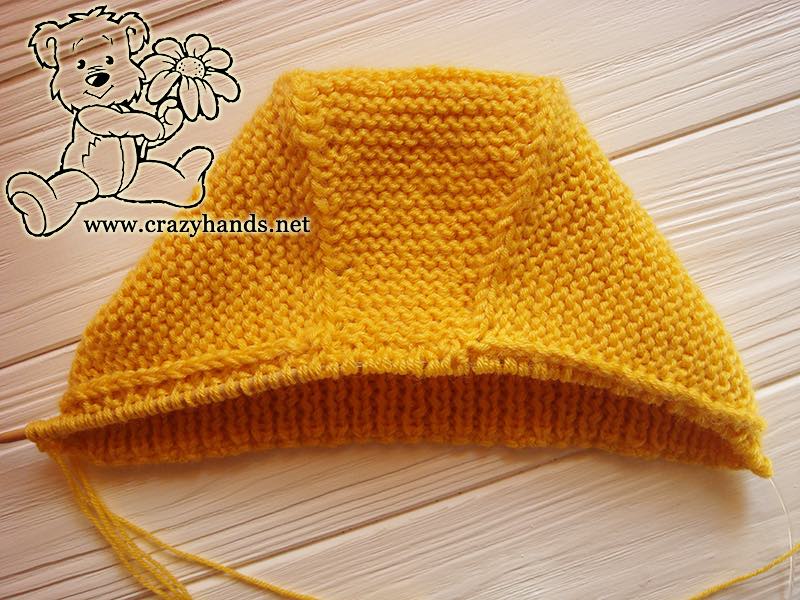
Pay attention that all seams have to be on the right side of the hat.
Rip k1, p1 until the back ribbing part will be longer the front one that will keep warm your baby’s neck.
Knitting ties of the baby bonnet
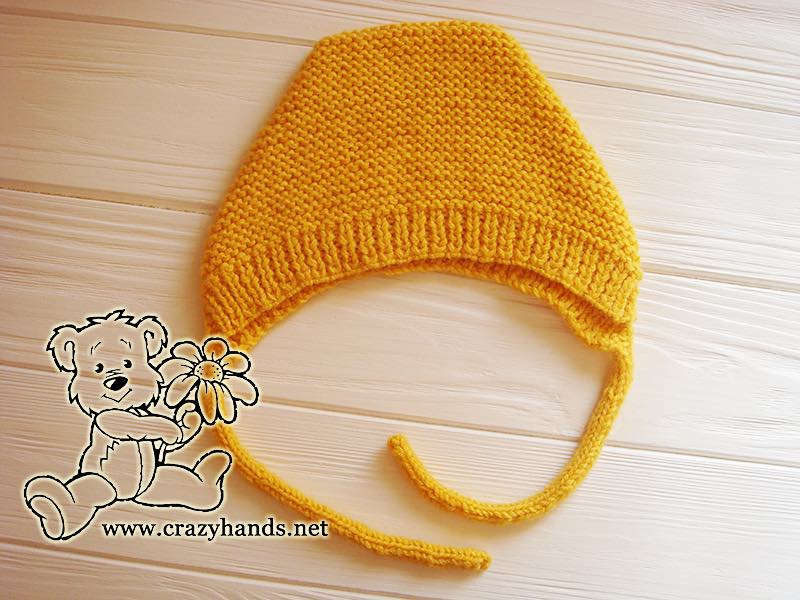
Using double pointed knitting needles pick up 4 or 5 stitches and knit an i-cord until tie reaches 20 cm (8 inches). Weave in ends.
Knitting ears of the teddy bear baby bonnet (optionally)
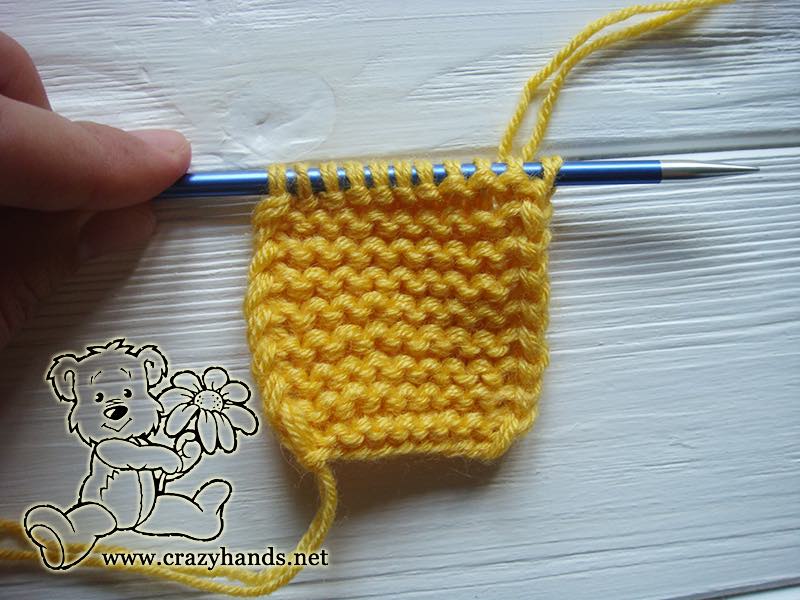
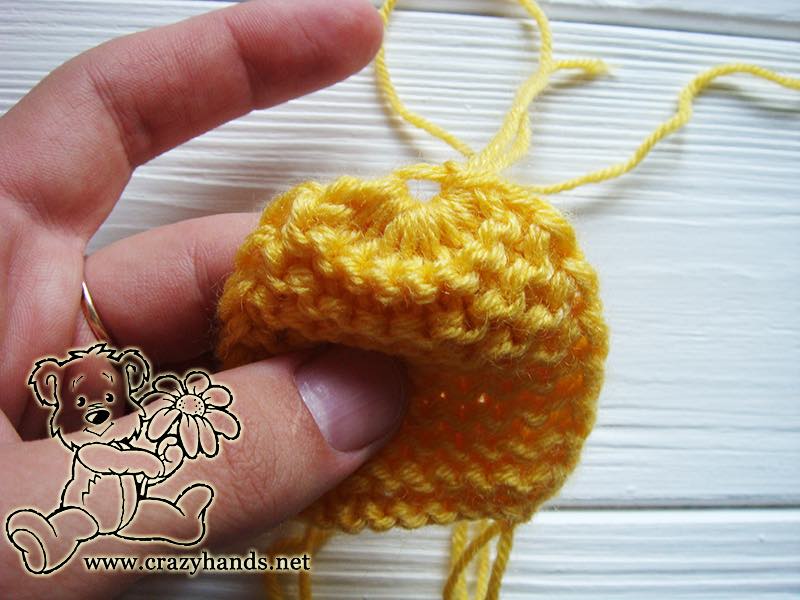
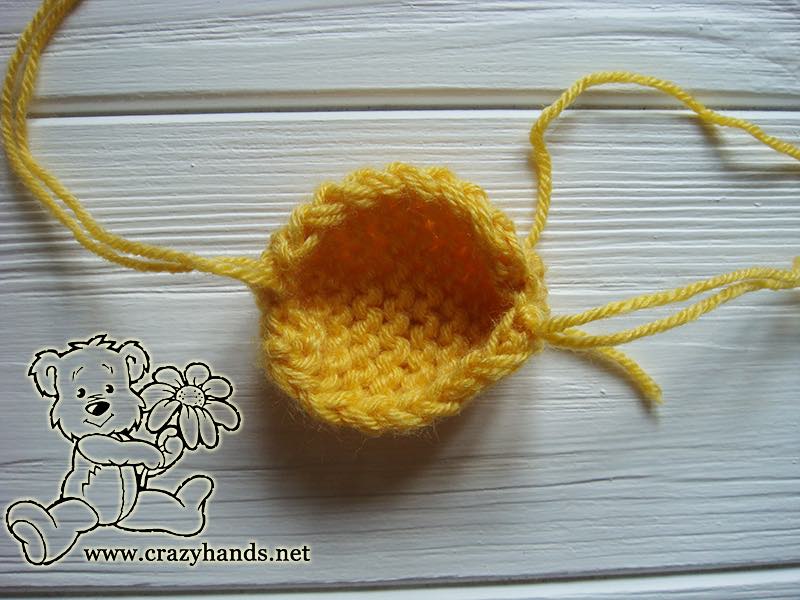
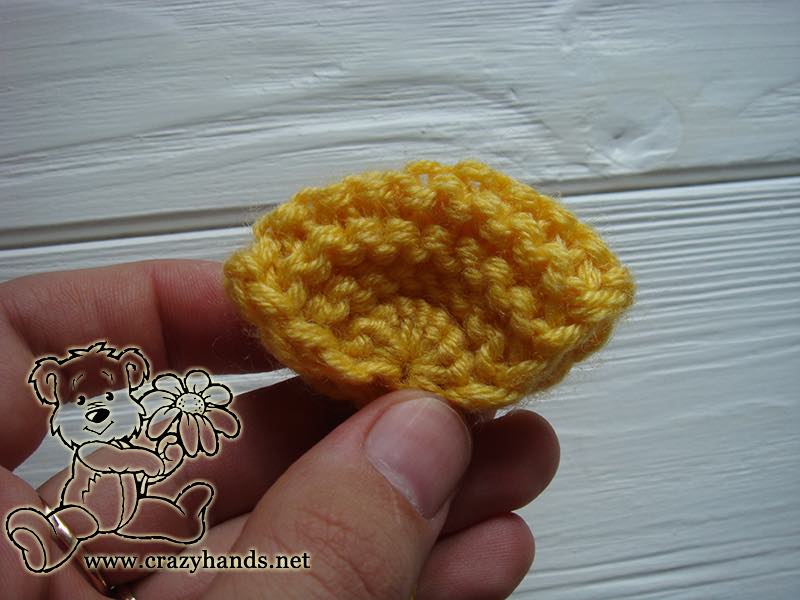
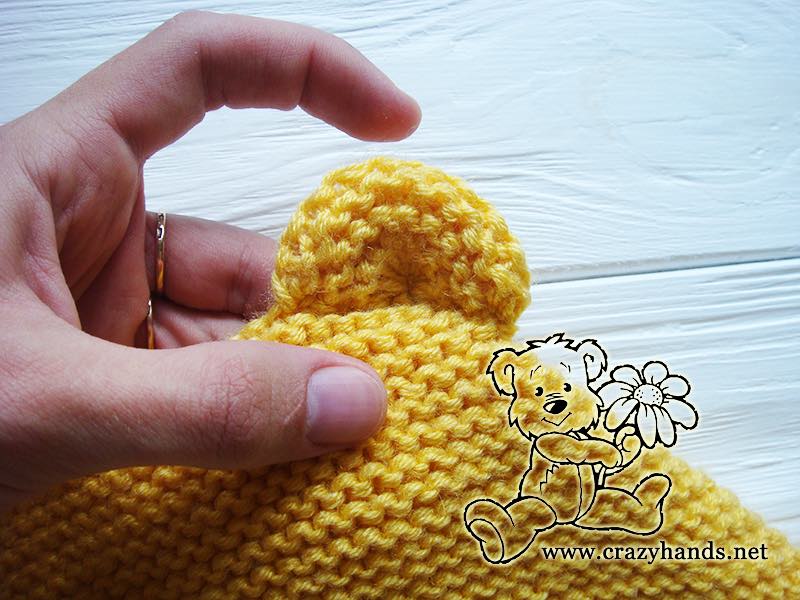
Cast on 11 stitches and knit all rows until work looks as a square. Using crochet hook pull yarn through the all stitches from both sides and tighten. Fold piece in the middles and shape bear’s ear. Make two. Find suitable place and sew it to the hat.
Let me know if you find any mistakes and please leave your comments and questions I will be happy to answer them.


12 comments
Thank you for this pattern. I’ve made it 3x already. Any chance you could include instructions for a bigger size? 3-6 months, 6-12 months. Etc.
Hi. Please check the comments above, I have already explained how to increase the size for 9-12 months. You can use the same tips for the smaller size, for example changing the yarn’s weight and decreasing the needles size.
I want to make this romper in a solid color. Do I need 6 – 100 gr. of yarn. Looking forward to hearing from you. Bunny
Hi. Plz knit small swatch and check your gauge.
There aren’t any comments above. This webpage only shows our comments. I don’t see where it explains how to increase
Here is my explanation for another lady – Regarding the pattern for one year old it will be easy to adjust if you know your gauge and have a baby romper. In case if you have the same gauge as me, cast on 44 sts for the leg and follow the pattern keeping in mind the length (make 8 increases if 6 is not enough). Same for the sleeve, cast on 44 sts. Otherwise you can knit the swatch, check your gauge and recalculate it.
Hi, I noticed that you use pictures with different heights on this page and your other pattern pages as well. As the picture changes, the text scrolls up and down. Have you thought about resizing the pictures or changing them so that they don’t automatically change? I tried to stop the element but couldn’t and tried creating a pdf file of the site so I could read it but it didn’t turn out good. I have problems focusing as it is and can’t use patterns when they move on their own. 🙁
Hi Mayu. I actually dont understand where is the problem. Do you open the pattern from laptop or cell phone, let me know it please.
I use firefox but I tried it with chrome also. So if you open the pattern and scroll down so that you’re below the picture that keeps changing, as the picture changes (one of them is taller than the other two) the site moves. When I’m on this commenting window, the text, your side panel (or that part that has categories and recent posts) and background move up and down. It doesn’t happen when you open the pattern? Try scrolling to the bottom of the page and wait.
Hi again,
I have checked everything from different computers and phones in different browsers. I dont see the problem you are talking about. Sorry that I can not help you here and thanks for your feedback.
If I have 58 stitches and takeb19 off each side where are the 37 stitches I continue with? Or do I knit through the markers?
Count 19 stitches from both sides and place markers. I am using the same method as for the sock’s heel. It means we are going to cast off side stitches.
Row 1: sel s, k37, k2tog (knit through the back loop), turn.
Hi, You are going to knit through the markers.