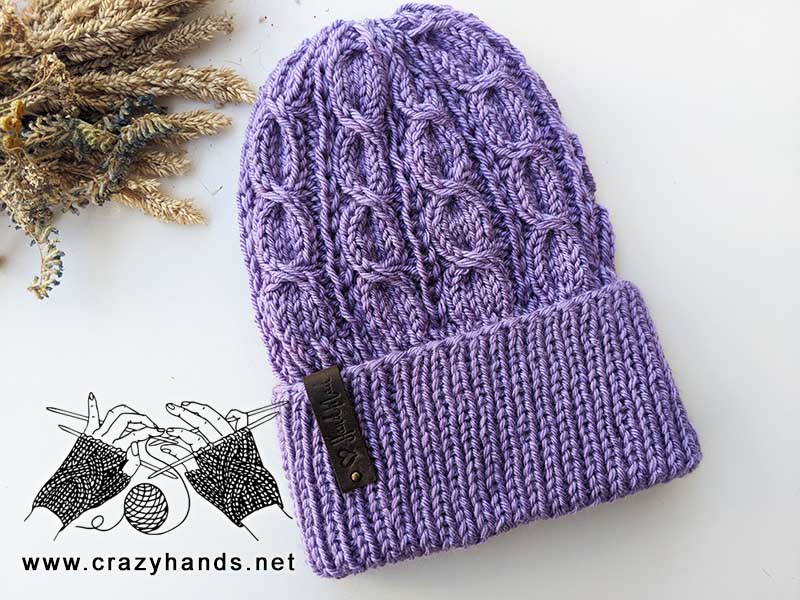
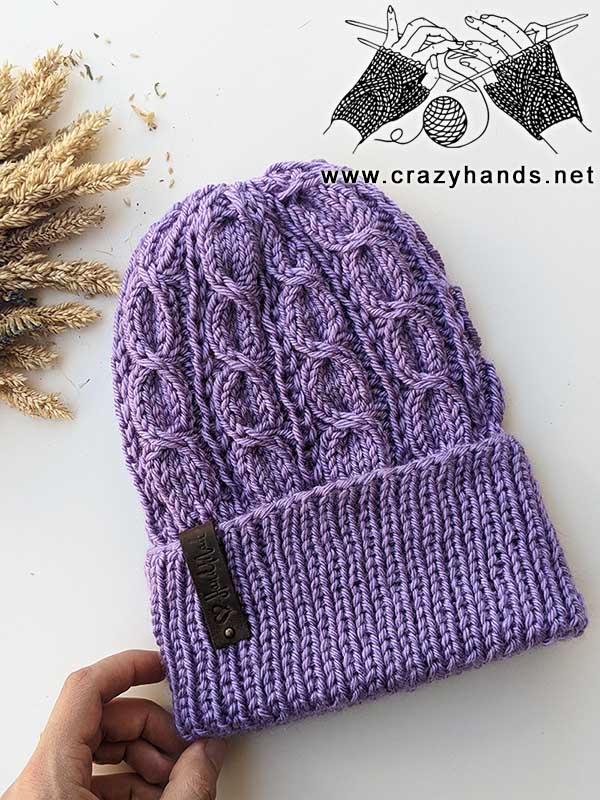
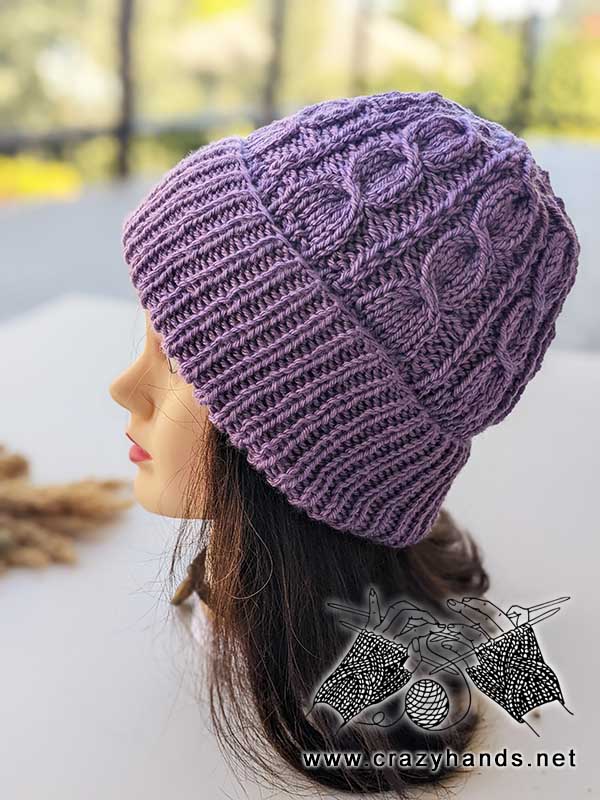
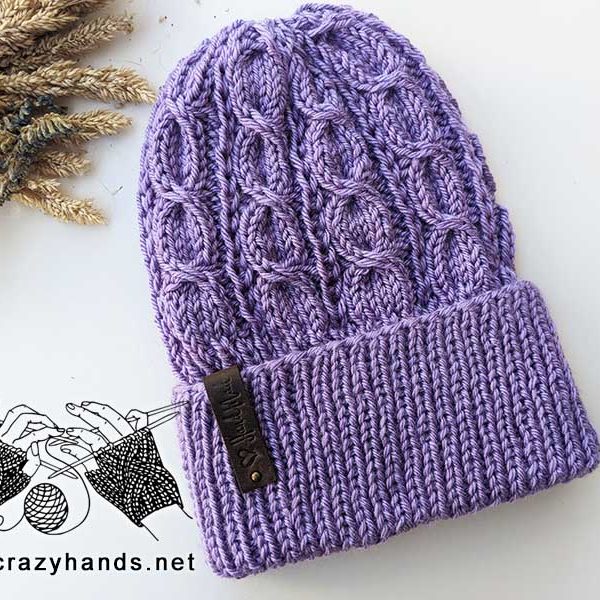
Contents

Knitting materials and tools:
<> Double-pointed or circular knitting needles 4 mm (US 6/UK 8) for the ribbing, 4.5 mm (US 7/ UK 7) for the main part
<> Red Heart, Soft –100% acrylic yarn. 141 g – 234 m per skein. Color of your choice.
<> Weight Category – 4. Quantity – less than1 ball.
<> 2 cable needles, yarn needle.
<> Pom pom – black/white/purple color. Material – natural fur / faux fur / yarn pom pom. Size – 15-16-17 cm.
Viola cable knit hat size:
Head circumference: 52-54 cm
Number of stitches: 86
Stitches to add after the ribbing: 4
Gauge: 17-18 stitches = 4 inches in stockinette
Common abbreviations of knitting stitches:
K – knit
P – purl
Pm – place marker
inc – knit the next stitch through the front loop, then knit the same stitch through the back loop
C1/3 – Cable1/3: slip next stitch to the 1st cable needle and hold it in front, then slip next 3 stitches to the 2nd cable needle and hold them in back, k1 from the left-hand needle, k3 from the 2nd cable needle, k1 from the 1st cable needle
skpo – Slip, Knit, Pass Over: Slip one stitch to the right needle knitwise, knit in the next stitch and drop this stitch off the left needle, insert the left needle into the slipped stitch, pass it over the knit stitch and it’s done.
K2tog – knit two together
K3tog – knit three together: slip next stitch to the right needle knitwise, k2tog, insert the left needle into the slipped stitch and pass it over.
P2tog – purl two together
st(s) – stitch(es)
Viola cable hat knitting pattern:
Knitting the ribbing of cable hat
Using long tail cast on method and 4 mm knitting needles, cast on 86 stitches. Place marker and join to knit in the round. Rib k1, p1 until piece measures 14-17 cm.
Change to 4.5 mm knitting needles.

Knitting the body of cable hat
After the ribbing, for the size 52-54 cm, we need to add 4 stitches to get the final number that is divisible by 10.
Next Round: [k20, inc] – repeat four times, k2. (90 sts)
Round 1: [p2, k1, p2, k5] – repeat till the end of round.
Round 2: [p2, slip next stitch holding working yarn in back, p2, k5] – repeat till the end of round.
Round 3: [p2, k1, p2, k5] – repeat till the end of round.
Round 4: [p2, slip next stitch holding working yarn in back, p2, k5] – repeat till the end of round.
Round 5: [p2, k1, p2, k5] – repeat till the end of round.
Round 6: [p2, slip next stitch holding working yarn in back, p2, k5] – repeat till the end of round.
Round 7: [p2, k1, p2, C1/3] – repeat till the end of round.
Round 8: [p2, slip next stitch holding working yarn in back, p2, k5] – repeat till the end of round.
Repeat Rounds 1-8 two more times. After that repeat Rounds 1 and 2. At this point hat measures 20 cm (when the brim is folded).
Shaping the crown of cable hat
Round 1: [p2tog, k1, p2tog, k5] – repeat till the end of round.
Round 2: [p1, slip next stitch holding working yarn in back, p1, k5] – repeat till the end of round.
Round 3: [k2tog, p1, k5] – repeat till the end of round.
Round 4: [slip the next stitch holding working yarn in back, p1, k5] – repeat till the end of round.
Round 5: [k1, p1, C1/3] – repeat till the end of round.
Round 6: [slip the next stitch holding working yarn in back, p1, skpo, k1, k2tog] – repeat till the end of round.
Round 7: [skpo, k3tog] – repeat till the end of round.
Break yarn and leave 10-15 cm tail. Thread end through remaining stitches and fasten securely. Weave in all ends securely.
Add yarn, faux or real fur pom pom.


4 comments
I have a question about “At this point hat measures 20 cm (when the brim is folded).” I have three sets of cable design as your photo shows. I made my brim 6″ and it is 3″ folded. At this point, my hat is just 16 cm. I plan to add one more set of cable rounds 1-8 and then I think it will be at 20cm.
yes, you are right, try it
where can I find the tag that is affixed to the brim?
bought it in craft store