Contents
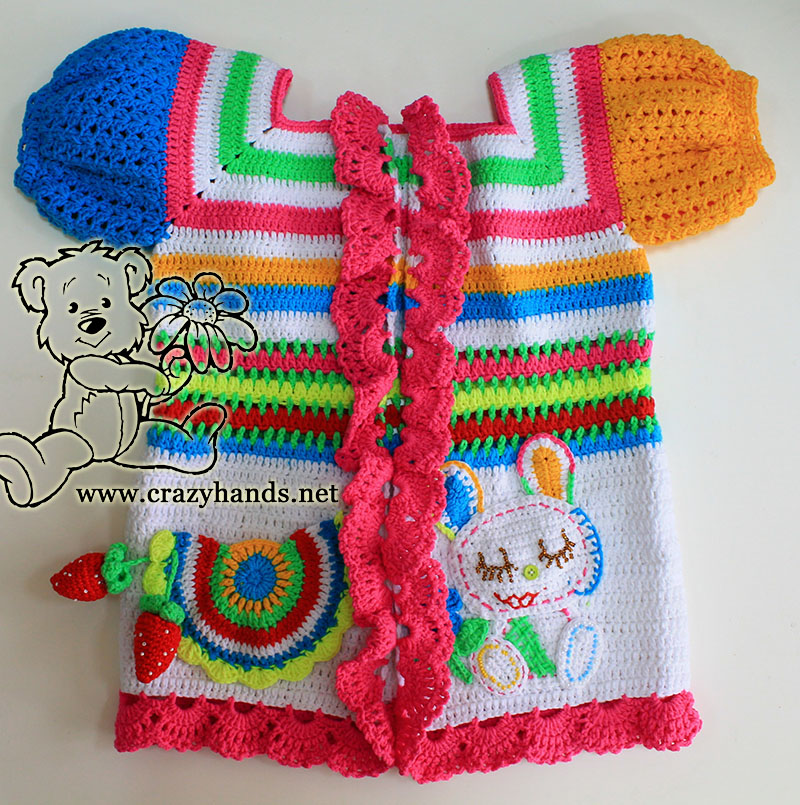
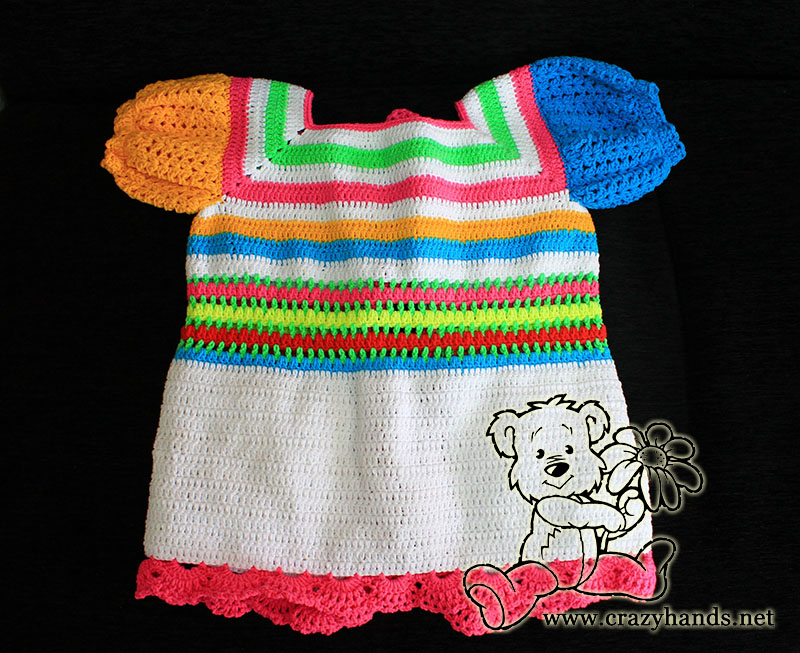
If you have already finished with 2 sweet strawberries for rainbow cardigan, then you can start crocheting cardigan yoke and sleeves.
Crochet materials and tools:
YarnArt Jeans yarn (55% cotton, 45% acrylic)
My favorite hook of 2.5 mm.
Crochet rainbow cardigan size:
Length 30 cm (12″) from underarms, chest 62 cm (24.5″).
Crochet the yoke of rainbow cardigan:
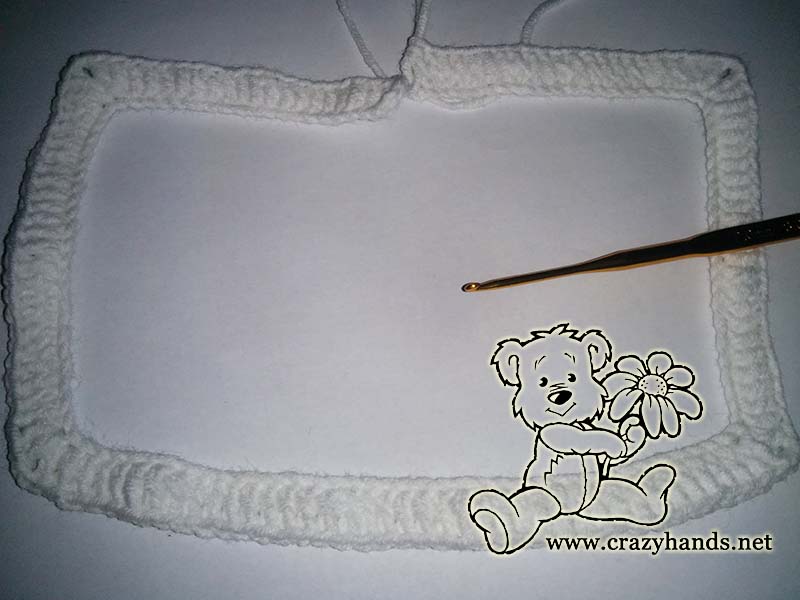
Chain 91 (ch), 23 – for the back part, 23 – for the right side of yoke, 23 – for the left part of yoke, 11 for the left front yoke and 11 for the right front yoke.
Row 1: Ch 3 (count it as 1 double crochet – dc), 9 dc, 2dc in the next stitch, ch 2, 2 dc in the next stitch (here we form the first angle as yoke will have square shape), * 21 dc, 2 dc in the next stitch, ch 2, 2 dc in the next stitch (the second angle is formed), repeat from * 2 more time, 10 dc, ch 3, turn.
Row 2: 11 dc, 2 dc in the chain 2 space, ch2, 2 dc in ch-2 sp, *25 dc, 2 dc in ch-2 sp, ch2, 2 dc in ch-2 sp, repeat from * 2 more times, 12 dc, ch 3, turn.
After the second row change the color of the thread from white to green.
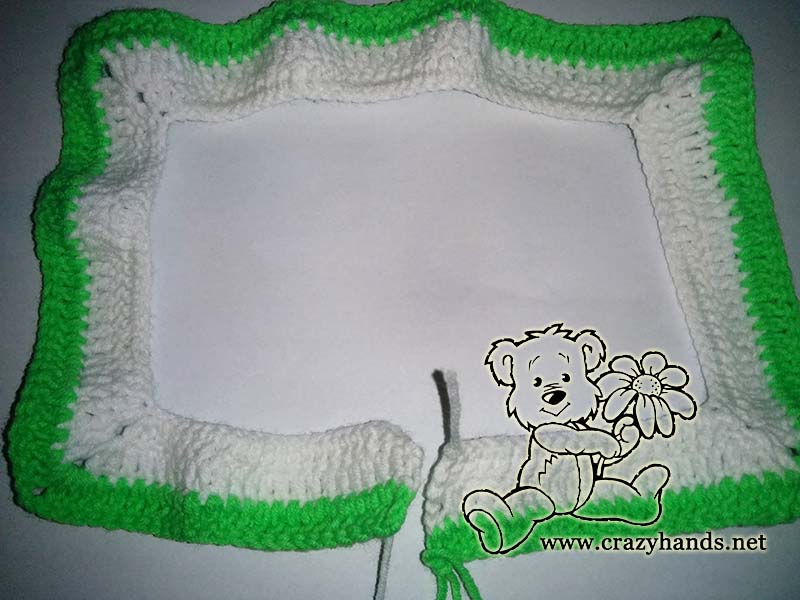
The main idea of the yoke of rainbow crochet cardigan pattern is to keep repeating the second row (repeat crocheting for the 3rd and 4th Rows). The number of stitches will gradually increases incrementally into each angle.
Rows 5 and 6: change a thread color and keep crocheting.
Rows 7 and 8: change a thread color and repeat crocheting.
Row 9: the 8th Row had to be finished with ch 3 and turn. 34 dc, 1 dc in ch-2 sp, ch 8, 1 dc in ch-2 sp of the second angle, 66 dc, 1 dc in ch-2 sp (3-d angle), ch 8, 1 dc in ch-2 sp of the 4th angle, 34 dc, ch 3, turn.
Row 10: dc in each st across. Fasten off if you are going to change the thread’s color.
Rows 11-16: dc in each st across.
Crochet the sleeves of rainbow cardigan:
Round 1: join the new thread, ch 1, single crochet (sc) in the same st and in each st around, slip stitch (sl st).
Round 2: sl st in the next sc, ch 3, work in the same st – (dc, ch 2, 2 dc), * skip next 2 sc, in the next sc work – (2 dc, ch 2, 2 dc) – now it has a form of the “shell”, repeat from * till the end of the round, join in the 3rd ch.
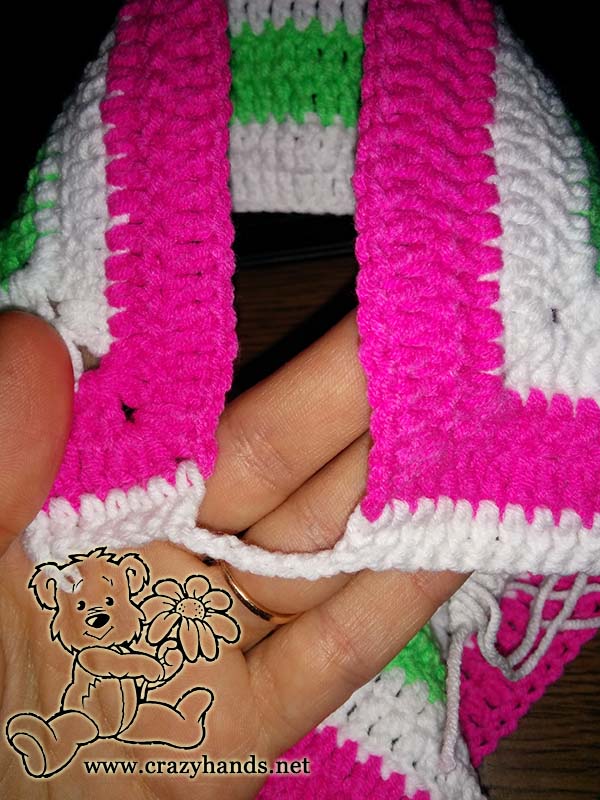
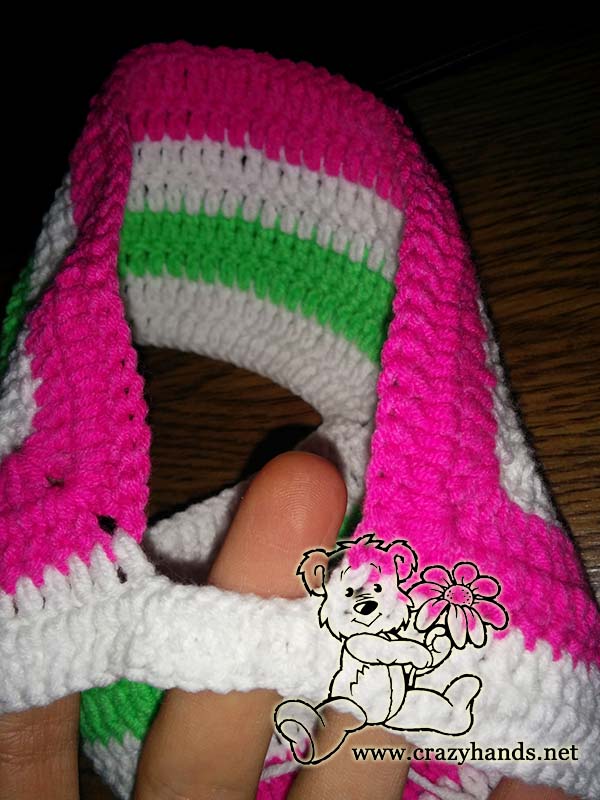
Round 3: sl st in the next dc and in the next ch-2 sp, ch 3, dc, ch 2, 2 dc, keep crocheting shells in each ch-2 sp across, join in the 3rd ch.
Rounds 4-8: repeat round 3.
Round 9: sl st in the next dc and in the next ch-2 sp, ch 1, 2 sc in ch-2 sp, sc in the next ch-2 sp, * 2 sc in ch-2 sp, sc in the next ch-2 sp; repeat from * till the end, join in the 1st sc.
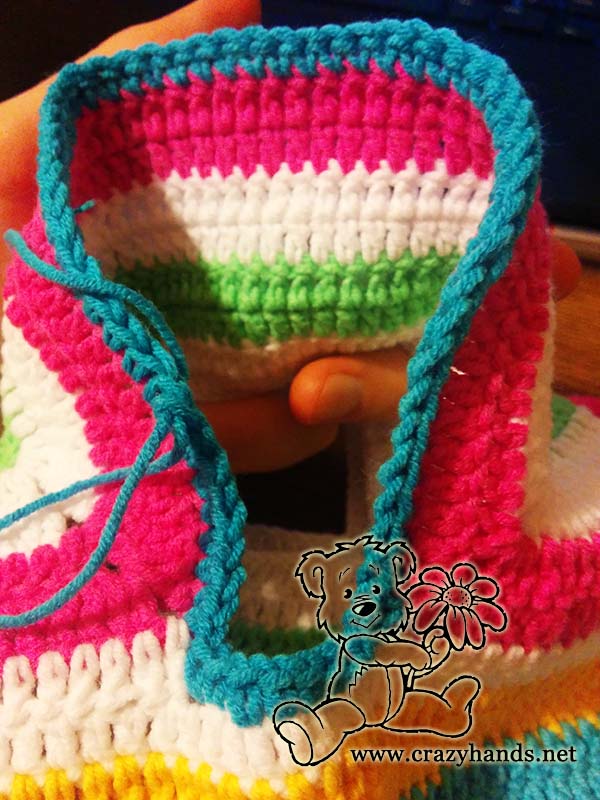
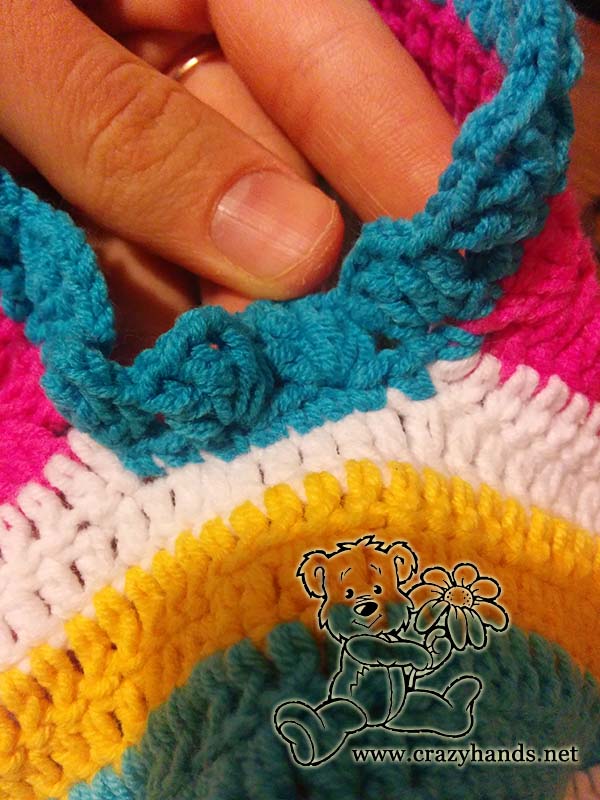
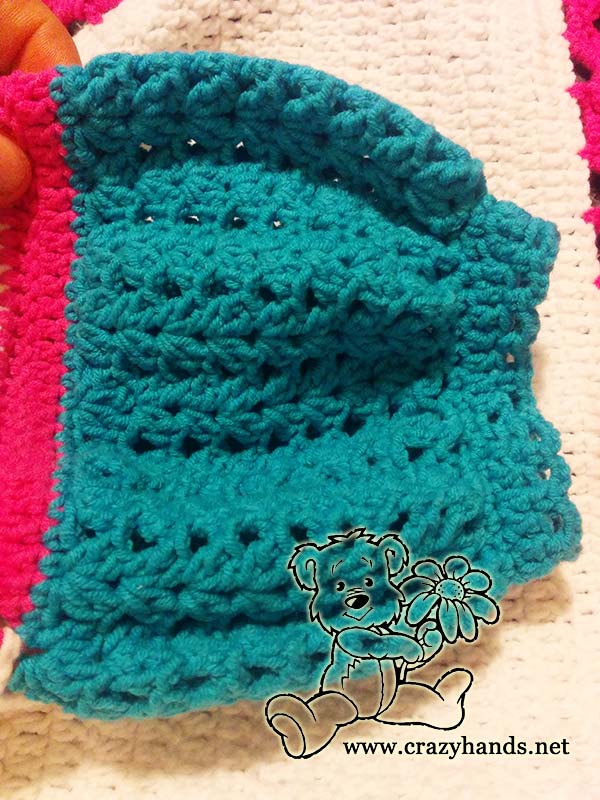
Round 10: ch 1, sc around, join in 1st sc.
Round 11: ch 3, dc around, join in 3rd ch.
Round 12: ch 3, * skip next dc, sc in the next dc, ch 3, repeat from * around, sl st.
Repeat Rounds 1 – 12 for the left sleeve.
In the next section we will continue to crochet the main part of the rainbow sweater cardigan and decorate it.
Body of the crochet rainbow cardigan
We have finished the 16th Row of the yoke. Now it’s the time to move on.
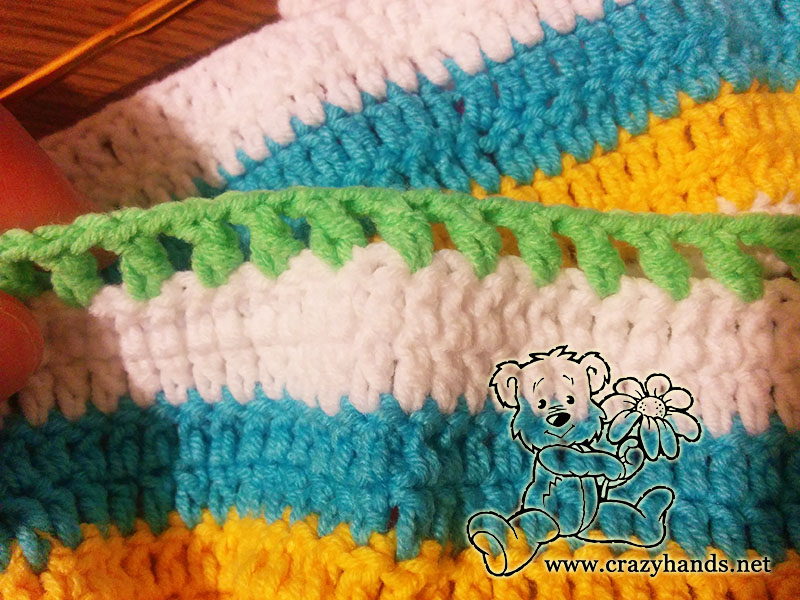
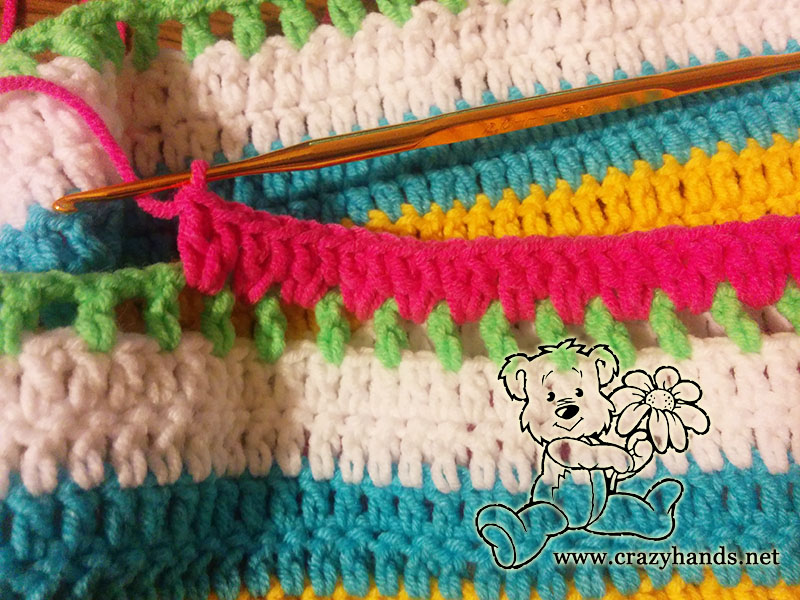
Row 17: join a new thread of different color (mine is green), ch3 (count as 1 double crochet (dc)), ch1, skip next dc, dc, *ch1, skip next dc, dc, repeat from * till the end of the row.
Row 18: join in your new thread (mine is pink), ch3, dc in the ch-1 space, continue crocheting 2 dc into each ch-1 sp.
Row 19: Repeat Row 17 (green thread).
Row 20: Repeat Row 18 (yellow thread).
Rows 21-24: Keep repeating Rows 17 and 18 – 2 more times. In my cardigan, I was using one color of thread (green) each odd Row.
Rows 25-41: dc in each stitch across. The number of rows will depend on thickness of thread and the length of cardigan
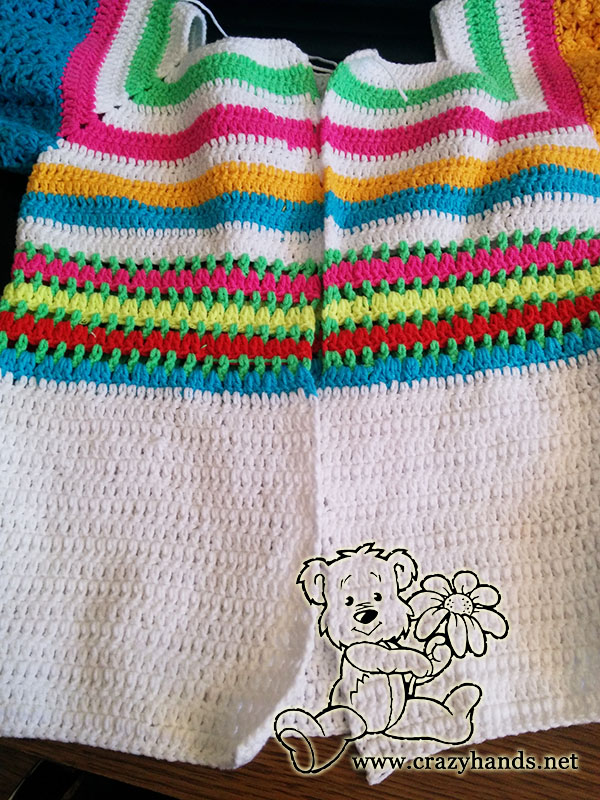
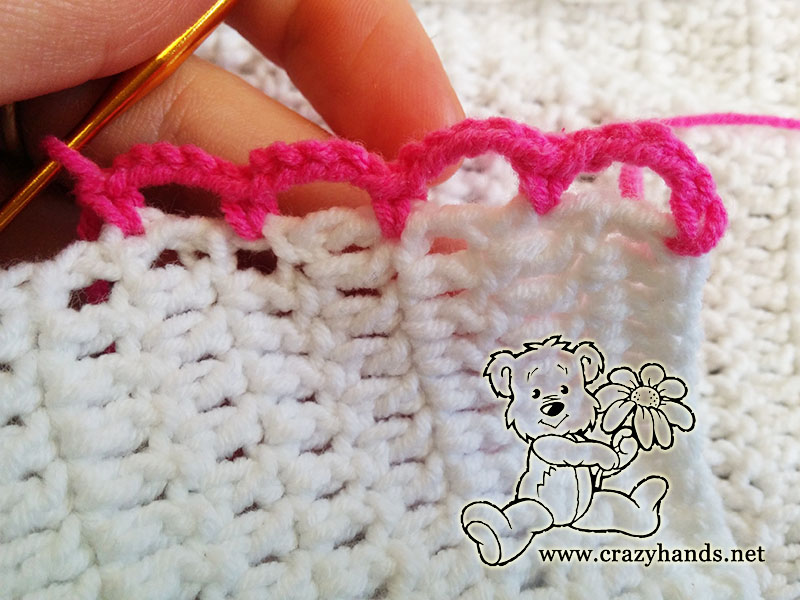
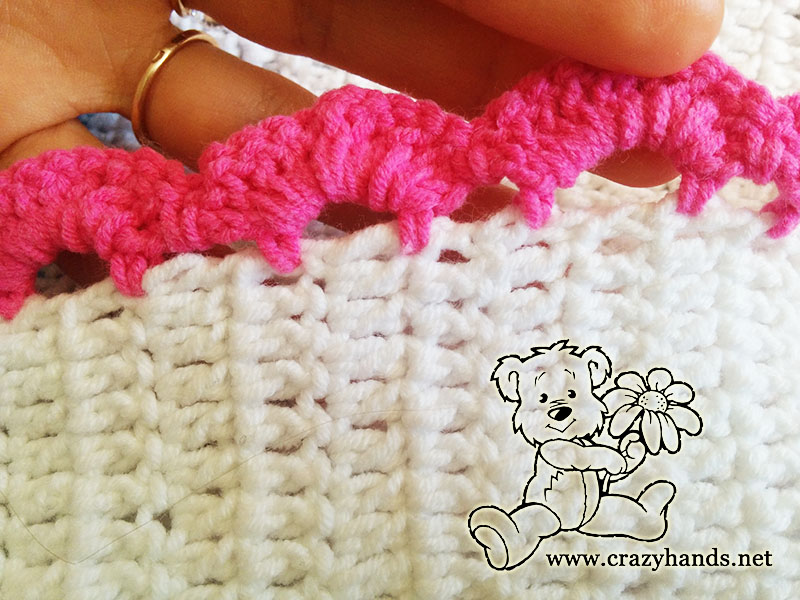
Next step is to crochet laces for which I have chosen bright pink thread. This model will not have any buttons or fasteners. In the opposite case, don’t forget to make buttonholes or button loops on the edge of the garment.
Crochet the laces of rainbow cardigan
First row of the lace
Second row of the lace
Third row of the lace
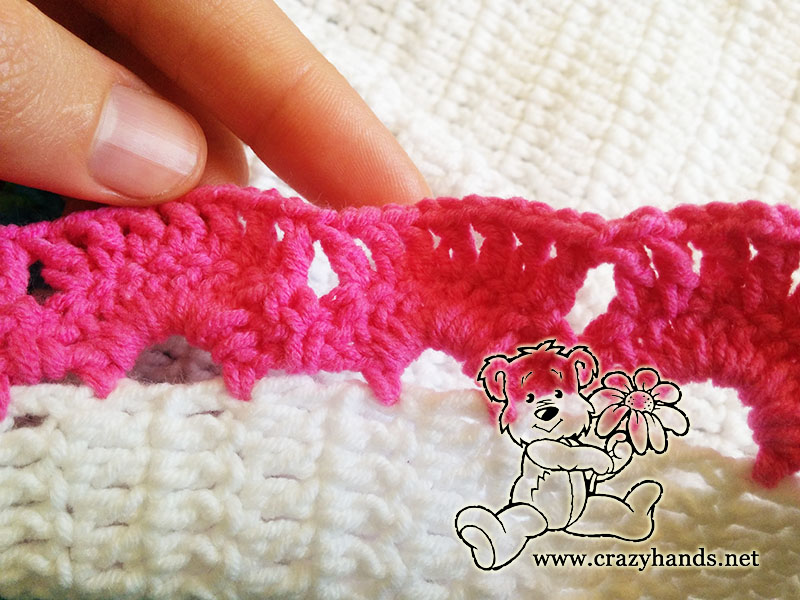
The main part of the crochet rainbow cardigan is ready but I want to add one small pocket. I know, from my neighbors, that when I was a little girl I was gathering everything in my pockets, so I can only guess how important it is for a little lady :).
Crochet pocket for the rainbow cardigan:
Round 1: magic ring, 10 sc.
Round 2: ch3, dc into the same stitch, work 2 dc into the next stitch and all stitch around, slip stitch into third chain of initial ch3 to join the round.
Round 3: join in your new color, ch3, ch1, dc, *ch1, dc, repeat from* till the end of the round, join in 3rd chain.
Round 4: again, join in new color, ch3, dc in the ch-1 sp, continue crocheting 2 dc into each ch-1 sp. Don’t finish the round. Leave unworked 5 ch-1 spaces.
Round 5: ch3, 2 dc, *ch1, 2 dc, repeat from the * until the end of the round.
Round 6: ch3, dc in each st around.
Round 7: ch3, dc in each st around.
Round 8: ch3, 6 dc into the same stitch, sc, *7dc,sc, repeat from * Fasten off
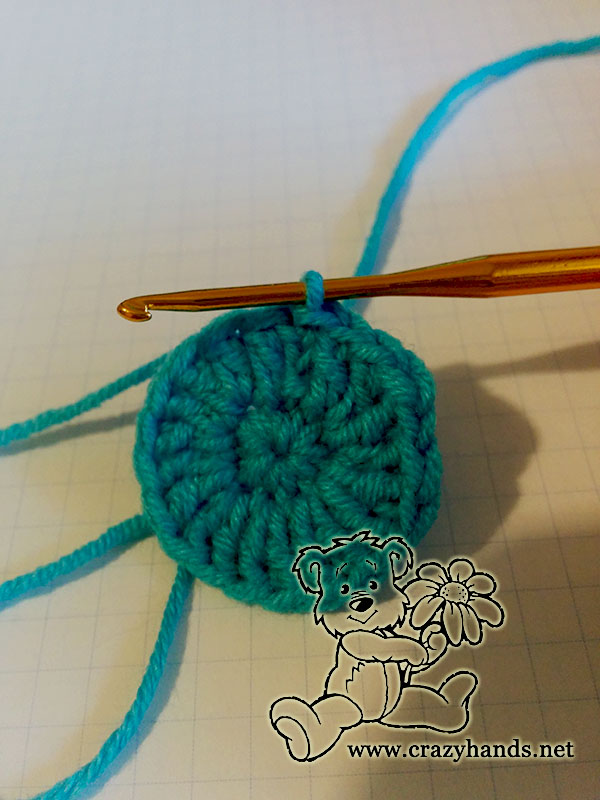
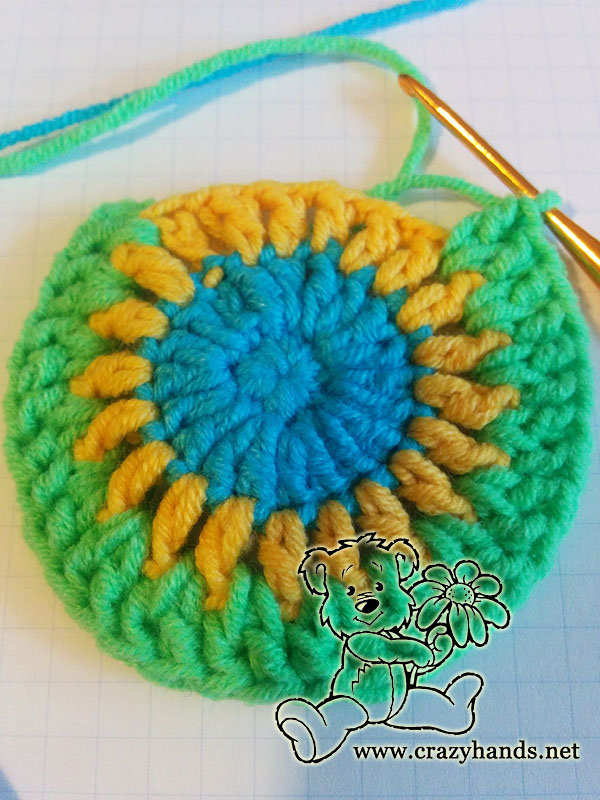
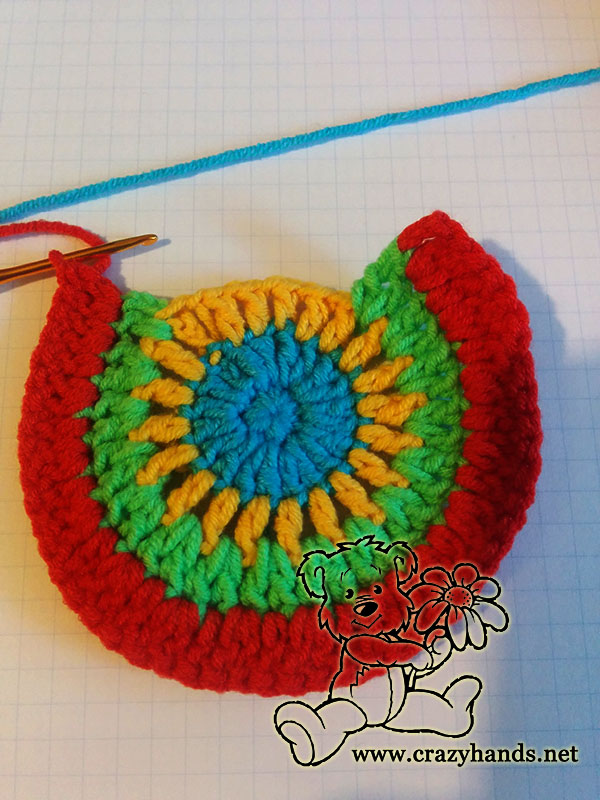
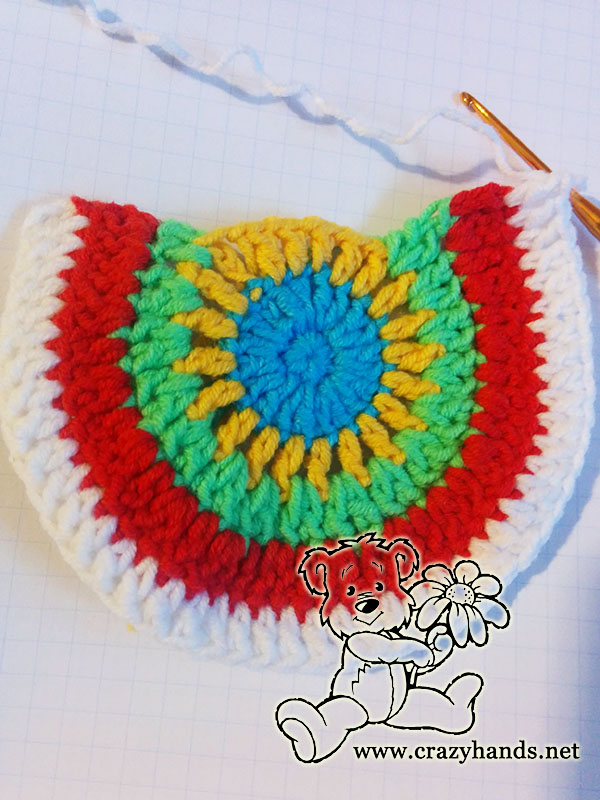
Pocket is ready. Simply sew it. Don’t forget to decorate it with 2 strawberries that you have done before. On the left side of cardigan, sew funny bunny. You are free to make more decorations as you still have the place on the back.
Any questions and comments are more than welcome and share it with your friends!
I really hope you like this project. And yes, keep in mind that this cardigan was made for a 2-3 years old girl.


5 comments
what size is this pattern than you
hello, finished measurements: Length 30 cm (12″) from underarms, chest 62 cm (24.5″)
How do I make this a size bigger
Hi, I have not done another sizes of this toddler crochet cardigan. It will fit toddler 18-36months
Where can we find part two of this rainbow sweater