Contents
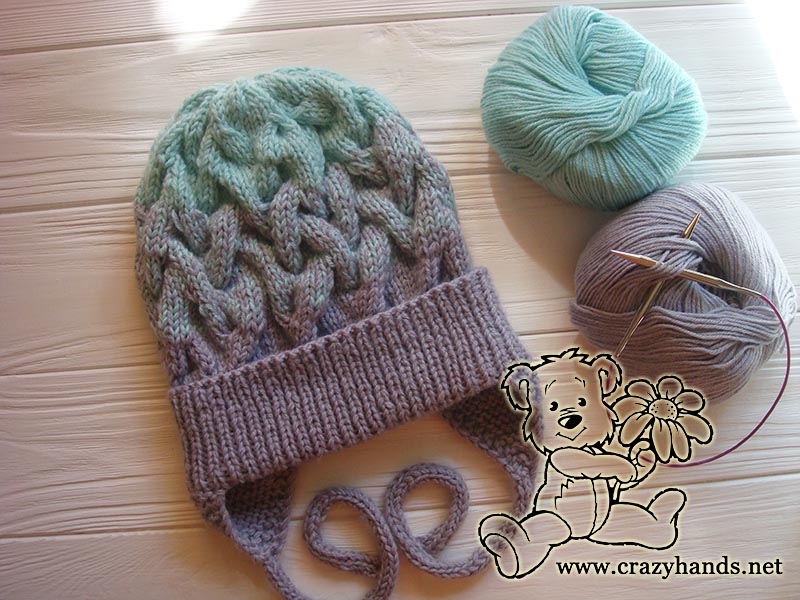
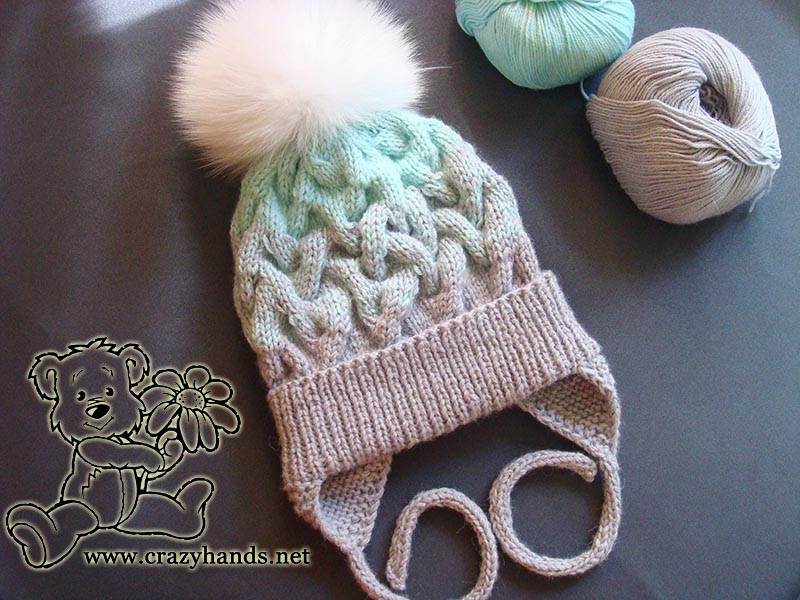
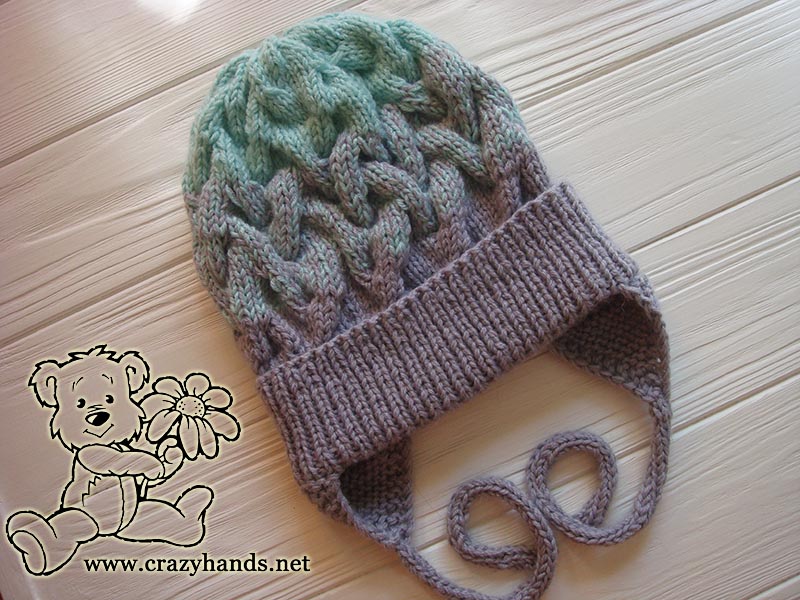
Check out my latest baby hat knitting pattern with earf laps that is made with gradient of light gray and light blue color. You will need two sets of circular needles and two colors of the yarn to complete the project. Needless to say, that this cozy hat will be very warm during the cold winter time and keep your babies ears warm. Add a brilliant looking fur pom pom of your choice to add an elegant touch to this baby hat knitting pattern. If you’re looking for an adult version of the hat, then check my winter cable knit hat pattern.
Knitting materials and knitting tools:
<> 16” long, circular needles 3.5 mm (US 4) for ribbing part and 4.5 mm (US 7) for body part;
<> Alize baby wool – 40% wool, 40% acrylic, 20% bamboo. Light blue and gray colors: 50 grams = 175 m. (192 yds.) In total 2 gray and 1 light blue balls.
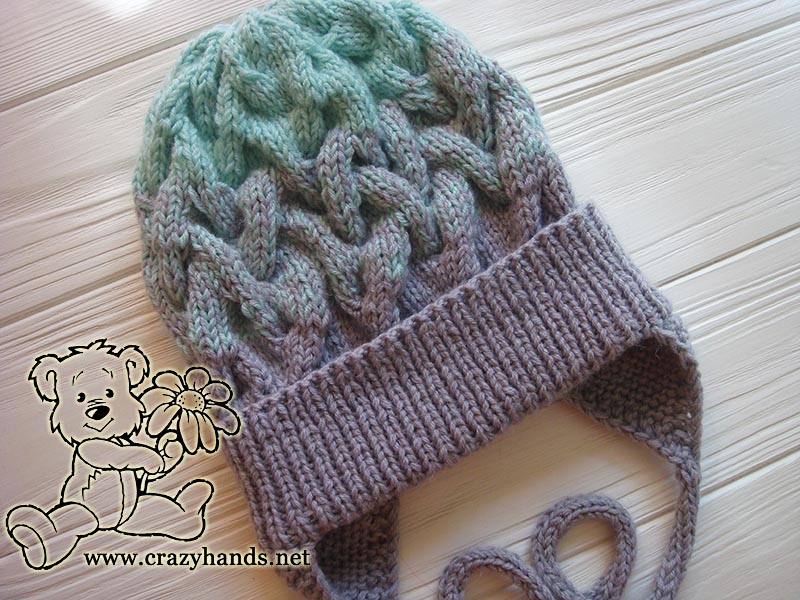
Baby knit hat size:
Baby: 48-50 cm (> 4 y.o.)
Gauge: 20 stitches = 4 inches in stockinette
26 stitches = 4 inches in ribbing – not stretched
Note for knitters:
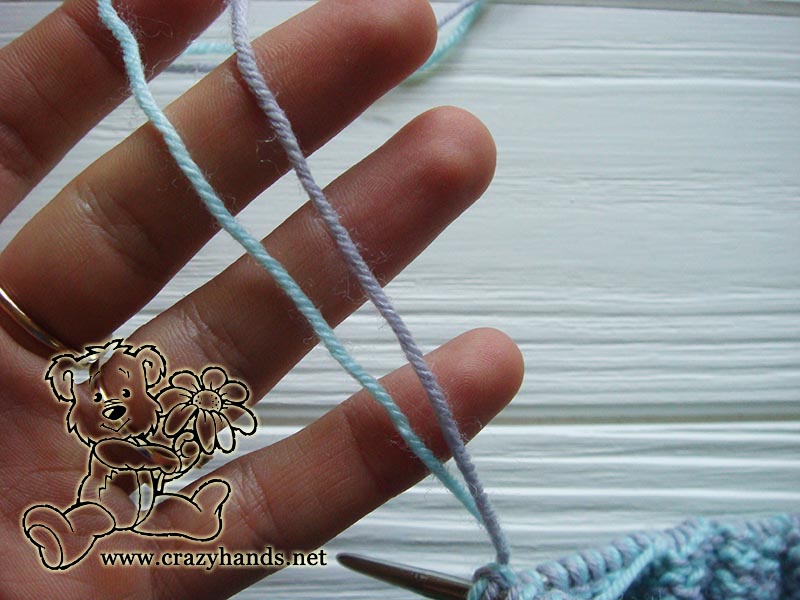
Knit with two strands of yarn at once.
Common abbreviations of knitting stitches:
k – knit
p – purl
k2tog – knit two together
sel s – Selvage stitch: Always slip the first stitch purlwise, work to the last stitch, purl the last stitch
skpo – Slip, Knit, Pass Over: Slip one stitch to the right needle knitwise, knit in the next stitch and drop this stitch off the left needle, insert the left needle into the slipped stitch, pass it over the knit stitch and it’s done.
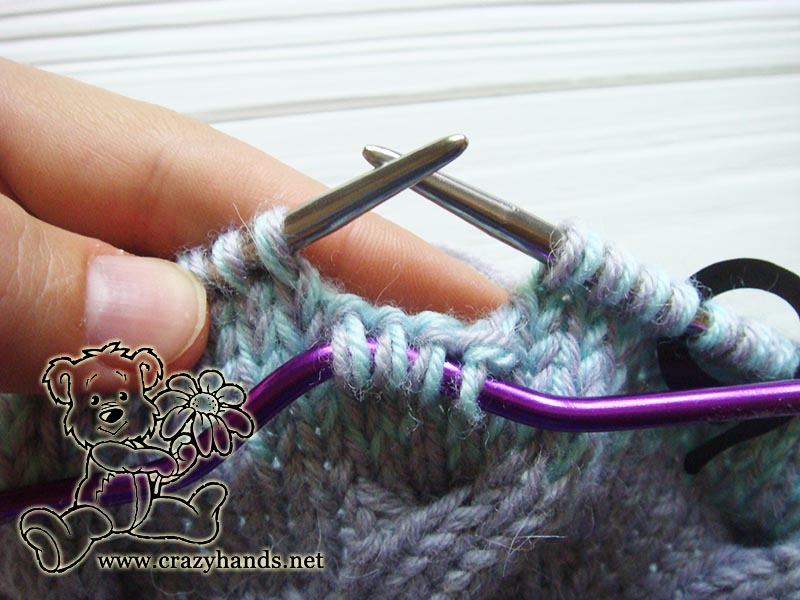
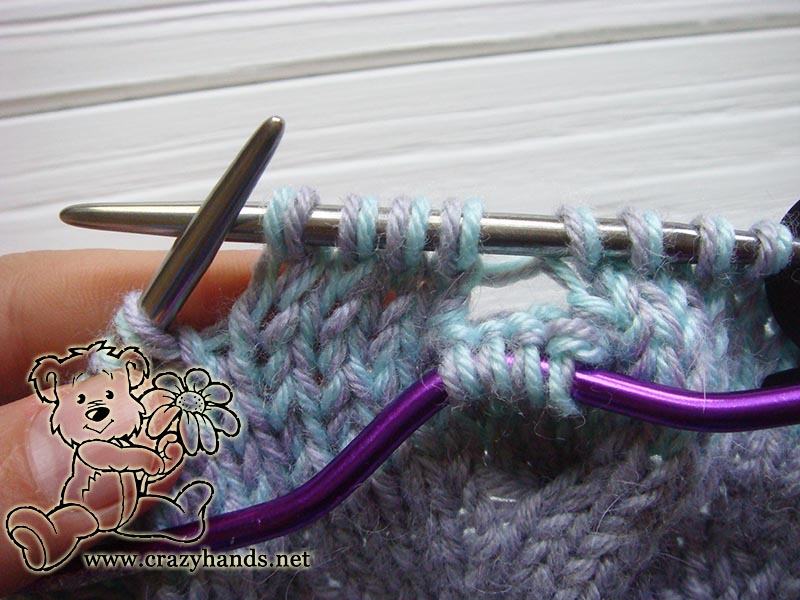
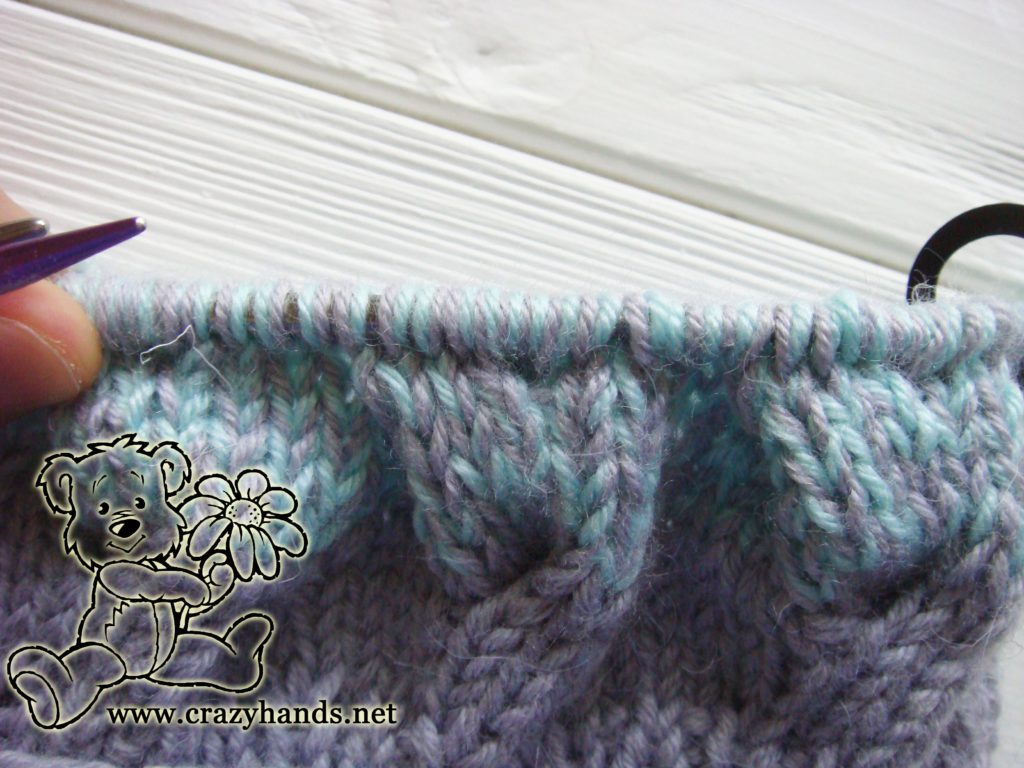
Cable 4 Back (C4B): Slip 4 knit stitches to the extra needle and hold in back of work, 4k from the left hand needle, 4k from the extra needle.
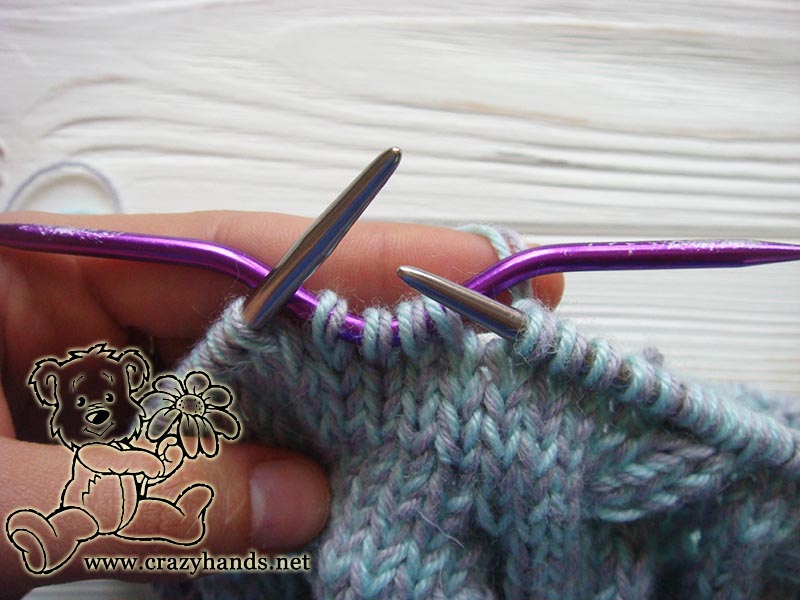

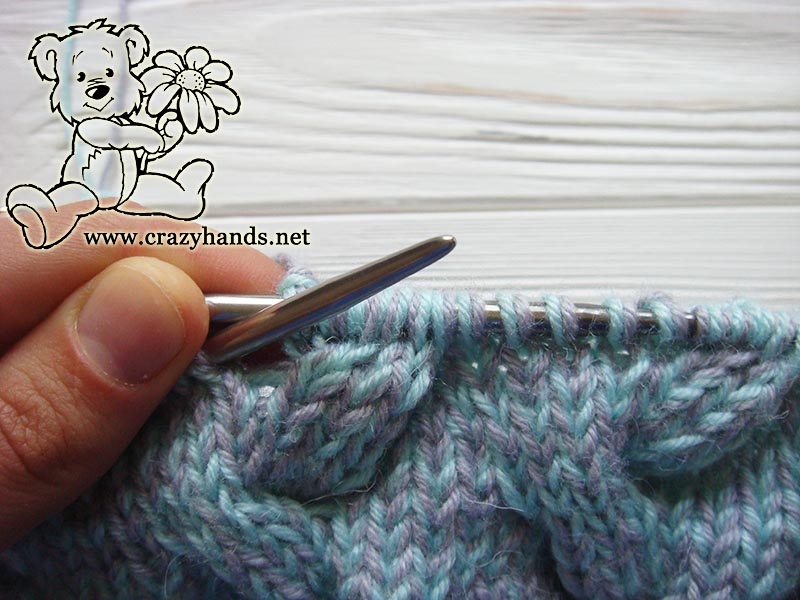
Cable 4 Front (C4F): Slip 4 knit stitches to the extra needle and hold in front of work, 4k from the left hand needle, 4k from the extra needle.
Baby hat knitting pattern with ear flaps
Knitting the ribbing of baby hat:
Cast on 100 stitches for the baby cable hat.
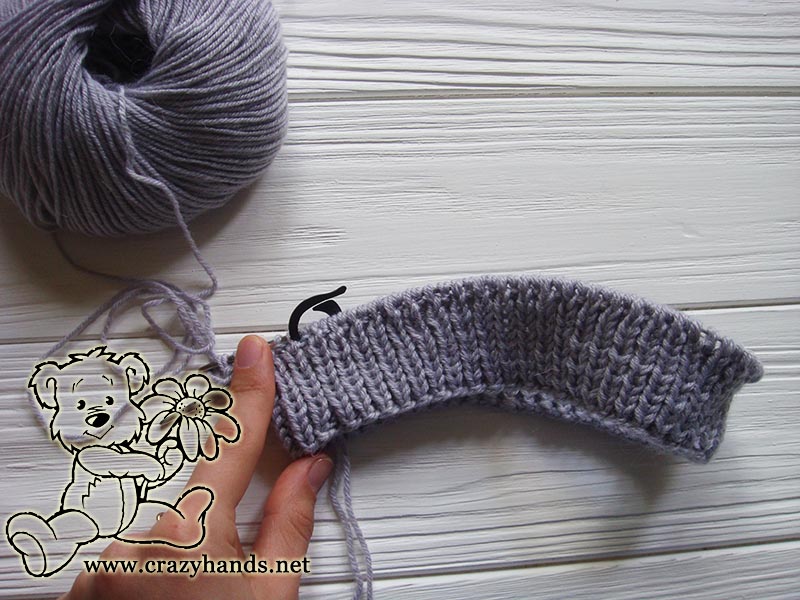
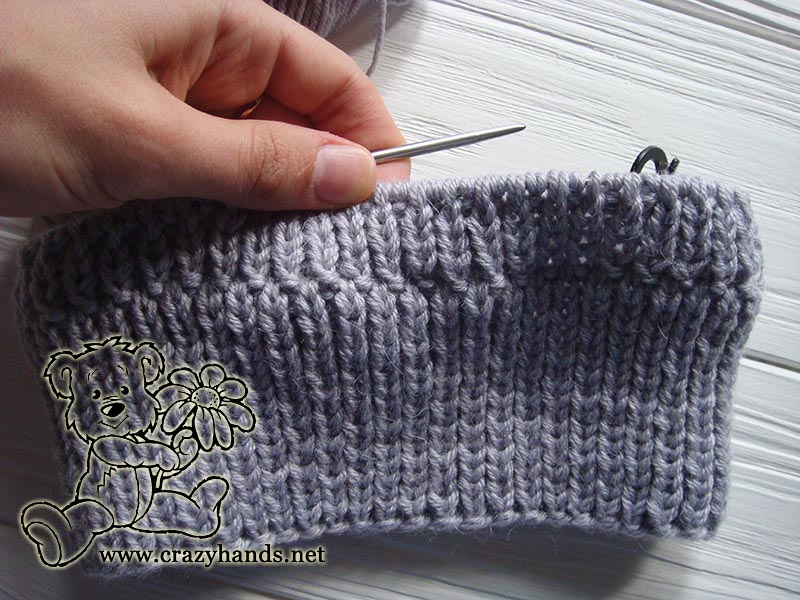
Round 1: Begin with rib 1 by 1 *k1, p1* keep repeating until ribbing measures 6-6.5 cm from the edge
To make folded brim I suggest knitting all knit stitches as purl stitches and all purl stitches as knit ones. Continue working *p1, k1* until piece measures 12-13 cm. Skip last part if you want to make the hat without folded brim.
Knitting the body of baby hat:
Round 1: Change knitting needle from 3.5 to 4.5 mm. In this round, we are going to increase. As usually I am using my favorite method to increase from the previous round. Please check my Youtube video to get a better idea how to do it.
Add 20 stitches to get in total 120 stitches or any other number divisible by 12. Try to redistribute increases as equal as possible among the ribbing part.
Round 2-6: knit in stockinette stitch.
Round 7: *С4В, 4k, repeat from* to end of round.
If you are doing the same color change as I do, it’s time to cut one gray thread and tie the light blue one.
Round 8-12: knit in stockinette stitch.
Round 13: *4k, C4F, repeat from* to end of round.
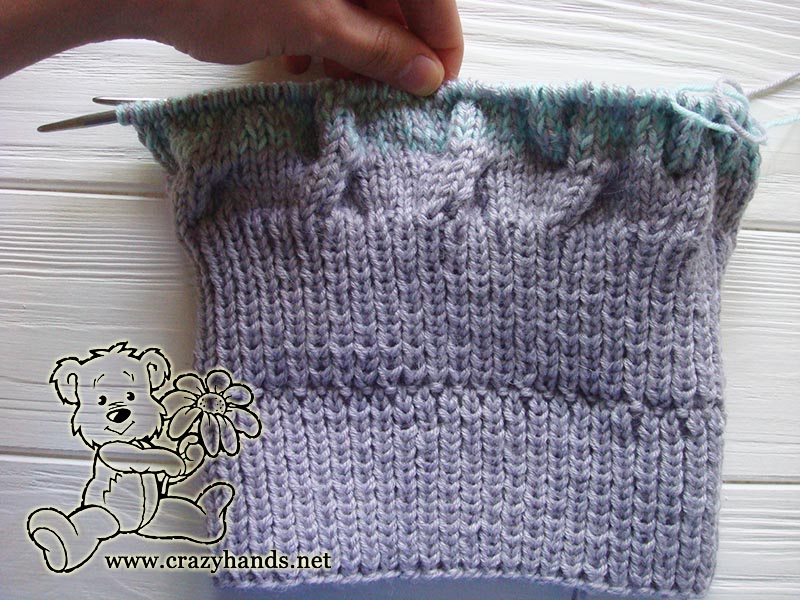
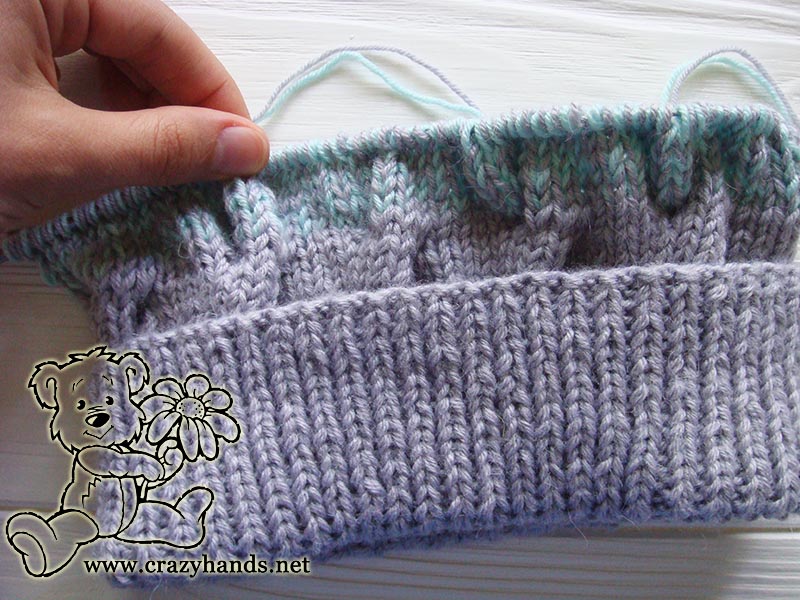
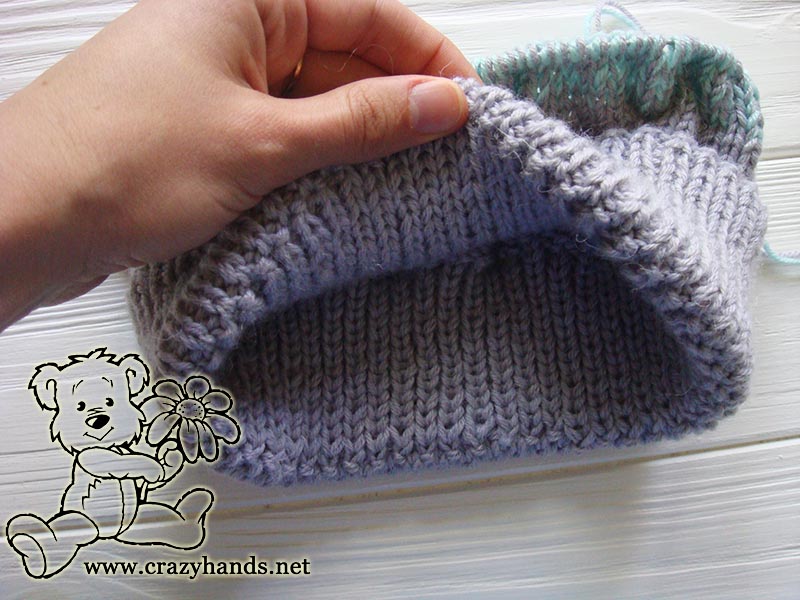
Repeat Rounds 2-13 one (two) more times. In the last time, don’t repeat Round 13th, because from this round and onwards we will start to decrease.
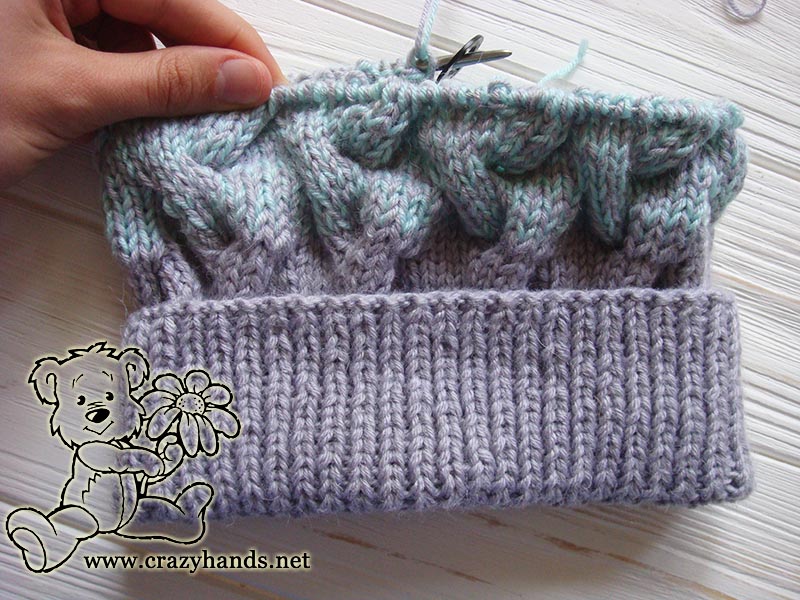
Shaping the crown of baby hat:
Cut second gray thread and continue knitting only in light blue color.
Round 1: *4k, slip 4 knit stitches to the extra needle and hold in front of work, [k2tog, 2k] – from the left hand needle, [k2tog, 2k] – from the extra needle, repeat from* to the end of the round.
Round 2-6: knit in stockinette stitch.
Roound 7: *Slip 4 knit stitches to the extra needle and hold in back of work, 3k from the left hand needle, [k2tog, 2k] – from the extra needle, 3k, repeat from* to the end of the round.
Round 8-12: knit in stockinette stitch.
Round 13: *3k, slip 3 knit stitches to the extra needle and hold in front of work, [k2tog, 1k] – from the left hand needle, [k2tog, 1k] – from the extra needle, repeat from* to the end of the round.
Round 14-18: knit in stockinette stitch.
Round 19: *Slip 3 knit stitches to the extra needle and hold in back of work, 2k from the left hand needle, [k2tog, 1k] – from the extra needle, 2k, repeat from* to the end of the round.
Round 20: *k2tog, k1 repeat from* to the end of the round
Cut the yarn leaving about 10 cm and pull it through the remaining stitches. Pull it tight and weave in ends.
Attach a lovely white fur pom pom.
Knitting ear flaps of the baby hat
Out knit hat is almost ready we just have to make the earflaps.
To calculate precise placement of the earflaps – divide the total number of stitches of the ribbing part (100) by 5. 2/5 – for the front part, 1/5 for the back part, 1/5 and 1/5 for the each earflap.
It means that for each earflap you should use 20 stitches.
Take a look at the picture below – black marker shows back central part while red and green marker show beginning of the earflaps.
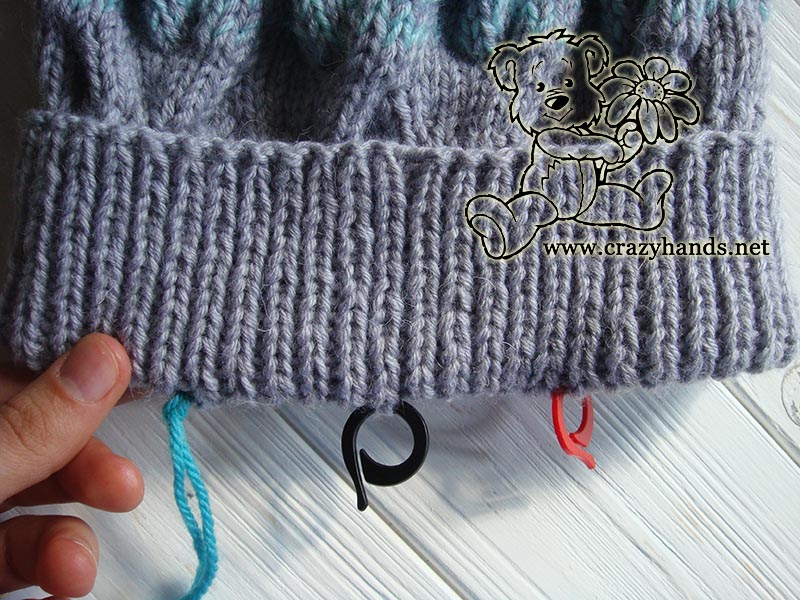
Pick up 20 stitches for the earflap.
Row 1: sel s, k18, sel s.
Row 2: sel s, k1, skpo, k12, k2tog, k1, sel s.
Row 3: sel s, k16, sel s.
Row 4: sel s, k1, skpo, k10, k2tog, k1, sel s.
Row 5: sel s, k14, sel s.
Row 6: sel s, k1, skpo, k8, k2tog, k1, sel s.
Row 7: sel s, k12, sel s.
Row 8: sel s, k1, skpo, k6, k2tog, k1, sel s.
Row 9: sel s, k10, sel s.
Row 10: sel s, k1, skpo, k4, k2tog, k1, sel s.
Row 11: sel s, k8, sel s.
Row 12: sel s, k1, skpo, k2, k2tog, k1, sel s.
Row 13: sel s, k6, sel s.
Row 14: sel s, k1, skpo, k2tog, k1, sel s.
Row 15: sel s, k4, sel s.
Row 16: sel s, k1, skpo, k1, sel s.
Row 17: sel s, k3, sel s.
Row 18: sel s, k1, k2tog, sel s.
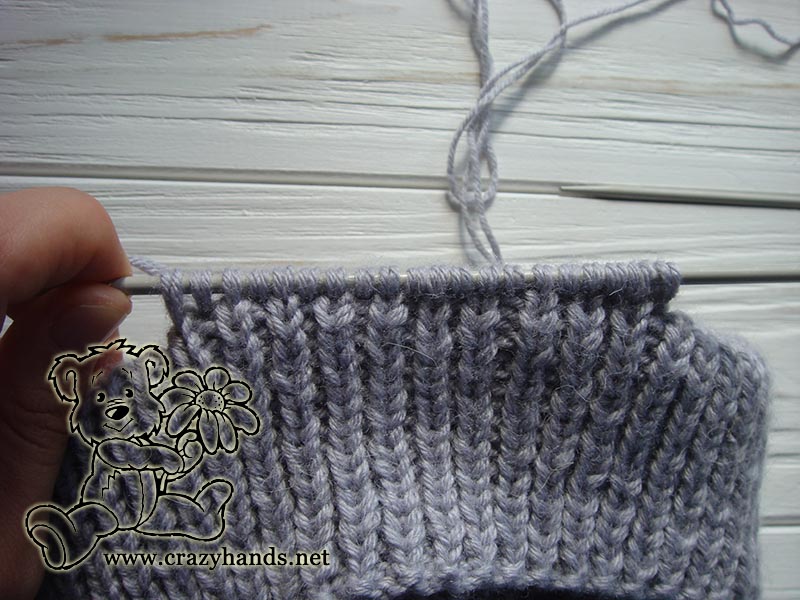
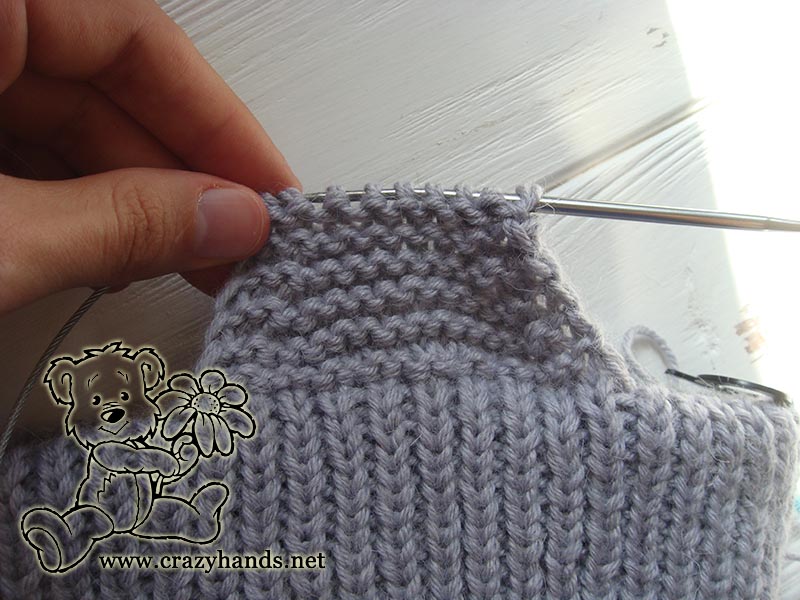
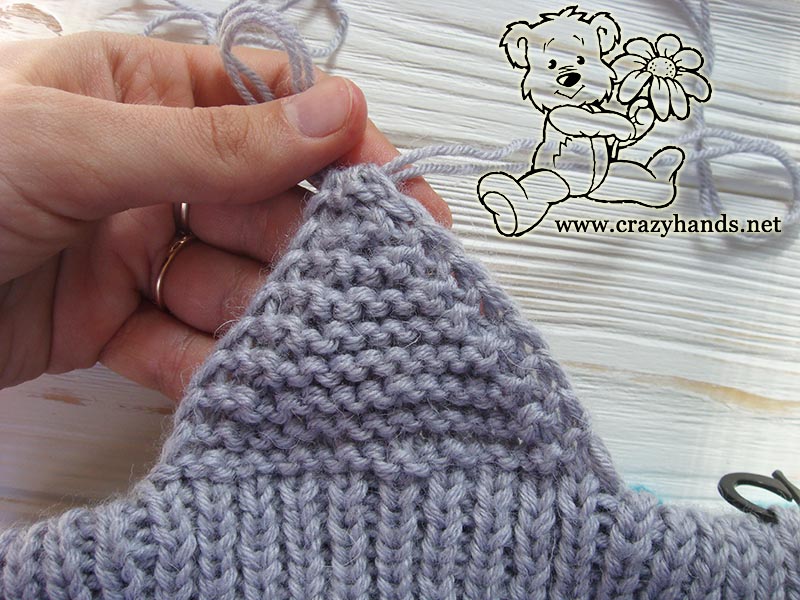
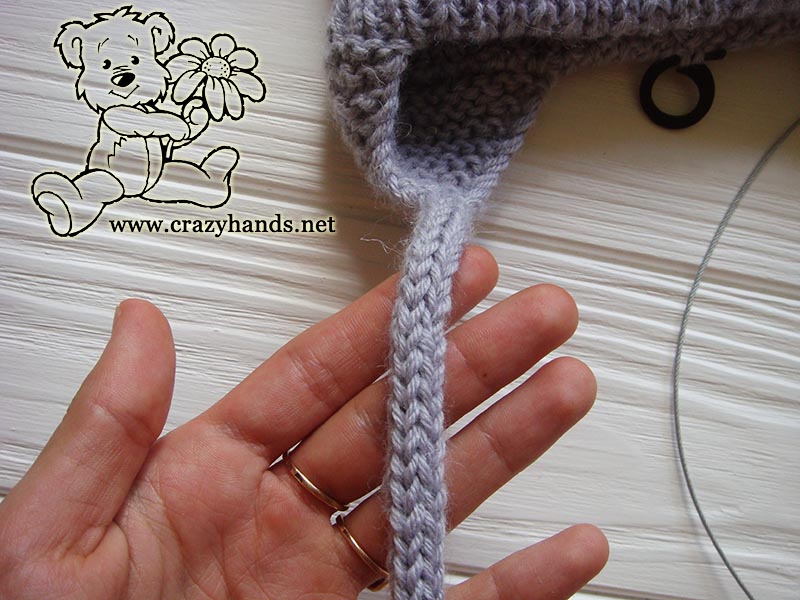
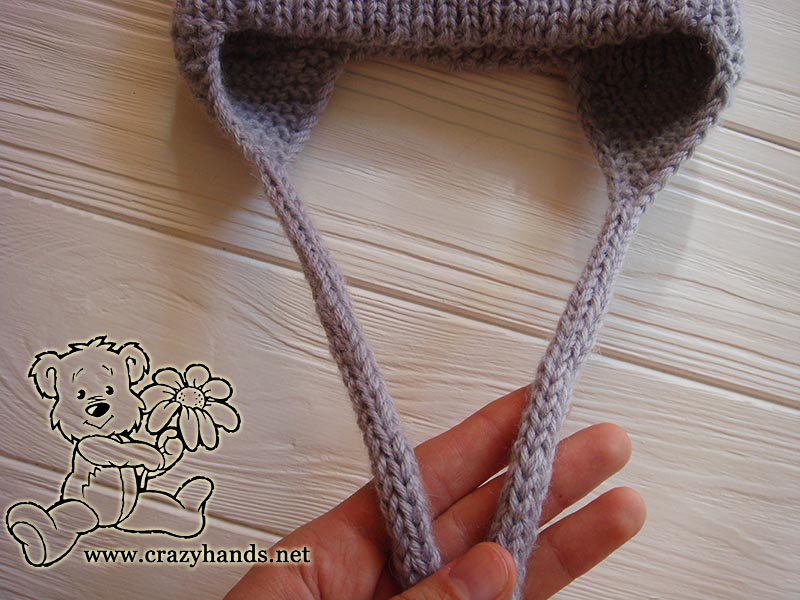
From this point, we are going to knit cord:
Row 19: sel s, k1, with yarn in front needles, slip 1, sel s
Repeat Row 19 as many times as needed until the length of cord reaches at least 25 cm.
Repeat the same steps for the second earflap and the cord.
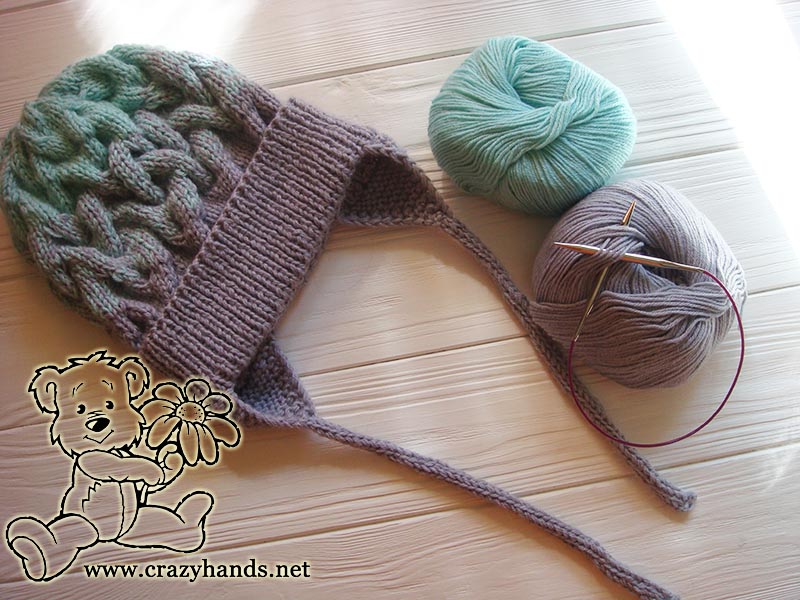
Tadddam baby knit hat is ready!


23 comments
What is the multiple of this hat pattern ?
After increasing round multiple of 12
Hi Ann, This is a lovely pattern. Just a question on why 2 strands of yarn are used. Is that because of the colour change? Will the size be affected much if only 1 strand is used? I noticed in the adult size that the yarn type seems similar but only 1 strands used. So I wasn’t sure if it was just due to colour change. If for the baby hat I’m only doing it one colour should I only use one strand of yarn? Thank you! Lisa
Hi, you are right I used it for the color change purpose. Moreover it is another type of yarn that is not that stretchy as it was in adult version even the gauge is almost the same. I afraid it might affect the size too much if you use only one strand of yarn. Hope it helped.
Hi! I dont understand the size of the hat. 48-50 is the babys head circumference or the hat circumference?
Thank you
Hi. The hat will suit 48-50 cm head circumference. And it is usually baby’s size.
Thank you. I Made the hat and it looks too big for a 3 year old boy , it is a present and i still cannot try it on.
it is about 39 circumference not stretched. Do you think it will fit?
Of course it will suit. 33-38 cm – new born circumference, 45-48 cm – 1 year old, 48-50 cm, 2 years old. So I am sure it will suit.
So do you use 2 strands from the same ball?
Hi Kathleen. Yeah, I am doing it sometimes.
Hi-I am wanting to make this pattern for an adult. The pattern you have designated as the adult version is not the same look. I am wondering how many stitches should I increase in this pattern in order to convert it to adult size?
Thanks!
Hi Cole, take bulky yarn and follow the same pattern, like this it will suit adults.
Thanks!!
I am at the cabling section, and was confused by the instruction “Repeat Rounds 2-13 one (two) more times.”
A – Is this pattern meant to be for two different sizes, or
B – Is this just an option for the knitter, to make it slouchy vs fitted?
I’m going to assume B and just see how it looks after one more repeat of rounds 2 – 13.
Thanks!
Hi Kathleen. You are absolutely right. It is just an option for knitters who may use different types of yarn or as you said to make it slouchy vs fitted.
I’m on the earflaps now. How can one keep slipping the same stitch? Every row says to slip both the first and the last stitch.
I went back up to the abbreviations and see you are using the official abbreviation for Slip Stitch as the abbreviation for selvedge Stitch. I don’t know why you just don’t use sl st for the first and p for the last. It really would be much clearer.
Changed it for sel s. I hope it will be less confusing
Just found this hat and let me say it is beautiful. I’m new to knitting but I’m going to give it a try. Beautiful.
Is the earflaps started on the right or wrong side???
Hi. I pick up on the right side than turn the hat and knit the earflap
Hello, this hat is very beautiful, a question I have a light 3 thread if I put two strands it is very thick what number of yarn you wear because in another hat I saw that you use 3 strands with that I am very, very fat
Hi. To get a gradient you can knit in 2 or even 3 strands of yarn, just try to get the gauge mentioned in description.