Contents

Knitting materials and knitting tools:
<> DPN or 16” circular knitting needles 5 mm (US 8/UK 6) and 40” circular needles 3.5 mm (US 4).
<> Long mink wool (Cashmere) – 75% wool, 25% nylon :50 grams – 338 m per skein. Note: Knit with 4 strands of main and 4 strands of extra (reinforcing partner) yarn together.
<> Weight Category – Fingering. Quantity – 3-4 balls. If you have difficulty to find aforementioned brand of yarn, use Aran weight yarn and knit with two strands together, DK/Light weight yarn and knit with 3 strands together, or Fingering weight yarn and knit with 4 strands together. !!!!!Check your gauge before knitting!!!!!!
<> Crochet hooks 2.5 mm and 5 mm, yarn needle, stitch markers, scrap yarn for provisional cast on.
Knit trapper hat size:
Head circumference: 52-54 cm* / 64 stitches
*All measurements are in centimeters if not mentioned otherwise
Gauge: 19 stitches = 4 inches in stockinette (5 mm knitting needles)
13 stitches = 4 inches in Fisherman’s rib stitch (5 mm knitting needles)
Common abbreviations of knitting stitches:
K – knit
P – purl
Pm – place marker
sel s – selvage stitch: always slip the first stitch purlwise, work to the last stitch, purl the last stitch
skpo – Slip, Knit, Pass Over: Slip one stitch to the right needle knitwise, knit in the next stitch and drop this stitch off the left needle, insert the left needle into the slipped stitch, pass it over the knit stitch and it’s done.
k2tog – knit two together
k1b – knit one below
St(s) – stitch(es)
Knit trapper hat pattern:
To get started with the trapper hat we are going to use provisional cast on method. Using smooth piece of scrap yarn (preferably in a different color, so that you can identify it easily later), crochet chain 73. Take 5 mm knitting needles and pick up 64 stitches through the “bumps” on the back of the chain. Count your stitches when you are done. Place stitch marker and start knitting in round.
Round 1: [k1, p1] – repeat till the ends of round.
Round 2: [k1b, p1] – repeat till the ends of round.
Repeat Rounds 1 and 2 32 times or until it measures about 18 cm. Pay attention that the last round has to be round number one.
Knitting back part of the trapper hat:
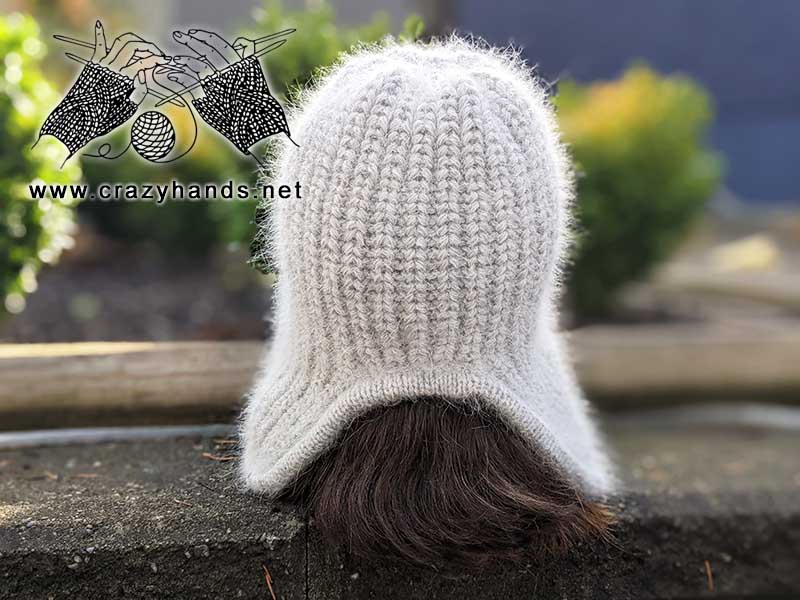
To make the hat fit better we must knit the back part a little bit longer than the front one.
Remove initial stitch marker. K1b, pm. After that follow the instructions for each size:
52-54 cm: count 45 sts, pm – all other 19 stitches are stitches of the visor.
Now we are going to start knitting in rows.
Row 1: Sel s, [k1b, p1] – repeat 22 times, turn.
Row 2: sel s, [p1, k1] – repeat 21 times, p1, sel s, turn.
Repeat Rows 1 and 2 twice more. In total 6 rows.
Knitting ear flaps of the trapper hat:
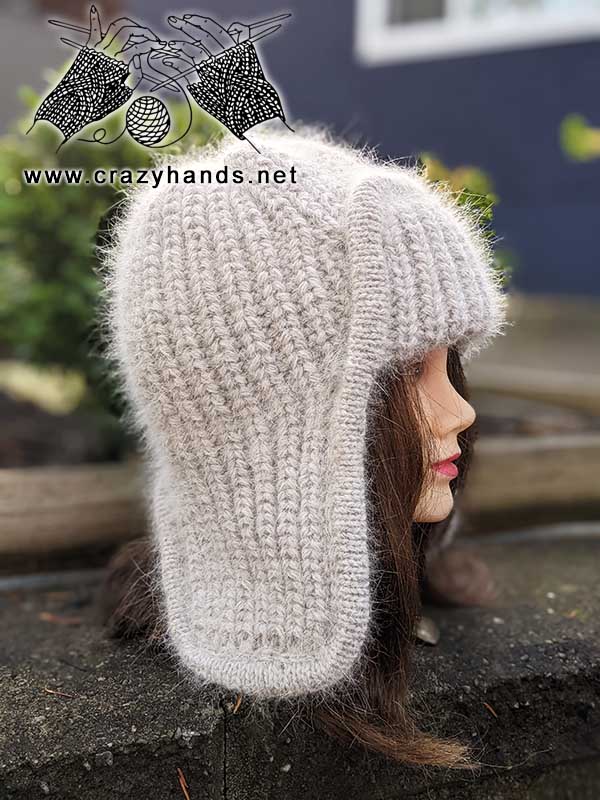
52-54 cm: count 19 sts (ear flap), pm, count 7 sts, pm, count 19 sts (ear flap), pm.
Row 1: sel s, [k1b, p1] repeat 9 times, turn.
Row 2: sel s, [p1, k1] repeat 8 times, p1, sel s, turn.
Repeat Rows 1-2 until earflap reaches 12 cm. Measure the side of an ear flap that is connected to the back part. Bind off all stitches: slip the first stitch, *k1 and slip the 1st st over the 2nd one, p1 and slip the 1st st over the 2nd one, repeat from * till the end. Cut the yarn.
Attach new yarn and bind off 7 stitches between ear flaps.
Do not cut the yarn and go on knitting the second ear flap. The stitch that is on your needle now, count it as a first selvage stitch.
Knitting visor of the trapper hat:
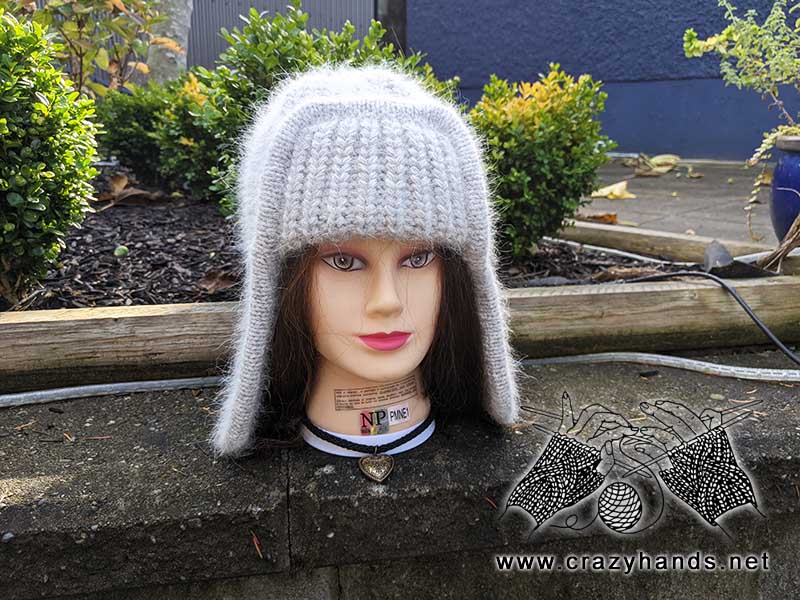
Holding the hat with earflaps facing up attach new tail and start knitting.
Row 1: [k1 p1] – repeat till the end, sel s. We do not have the sel s at the beginning as we are attaching a new tail. All other rows will have sel s at the beginning and at the end.
Row 2: sel s, [k1b, p1] – repeat till the end, k1b, sel s.
Row 3: sel s, p1, [ k1, p1] – repeat till the end, sel s.
Row 4: repeat Row 2.
Repeat Rows 3 and 4 until visor reaches 10-12 cm. Bind off all stitches. And cut the yarn. All this time we were knitting the hat on the wrong side. Turn it right side out.
Shaping the crown of the knit trapper hat:
Unravel provisional cast-on and get live stitches back onto the needle. Place stitch marker. Now split the yarn that you were knitting before in half. I was knitting in 8 strands, so I take only 4 (2 main and 2 reinforcing).
Round 1-3: [k1, p1] – repeat till the end.
Round 4: [skpo] – repeat till the end.
Fasten off leaving 10 cm tail. Draw through remaining stitches. Pull tail to close the top. Weave in end.
If you want to add ties, it is time to do it now. My trapper hat is without ties.
Pick up 3 stitches in the center and knit an i-cord until tie reaches 20 cm (8 inches).
How to make an i-cord: pick up 3 sts, without turning the needle, place it to the left hand. The yarn is coming from the far-left stitch. Pull yarn and knit 3 stitches from the left to the right needle. Slide the stitches from one end of the double-pointed needle to the other and knit 3 stitches again. Repeat all steps until desired tie’s length. Bind off. Repeat for the second side.
Knitting folded edge of the trapper hat:
Using 3.5 mm knitting needles (length min 80 cm) and the same weight of yarn that you were using to shape the crown (in my case it is 4 strand), start picking up stitches along the edge. Start working at the middle of the back part. Pick up stitches along one earflap, then visor and then another earflap. Place stitch marker.
Rounds 1-10: knit all stitches around.
Take the hook and insert it into the first stitch of the first Row. Then slip the first stitch from the left-hand needle to the hook, make yarn over and pull it through the first stitch that you just slipped and through the first stitch of the first Row. Insert the hook into the second stitch of the first Row (pay attention that on the wrong side your hook will be always lower than the braid (this braid was made from the pick-up stitches), slip the next stitch from the left-hand needle to the hook, make yarn over and pull it through the slipped stitch, then through the second stitch of the first Row and through the loop on your hook. Insert the hook into the third stitch of the first Row and repeat everything what you were doing before till the end.
At the very end, when you have only 1 loop on your hook, find the first stitch and make a slip stitch in it. Cut the yarn and pull the tail on the wrong side. Weave in all ends. Wash the hat and dry flat.



2 comments
Beautiful! I would like to try. How many stitches should I start ( head circumference is 58.7 cm)? Thanks
try 68 or 70