Contents

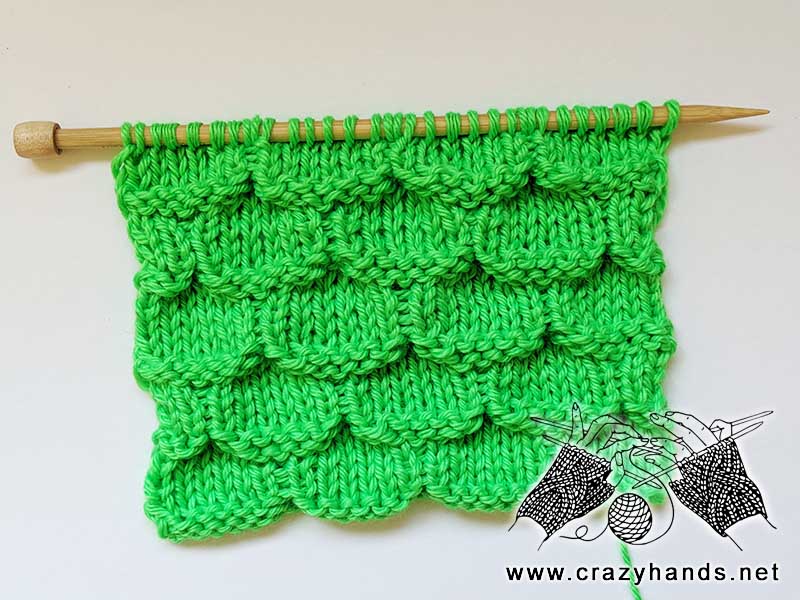
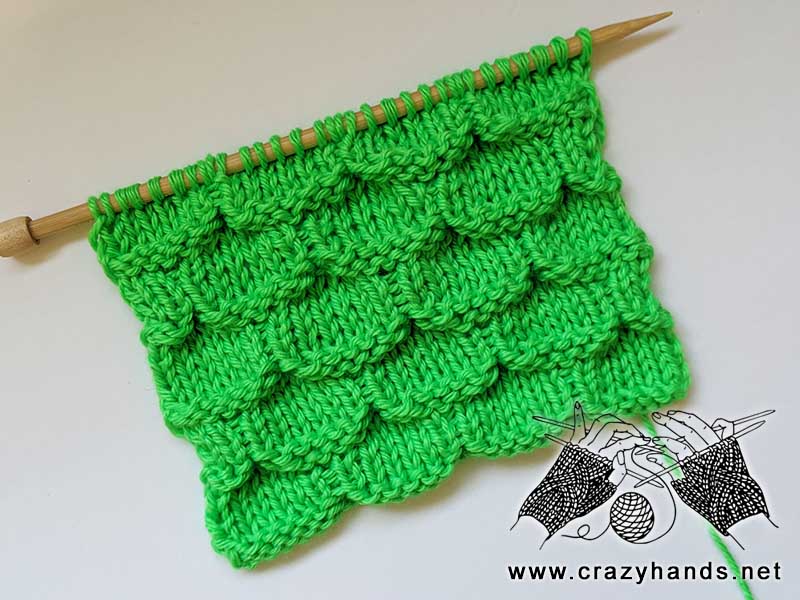
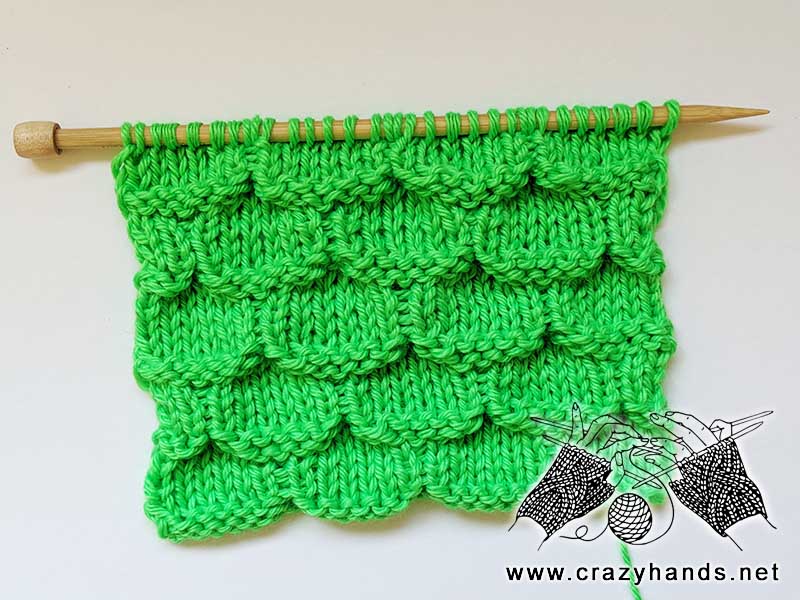
There are tons of crochet Mermaid stitches out there (also known as crocodile stitch), but if you prefer knitting rather than crochet, then this pattern is for you. Mermaid stitch has a low level of complexity making it a top choice for beginner knitters interested in making a blanket, scarf, or hat. To make your life even easier I managed to shoot a quick video tutorial. Check it out below and subscribe to my channel to get the latest knit and crochet tutorials. Have a great time knitting this gorgeous crocodile stitch pattern.
Knitting materials and tools:
<> DPN 4 mm (US6 / UK8)
<> Caron Simply Soft (4) – 100% acrylic: 170 grams -288 m per skein.
Common abbreviations of knit stitches:
k – knit
p – purl
st(s) – stitch(es)
sel s – selvage stitch: always slip the first stitch purlwise, work to the last stitch, purl the last stitch

Knit mermaid / crocodile stitch instructions:
Cast on a multiple of 8 sts plus 6 extra sts and plus 2 selvage stitches.
Row 1 (RS): sel s, purl all stitches, sel s.
Row 2: sel s, knit all sts, sel s.
Row 3 (RS): sel s, *k6, slip next 2 sts with yarn in front – repeat from*, k6, sel s.
Row 4: sel s, *p6, slip next 2 sts with yarn in back – repeat from* p6, sel s.
Row 5(RS): Repeat Row 3.
Row 6: Repeat Row 4.
Row 7(RS): Repeat Row 3.

Row 8: sel s, purl all sts, sel s.
Row 9 (RS): sel s, purl all sts, sel s.
Row 10: sel s, knit all sts, sel s.
Row 11 (RS): sel s, k2, slip next 2 sts with yarn in front, *k6, slip next 2 sts with yarn in front – repeat from*, k2, sel s.
Row 12: sel s, p2, slip next 2 sts with yarn in back, *p6, slip next 2 sts with yarn in back – repeat from* p2, sel s.
Row 13(RS): Repeat Row 11.
Row 14: Repeat Row 12.
Row 15(RS): Repeat Row 11.
Row 16: sel s, purl all sts, sel s.
Repeat Rows 1-16 as many times as needed.


12 comments
I think this is a gorgeous stitch pattern. Thank you so much for sharing. I would love to try knitting a baby blanket using this stitch. 💕💛💕
Hi, yeah, it will be perfect for blanket. Could you plz share photo of your blanket when it is done, I would highly appreciated.
this pattern knits up beautifully. I would like to use this as a border on babies cardigans or dressses. Thank you for this, it is so very pretty
Thanks Linda. I really appreciate your feedback. I have already used it for a hat, and it is gorgeous.
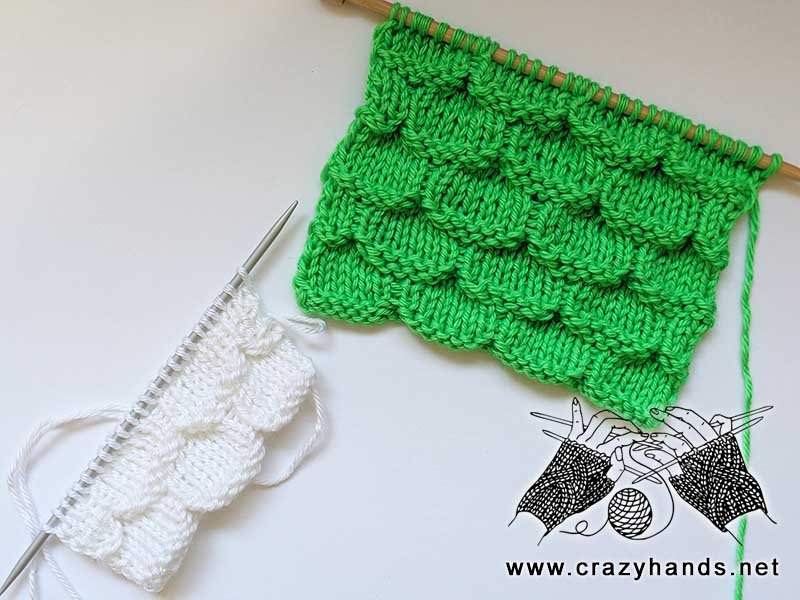
Thank you for this tutorial. The pattern is much easier to do than I had expected it would be. I would like to use this stitch for a baby blanket. I’m not sure why, but looking at the photo of the green and the white works in progress, the green one shows off the pattern much better than the white. Therefore I shall make the blanket in a bright colour as opposed to pastel which is usually my choice for baby. Thank you for presenting the photo with this comparison.
I would also like to say that I appreciate your clear set of instructions!
Thank you so much Trish. This is so kind of you. I am happy you like this stitch and can use it for a blanket
i would like to know if you could knit this stitch in the round and how would you increase stitches
Hi. You need only to change the even rows. For ex 2 row instead of knit all stitches you need to purl them. Or when it says hold the yarn in back you need to hold it in front. And sorry I did not get you when you have asked about increases, could you plz clarify?
I’m thinking of doing this in a mix of colors (a gradient and a solid). If I’m reading right, I would change every 8 rows, correct?
hi, yes you are absolutely right
Hi! I absolutely love this technique and I’m using it to knit my daughter a sweater. Which decrease would you recommend for the sleeves?
Thank you so much already for sharing your amazing knowledge!
Hi Shannon. Check the Mermaid hat for decreases https://crazyhands.net/mermaid-bulky-knit-beanie-pattern/