Contents
Knitting materials and tools:
<> Straight or circular knitting needles 4.5 mm (US 7/ UK 7)
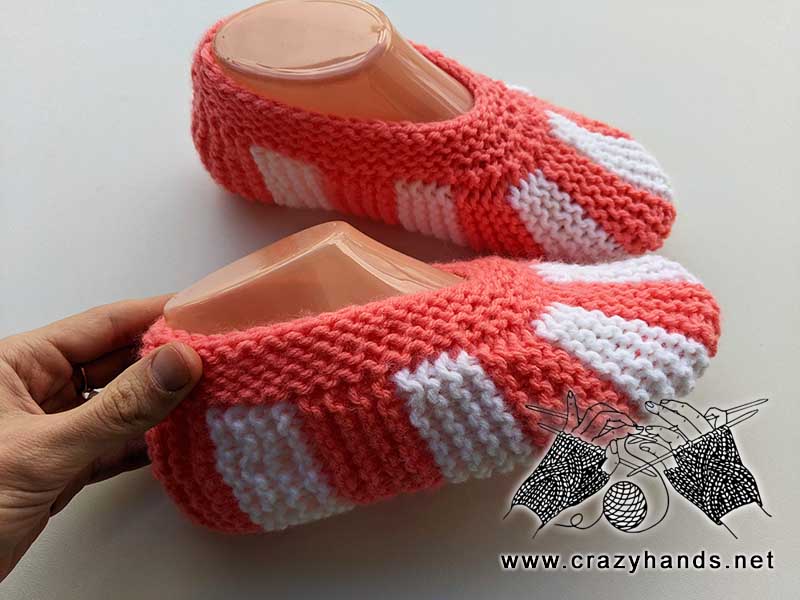
<> Bernat, Premium (4) – 100% acrylic. Color A – pink, Color B – white.
<> Yarn needle and stitch markers.
Size and gauge of flat knit striped slippers:
For all sizes, the height of the slippers without the top strap should be about 8 cm.
Knowing the gauge, count how many stitches will be in a piece of 8 cm. For my gauge, it is 14 sts.
For size US 7 (23.5 cm), the length of the flat sock should be calculated as
23.5 cm * 2, minus 10% to 15%, resulting in a length of 40-42 cm.
Gauge: 17 sts –10 cm (4 inches).
Common abbreviations of knitting stitches:
k – knit
st(s) – stitch(es)
k2tog – knit two together
sel s – selvage stitch: always slip the first stitch knitwise, work to the last stitch, purl the last stitch
pm – place marker
WS – wrong side
RS – right side
Flat stripped slipper socks knitting pattern:
Color A.
Using the long tail method, cast on 14 sts.
Rows 1-8: sel s, k12, sel s. Turn.
Color B.
In the row when changing color, always knit the first stitch instead of slipping it. Slip the first stitch in all other rows.
Rows 9-16: sel s, k12, sel s. Turn.
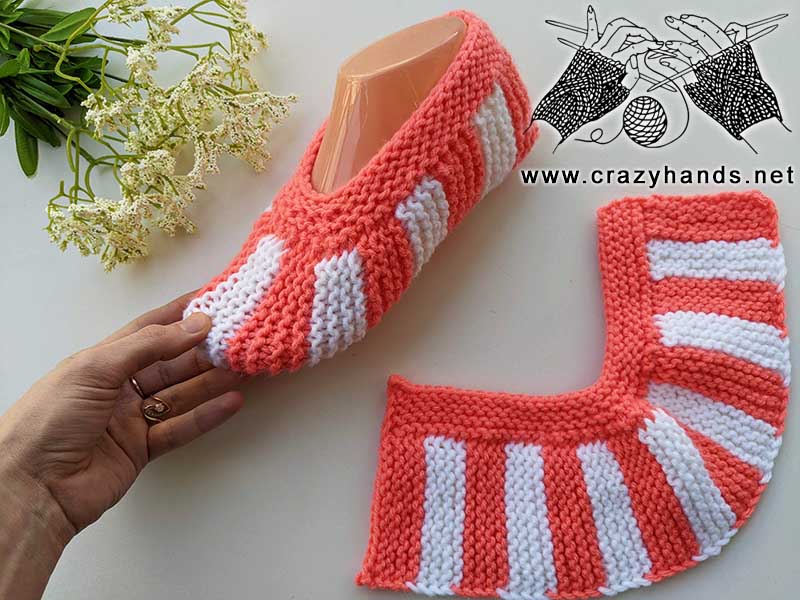
Pick up Color A and repeat everything from the 1st row until the piece reaches 40-42 cm, or the length you have calculated for your socks. When changing colors, do not pull the yarn too tight to avoid puckering the fabric. Also, do not worry about the floats that appear while you change the yarn color.
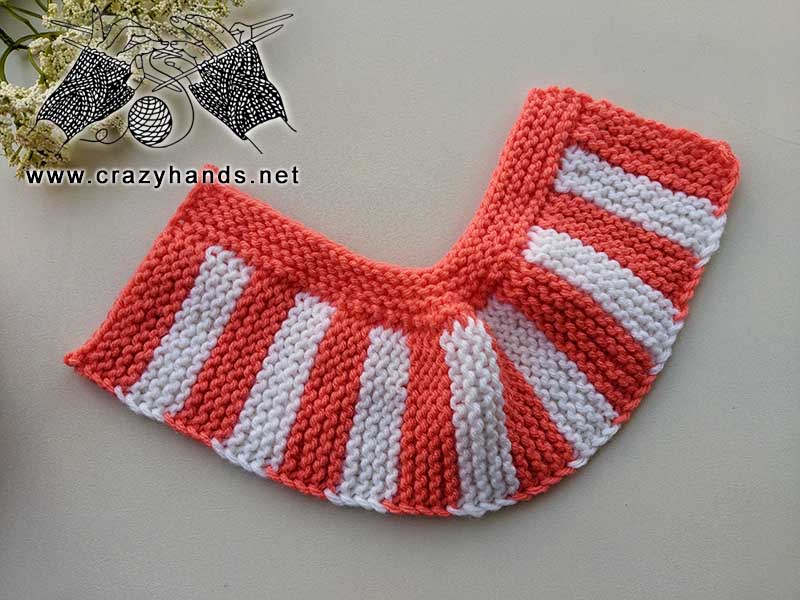
I have knitted a total of 15 stripes. Cut the yarn and bind off all 14 stitches. Using circular needles (preferably), pick up 62 stitches along the edge with the floats. Pick up 4 stitches along each color stripe, plus 2 selvedge stitches at the beginning and end.
(15×4) + 2 sel s = 62 sts
Row 2 (WS): sel s, knit all stitches, sel s.
62/2 = 31 sts – for the central part
Divide the total number of stitches into 3 parts. The central part will have 32 sts (not 31, as we need an even number), and the right and left sides will each have 15 sts. Place stitch markers in the following order: 15 sts, pm, 32 sts, pm, 15 sts.
Row 3 (RS): sel s, k14, [k2tog] – 16 times, k14, sel s.
Row 4 (WS): sel s, knit all stitches, sel s.
After decreasing, we have 16 stitches in the central part.
16/2=8 sts for the central part.
Remove the previous stitch markers and place them again as follows: 19 sts, pm, 8 sts, pm, 19 sts.
Row 5: sel s, k18, [k2tog] – 4 times, k18, sel s.
Row 6: sel s, knit all stitches, sel s.
Row 7: sel s, knit all stitches, sel s.
Row 8: sel s, knit all stitches, sel s.
Bind off all stitches, cut the yarn, leaving a long tail for seaming the sock.
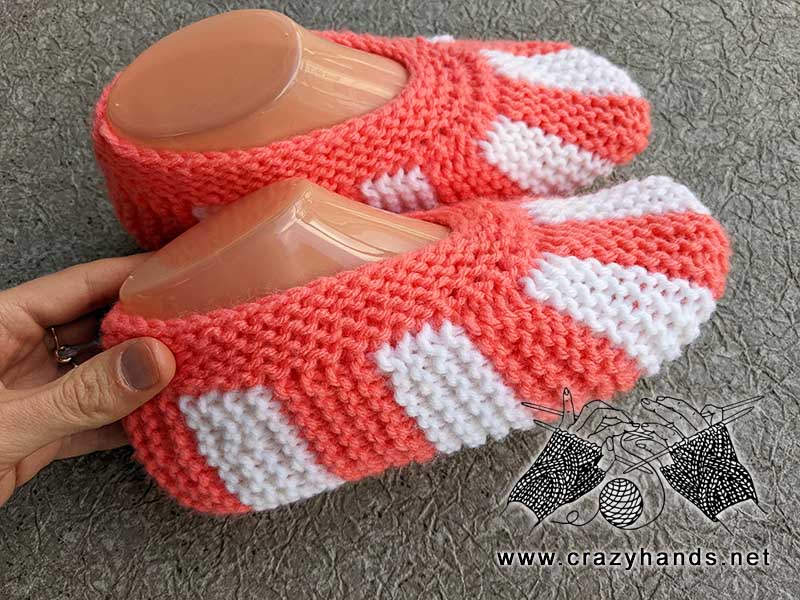
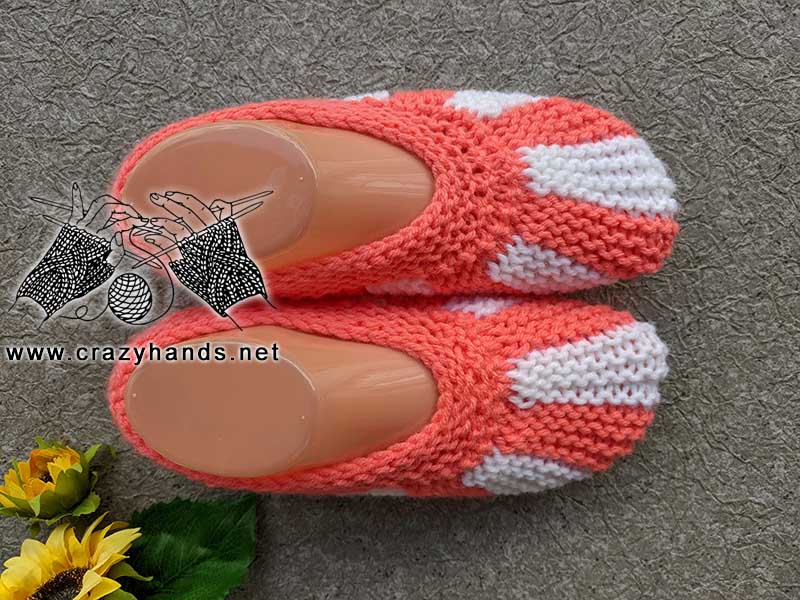
Using a yarn needle, join the top part of the heel with a horizontal invisible seam. For the other part of the heel, insert the needle through the front loop on one side and the back loop on the other side. For the sole part, insert the needle from back to front through the nearest layer and from front to back through the back layer. Check the video tutorial for more instructions.
Cut the yarn and weave in all ends.


3 comments
Hi Ann your Patterns are lovely and very I inspiring. Looking forward to some more.
Thanks
Thank you Patricia!
So happy to see you recorded this tutorial in English, as it is the only language I know. Slippers are gorgeous!