Contents

Knitting materials and tools:
<> Straight or circular knitting needles 3.5 mm (US 4)
<> Caron, Simply Soft (4) – 100% acrylic.
<> Beads to decorate your sandals.
Common abbreviations of knit stitches:
k – knit
st(s) – stitch(es)
k2tog – knit two together
sel s – selvage stitch: always slip the first stitch knitwise, work to the last stitch, knit the last stitch
pm – place marker

Flat knit baby sandals size:
Age:
Newborn – 6 months (46 sts).
6-12 months (52 sts)
Gauge:
18 sts –10 cm (4 inches).

Flat knit baby sandals pattern:
The pattern is written for the smaller size, but by starting with the initial number of stitches and following the pattern, you can knit larger size sandals. Using the long tail method, cast on 46 sts.
Rows 1-23: sel s, knit all stitches, sel s.
At this moment the piece measures 6 cm.
Place stitch markers in the following order: 13 sts, pm, 20 sts, pm, 13 sts.
For the size 6-12 months: 16 sts, pm, 20 sts, pm, 16 sts.
From this point onward, we will begin decreasing in the center.
Row 24: sel s, k12, [k2tog] – repeat 10 times, k12, sel s.
Row 25: sel s, k 12, bind off 10 sts, k12, sel s.
Work only with the first 13 sts.
Rows 26-31: slip, k12. Turn
Rows 32: slip, k12. Without turning, cast on 25-30 stitches for the sandal tie.Turn.
Row 33: sel s, knit all stitches, sel s. Turn.
Row 34: sel s, knit all stitches, sel s.
Bind off all stitches. Cut the yarn.
Attach the yarn on the side where the center part was previously bound off.
Row 26: k13. When attaching a new tail, knit the first stitch instead of slipping it.
Rows 27-31: slip, k12. Turn
Right after row 31, cast on 25-30 stitches for the sandal tie.Turn.
Row 32: sel s, knit all stitches, sel s. Turn.
Row 33: sel s, knit all stitches, sel s.
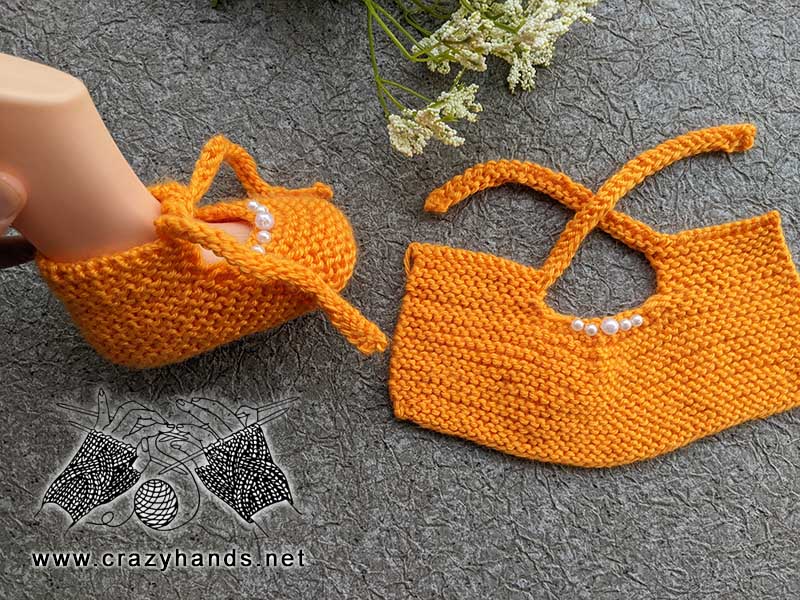
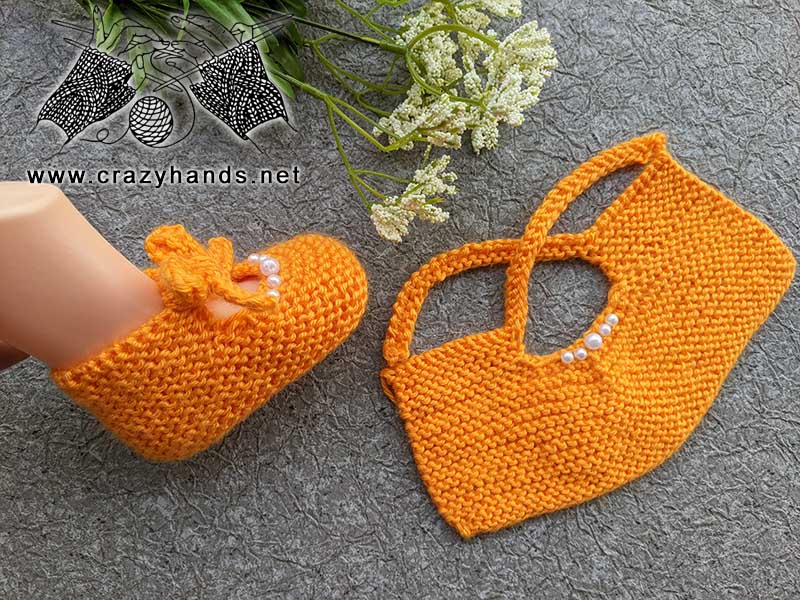
Bind off all stitches and cut the yarn, leaving a long tail for seaming the sandal. Using a yarn needle, join the heel part by inserting the needle alternately on each side underneath the knots formed by knitting the last stitch of each row. Seam the sole by inserting the needle through the front loop on one side and the back loop on the other side. When you have reached the last 4 stitches on each side, pick up all stitches and pull to close the hole, similar to closing the crown of a hat. This will ensure a better fit for the sandal without sharp corners.
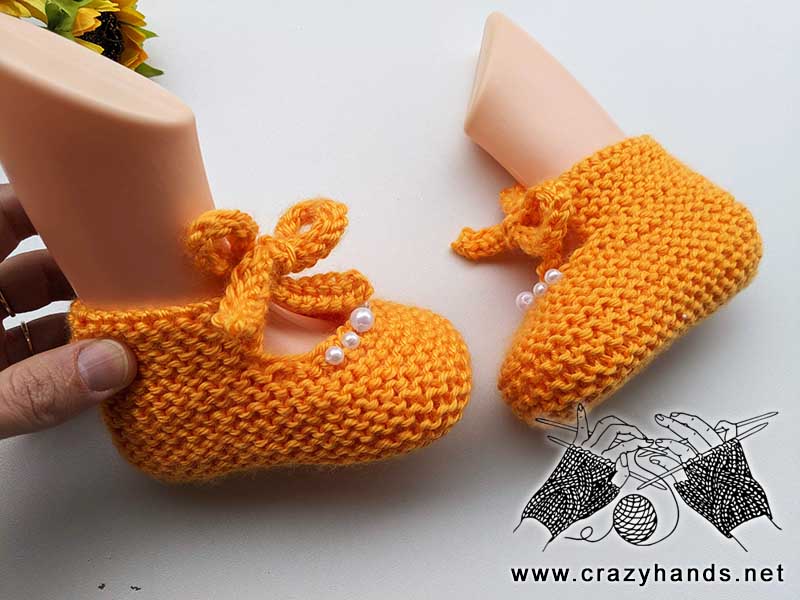
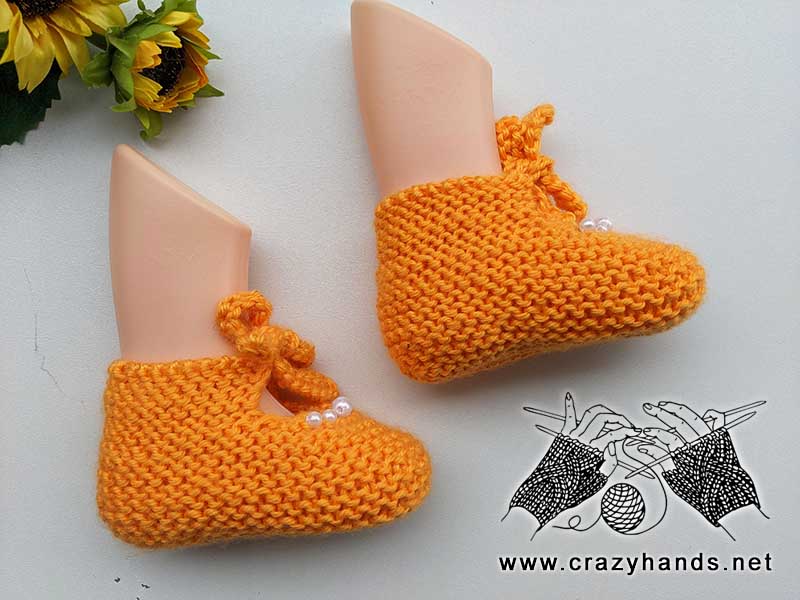
Cut the yarn and weave in all ends. Optionally, decorate your sandals with beads as shown in the picture.
Repeat for the second sandal.


