Knitting materials and tools:
Straight or Circular Knitting Needles 4.5 mm (US 7/ UK 7)
Romantic Country (Bulky) – 30% Acrylic, 70% Wool.
Weight Category – 5. Quantity – 95 grams.
Pom pom – black/white/purple color. Material – natural fur / faux fur / yarn pom pom. Size – 15-16-17 cm.
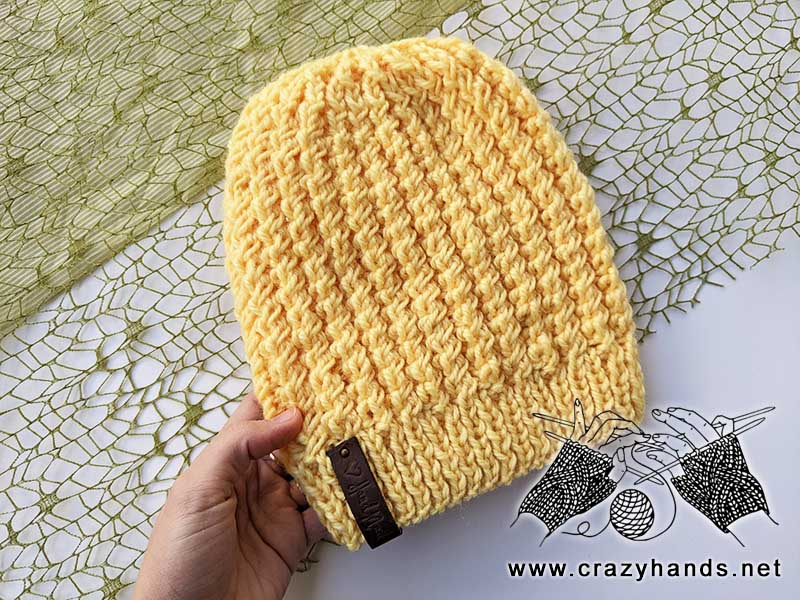
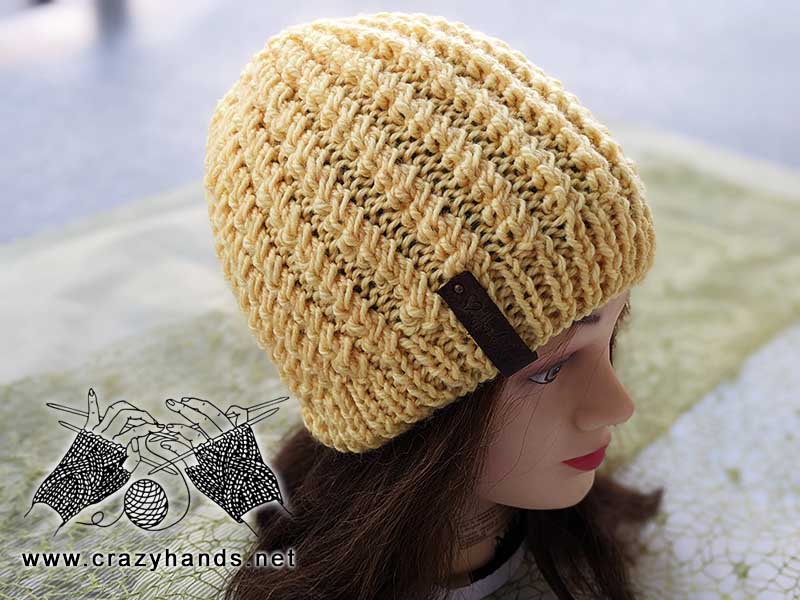
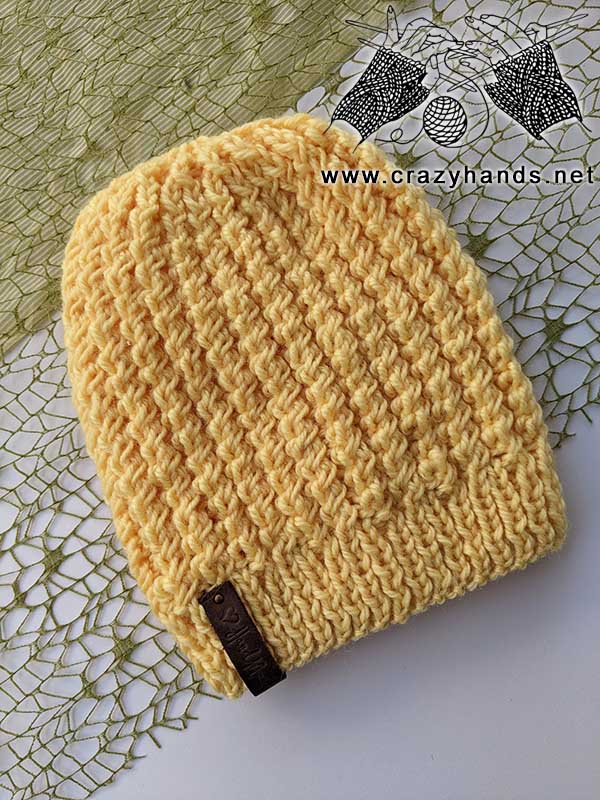
Flat knit classic beanie size:
Head circumference: 53-57 cm (21-22”).
Gauge: 15 stitches = 4 inches in stockinette
Common abbreviations of knitting stitches:
K – knit
P – purl
sel s – selvage stitch: always slip the first stitch knitwise, work to the last stitch, purl the last stitch
st(s) – stitch(es)
yo – yarn over: Lay the working yarn over the right needle from front to back.
RS – right side
k2tog – knit two together.
K3tog – knit three together: slip the first stitch knitwise, k2tog, insert the left needle into the slipped stitch, pass it over just knitted stitch.
skpo – Slip, Knit, Pass Over: Slip one stitch to the right needle knitwise, knit in the next stitch and drop this stitch off the left needle, insert the left needle into the slipped stitch, pass it over the knit stitch and it’s done.
Flat classic beanie knitting pattern:
Using the long tail cast-on method cast on 78 stitches. The final number of stitches is calculated as a multiple of 3, plus 1 extra stitch, plus 2 selvage stitches.
Row 1: sel s, [k1, p1] – till the end, sel s.
Repeat Row 1 until ribbing reaches 5-6 cm.
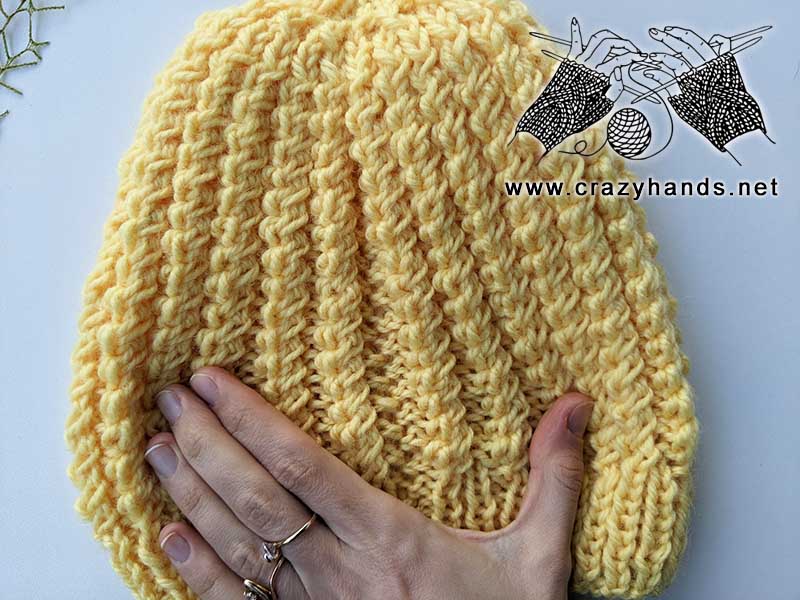
Knitting body of the flat classic beanie:
Row 1: sel s, [k1, skip one stitch on the left-hand needle and purl the second one, yo, after that purl the first stitch and drop both stitches off the needle] – repeat till the end, k1, sel s.
Row 2: sel s, [p1, k1, k2tog] – repeat till the end, p1, sel s.
Repeat Rows 1-2 until piece reaches 20 cm. At the end repeat Row 1.
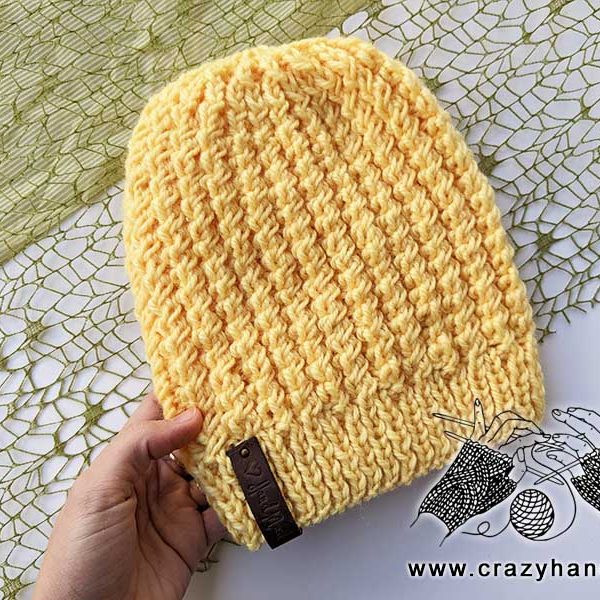
Shaping the crown of the flat classic beanie:
Row 1 (RS): sel s, [ p1, k3tog] – repeat till the end, p1, sel s.
Row 2: [k1, p1] – repeat till the end, k1, sel s.
Row 3 (RS): sel s, [ p1, k3tog] – repeat till the end, p1, skpo, sel s.
Row 4: sel s, [p1, k1] – repeat till the end, sel s.
Row 5 (RS): sel s, [k2tog] – repeat till the end, sel s.
Row 6: purl all stitches
Cut the yarn leaving 40-50 cm tail. Use hook or tapestry needle to pull yarn tail through the remaining stitches. Pull tight to close the crown. We will seam the hat on the right side using a mattress stitch. Make sure to line up your sides correctly. You can use locking stitch markers to pin the sides of your hat in place in order not to end up with a lopsided seam. Go underneath the first 2 little bars between 2 selvage stitches on the right side (you can start seaming on either side), after that go underneath the first 2 little bars between 2 selvage stitches on the left side. *Draw the yarn through the next 2 bars on the right side, draw the yarn through the next two bars on the left side. Repeat from * and tug on the yarn every couple of stitches. Do not pull tight. Finish seaming and weave in ends. Optionally: yarn, faux or real fur pom pom.