Contents
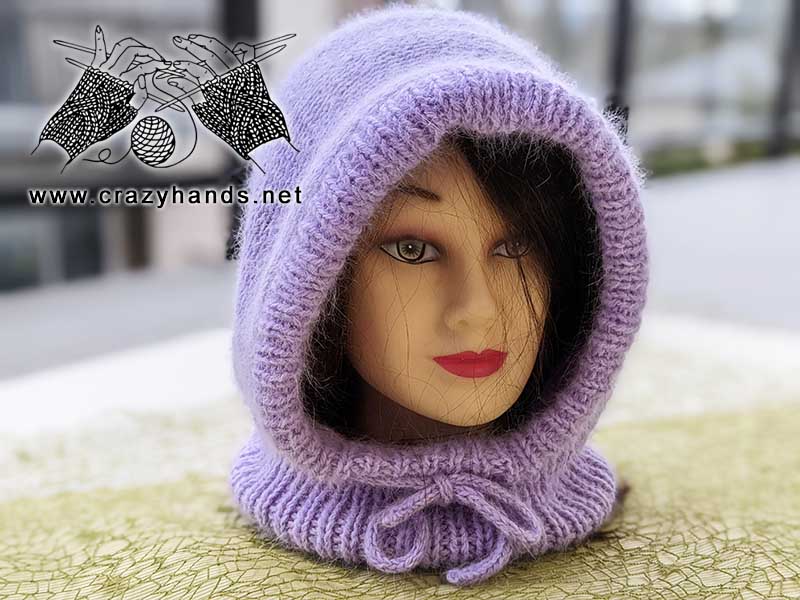
Knitting materials and tools:
<> 16” circular knitting needles 5 mm (US 8/UK 6) and 40” circular needles 4 mm (US 6 / UK8).
<> Long mink wool (Cashmere) yarn – 75% wool, 25% nylon: 50 grams – 338 m per skein. Note: Knit with 3 strands of main and 1 strand of reinforcing (partner) yarn together.
<> Weight Category – Fingering. Quantity – 2.5 balls. If you have difficulty to find aforementioned brand of yarn, use medium worsted weight yarn. !!!!!Check your gauge before knitting!!!!!!
<> Yarn needle, two stitch markers, two meters of scrap yarn.
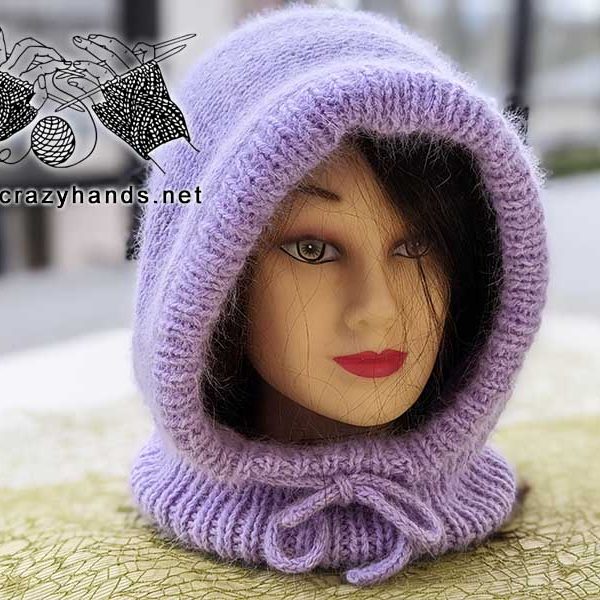
Knit hooded cowl size:
Hood length: 41 cm (16.1”)
Hood width: 29 cm (11,4”)
| Head Circumference | Number of stitches |
| 53-57 cm | 90 |
*All measurements are in centimeters if not mentioned otherwise
Gauge: 16-18 stitches = 4 inches in stockinette (5 mm knitting needles)
Common abbreviations of knitting stitches:
K – knit
P – purl
Pm – place marker
sel s R – selvage stitch: always slip the first stitch knitwise, work to the last stitch, knit the last stitch
sel s W – selvage stitch: always slip the first stitch knitwise, work to the last stitch, purl the last stitch
skpo – Slip, Knit, Pass Over: Slip one stitch to the right needle knitwise, knit in the next stitch and drop this stitch off the left needle, insert the left needle into the slipped stitch, pass it over the knit stitch and it’s done.
k2tog – knit two together
M1L – make one left increase: make 1 left: pick up bar bringing left hand needle from the front to the back, then knit the bar through the back loop.
St(s) – stitch(es)
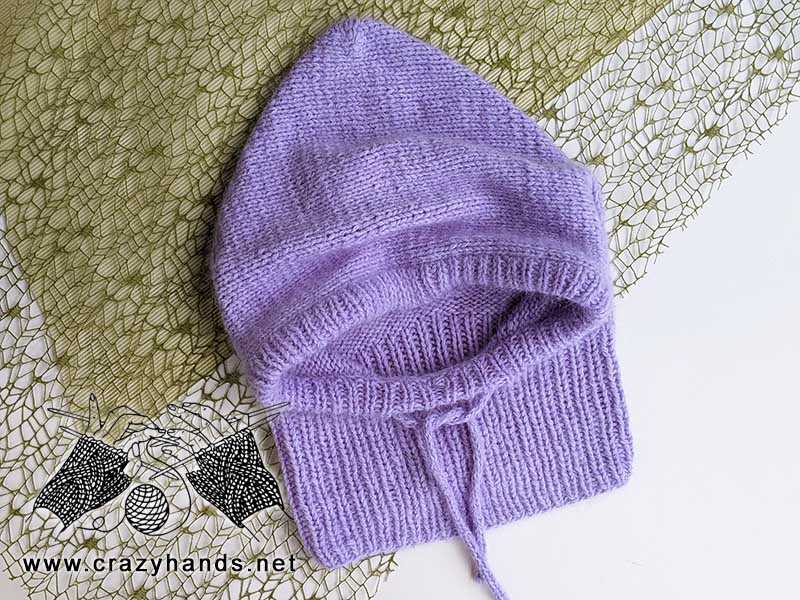
Knit hooded cowl pattern
Knitting body of the hood
Using 5 mm knitting needles, cast on 90 stitches. Join to knit in rounds. Place stitch marker. Rib *k1, p1 – until piece reaches 14 cm.
Rounds 1-3: knit all stitches around.
Round 4: k 40, bind off 10 sts and pm that will indicate beginning of the new round (row). Do not remove the previous stitch marker.
Row 1: sel s, k 37, M1L, k4, M1L, k 37, sel s R.
Row 2: sel s, purl all stitches, sel s W.
Row 3: sel s, k1, skpo, k 35, M1L, k4, M1L, k 35, k2tog, k1, sel s R.
Row 4: sel s, purl all stitches, sel s W.
Row 5: sel s, k1, skpo, k 35, M1L, k4, M1L, k 35, k2tog, k1, sel s R.
Row 6: sel s, purl all stitches, sel s W.
Row 7 (size 53-57): sel s, k 38, M1L, k4, M1L, k38, sel s R.
Row 8: sel s, purl all stitches, sel s W.
Row 9: sel s, k 39, M1L, k4, M1L, k 39, sel s R.
Row 10: sel s, purl all stitches, sel s W.
Row 11: sel s, k 40, M1L, k4, M1L, k 40, sel s R.
Row 12: sel s, purl all stitches, sel s W.
On your needles now: 88 stitches
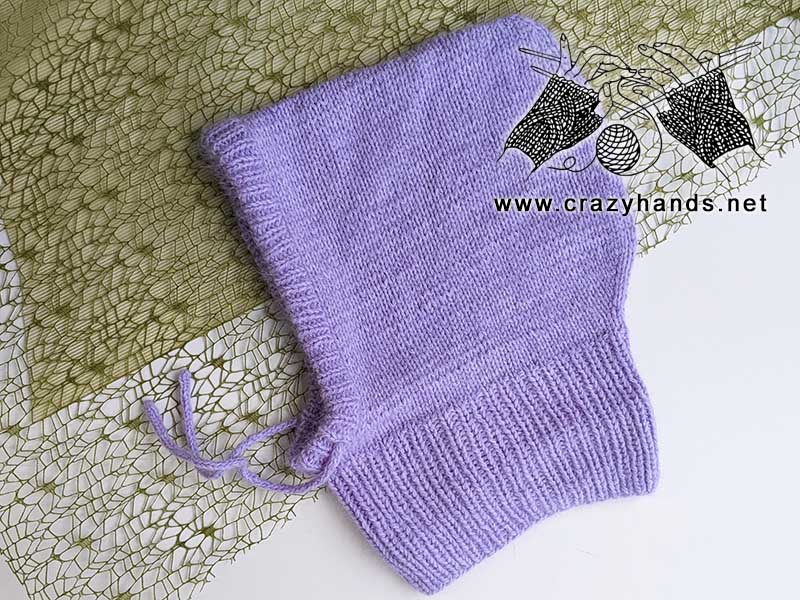
Knit in stockinette stitch for 14-17 cm. To make it easier, mark with stitch marker the last row.
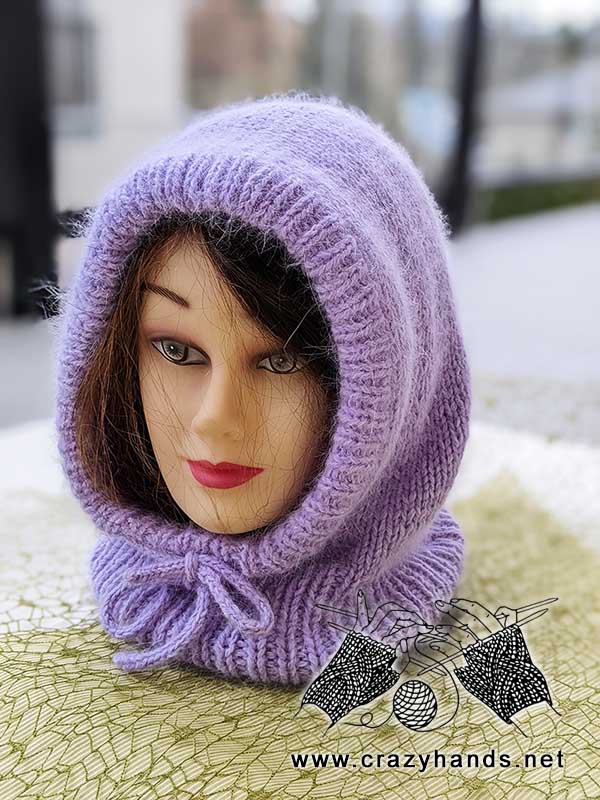
Knitting crown of the hood
Row 1: sel s, k 40, skpo, k2, k2tog, k 40, sel s R.
Row 2: sel s, purl all stitches, sel s W.
Row 3: sel s, knit all stitches, sel s R.
Row 4: sel s, purl all stitches, sel s W.
Row 5: sel s, k 39, skpo, k2, k2tog, k 39, sel s R.
Row 6: sel s, purl all stitches, sel s W.
Row 7: sel s, knit all stitches, sel s R.
Row 8: sel s, purl all stitches, sel s W.
Row 9: sel s, k 38, skpo, k2, k2tog, k 38, sel s R.
Row 10: sel s, purl all stitches, sel s W.
Row 11: sel s, knit all stitches, sel s R.
Row 12: sel s, purl all stitches, sel s W.
Row 13: sel s, k 37, skpo, k2, k2tog, k 37, sel s R.
Row 14: sel s, purl all stitches, sel s W
Row 15: sel s, k 36, skpo, k2, k2tog, k 36, sel s R.
Row 16: sel s, purl all stitches, sel s W
Row 17: sel s, k 35, skpo, k2, k2tog, k 35, sel s R.
Row 18: sel s, p 34 , p2tog, p2, p2tog (to get the same leaning on the right side, I turned next two stitches and p2tog through the back loop), p 34, sel s W.
Cut the yarn leaving 50-60 cm tail and check video tutorial of how to make an invisible seam. You can also use the three needles bind off method.
Using 40” 4 mm knitting needles and holding only 2 main yarn threads together, pick up stitches along the face hole. Check the video tutorial and do not forget to use a scrap yarn, otherwise it will be almost impossible to finish the folded edge. The final number of stitches must be multiple of 2. Knit in rounds. Rib k1, p1 until piece reaches 6.5 – 7 cm. Cut the yarn leaving 1 m tail and check again video tutorial of how to sew the folded edge.
Knitting ties for the hooded cowl
If you want to add ties, knit an i-cord.
Using 3 mm knitting needles and holding 2 main threads of yarn together pick up 3 sts, without turning the needle, place it to the left hand. The yarn is coming from the far-left stitch. Pull yarn and knit 3 stitches from the left to the right needle. Slide the stitches from one end of the double-pointed needle to the other and knit 3 stitches again. Repeat all steps until the tie reaches 80-90 cm. Bind off. Weave in all ends. Wash the hood and dry flat.


20 comments
been searching years for this wonderful neck and hat covering one piece for cold months. can not wait to start your beautiful instructions. thank you very much for sharing your design and pattern instructions.
Happy knitting Pat!
I want to attempt to make this wonderful neck and hat covering so beautiful and you explained it so nicely. I was wondering how do I change it up a bit to make it so that the neck part keeps coming down to also cover my shoulders and my chest.
Thank you
Hi. I would combine this https://crazyhands.net/knit-round-dickey-pattern/ or this pattern https://crazyhands.net/winter-knit-dickey-pattern-for-adults/
Hello, Thank you for this nice pattern 🥰. its going really well.
i was just wondering, after the last step of de body of the hooded cowl you say to continue to knit voor 14-17cm. is this measure from the last row, or from the the first row of stockinette stitch?
yes, it means from the last row
Hi, thanks for this beautiful pattern ! Will love to start one rn !
How much meters of yarn will you recommend for this ?
Thank you so much for your answer 🙂
Hi. I did not count meters. 2.5 balls or 125 grams
Thank you for this tutorial, i want to try this but can you please share what yarns you used for this? i would love to recreate this in the same colour 🙂
Hi Ayse, it is written in the pattern at the beginning. You can also check video tutorial if you want to see how the yarn looks
What does sel stand for?
Sorry I just saw what sel is in the beginning of your article. Thank you
After my first section looking lovely I started on next stage and I have got to row 5 and it is definitely not how it’s meant to look and I want to cry😩
I don’t see the purl rows on the finished pictures. I can’t bear idea of undoing it all 💔 (sorry I’m very dramatic 🙈)
Not sure what is wrong exactly, but why do not you follow video tutorial, I know it is helpful for some people. You are just at the beginning so no worries to unravel. You do not learn without mistakes, so everything is all right. My hugs!
So beautiful and I have the same yarn in my stash!! Thank you for the work getting this design out to the world!
Quick question on back increases…M1L k4 M1L and can’t get my head around the direction of the stitches. Would M1L k4 M1R look off?
You can knit so. Just to make the pattern less complicated
can the ribbed area be extended long enough to be pulled up to cover the lower face?
yes, you may try to add couple of cm (inches), But I am not sure if it is gonna fit as you want
In the middle of the work after the three knit rows I have five rows on one side and four rows on the other. I’ve ripped this out four times after the bind off and still am getting too many rows on one side. What am I doing wrong?
are you talking about Round 4? Did you watch video tutorial?